

Kombucha is a fermented tea that has gained popularity for its unique flavor and potential health benefits. Originating in Northeast China around 220 B.C., this effervescent drink has traveled through centuries and cultures, becoming a staple in many households today. The process of fermentation transforms sweetened tea into a tangy, fizzy beverage, thanks to the symbiotic culture of bacteria and yeast, commonly referred to as SCOBY. This living culture is what makes kombucha not just a drink but a fascinating blend of science and art.
For many, the allure of kombucha lies in its purported health benefits, which include improved digestion, enhanced immunity, and increased energy levels. While scientific research is still catching up to these claims, many enthusiasts swear by their homemade brews. Making kombucha at home allows you to control the ingredients and flavors, ensuring a product that suits your taste and dietary preferences. If you’re curious about how to embark on this brewing adventure, you’re in the right place.
If you’re looking to enhance your homemade kombucha experience, you might find inspiration in a related article that explores delightful summer flavors. Check out this article on sweet frose strawberry desserts that taste like summer, which can complement your refreshing kombucha creations perfectly. You can read it here: Sweet Frose Strawberry Desserts.
Key Takeaways
- Kombucha is a fermented tea beverage that has been consumed for thousands of years and is known for its potential health benefits.
- Making kombucha at home allows you to control the ingredients and flavors, and can be a cost-effective and fun hobby.
- To make kombucha at home, you will need a few key pieces of equipment and ingredients, including a SCOBY (symbiotic culture of bacteria and yeast), tea, sugar, and a large glass jar.
- The process of making kombucha involves brewing the tea, adding the SCOBY and allowing it to ferment for 7-10 days, then flavoring and bottling the finished kombucha.
- When brewing and fermenting kombucha at home, it’s important to keep the environment clean, maintain the right temperature, and monitor the fermentation process to avoid common issues such as mold or over-fermentation.
The Benefits of Making Kombucha at Home
One of the primary advantages of brewing kombucha at home is the ability to customize flavors and sweetness levels. Store-bought kombucha often comes with added sugars or artificial flavors that may not align with your preferences or dietary needs. When you brew your own, you can experiment with various teas, fruits, and herbs to create a beverage that’s uniquely yours. Whether you prefer a classic black tea base or something more adventurous like hibiscus or green tea, the choice is entirely yours.
Another significant benefit is cost-effectiveness. While purchasing kombucha from health food stores can add up quickly, making it at home can save you a considerable amount of money over time. The initial investment in equipment and ingredients may seem daunting, but once you get the hang of it, the ongoing costs are minimal. Plus, you’ll have the satisfaction of knowing exactly what goes into your drink, which can be particularly appealing for those who are health-conscious or have specific dietary restrictions.
Equipment and Ingredients Needed
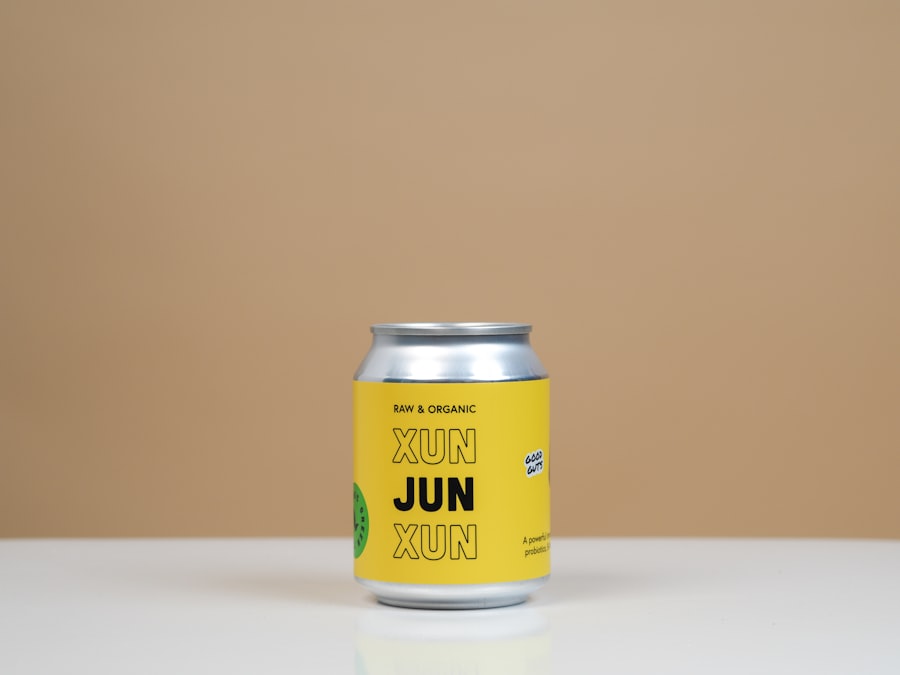
Before diving into the brewing process, it’s essential to gather the necessary equipment and ingredients. The good news is that you don’t need a lot of fancy gadgets to get started. At a minimum, you’ll need a large glass jar (at least one gallon), a breathable cover like a coffee filter or cheesecloth, and a rubber band to secure it. A wooden or plastic stirring utensil is also recommended since metal can react with the kombucha.
As for ingredients, the basics include tea (black or green), sugar (white granulated sugar works best), water, and of course, your SCOBY. You can find SCOBYs online or from local kombucha brewers. It’s also helpful to have a thermometer to monitor the temperature during fermentation and bottles for storing your finished product. If you plan to flavor your kombucha later on, consider gathering fruits, herbs, or spices that appeal to your palate.
Step-by-Step Guide to Making Kombucha
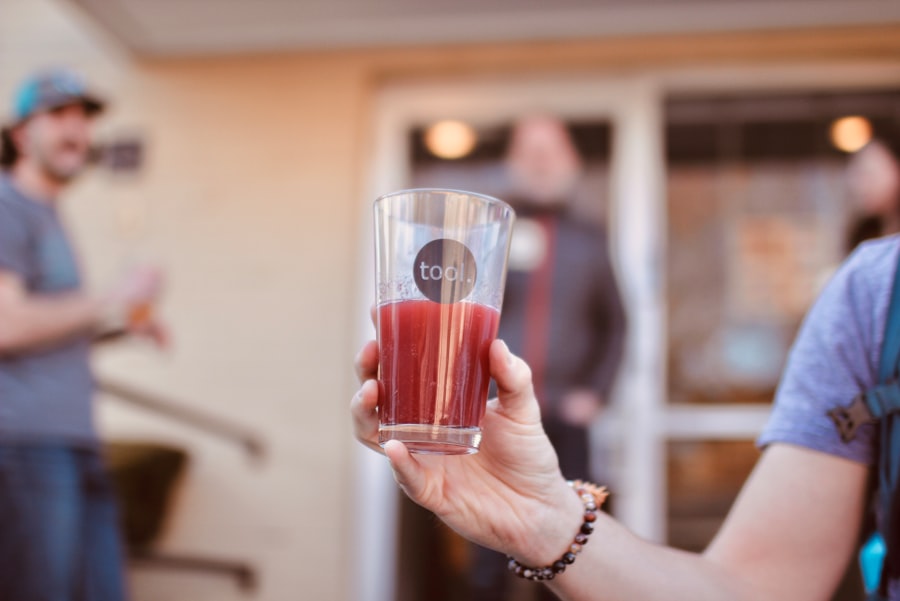
Now that you have your equipment and ingredients ready, let’s walk through the brewing process step by step. Start by boiling about four cups of water in a pot. Once it reaches a rolling boil, remove it from heat and add about 4-6 tea bags (or 2-3 tablespoons of loose leaf tea). Allow the tea to steep for about 10-15 minutes before removing the bags or straining out the leaves.
Next, add one cup of sugar to the hot tea and stir until it dissolves completely. This sweetened tea will serve as food for the SCOBY during fermentation. Afterward, pour the mixture into your large glass jar and add about 12 cups of cool water to bring down the temperature. It’s crucial that the tea is at room temperature before adding the SCOBY; otherwise, you risk damaging it.
Once your sweetened tea has cooled, gently add the SCOBY along with about a cup of starter tea (this can be from a previous batch or store-bought kombucha). Cover the jar with your breathable cover and secure it with a rubber band. Place the jar in a warm, dark place where it won’t be disturbed for about 7-14 days.
The fermentation time will depend on your taste preference; longer fermentation results in a more tangy flavor.
If you’re interested in exploring more homemade beverages, you might enjoy learning about a delicious recipe for Croque Madame, which pairs wonderfully with your homemade kombucha. This savory dish offers a delightful contrast to the tangy flavors of kombucha, making it a perfect brunch option. For the full recipe, you can check it out here.
Flavoring and Bottling Your Kombucha
| Steps | Time |
|---|---|
| 1. Gather ingredients and equipment | 10 minutes |
| 2. Prepare the sweet tea | 30 minutes |
| 3. Add the SCOBY and starter tea | 5 minutes |
| 4. Cover and ferment | 7-10 days |
| 5. Bottle and flavor | 20 minutes |
| 6. Second fermentation | 2-3 days |
After your kombucha has fermented to your liking, it’s time to bottle it up and add some flavor if desired. Start by preparing clean bottles—glass bottles with tight-sealing lids work best for this purpose. You can use swing-top bottles or regular glass bottles with caps; just ensure they are thoroughly cleaned to avoid contamination.
To flavor your kombucha, consider adding fresh fruits like berries, citrus slices, or ginger pieces directly into each bottle before pouring in the fermented tea. You can also experiment with herbs like mint or basil for an extra layer of flavor. Once you’ve added your desired ingredients, carefully pour the kombucha into each bottle, leaving about an inch of headspace at the top.
Seal the bottles tightly and let them sit at room temperature for another 3-7 days for secondary fermentation. This step will carbonate your kombucha further and enhance the flavors you’ve added. Just remember to check on them periodically; if you notice excessive pressure building up in the bottles, release some gas by slightly loosening the cap.
If you’re interested in brewing your own kombucha at home, you might also enjoy exploring ways to celebrate with friends and family during the holidays. A great resource for this is an article that discusses how to give back during Friendsgiving, which can inspire you to create a warm and inviting atmosphere for your gatherings. You can check it out here for some thoughtful ideas that pair well with your homemade kombucha.
Tips for Brewing and Fermenting Kombucha
Brewing kombucha can be a bit of an art form, so here are some tips to help you along the way. First off, always use filtered water if possible; tap water can contain chlorine or other chemicals that may hinder fermentation. Additionally, keep an eye on the temperature where your kombucha is fermenting; ideally, it should be between 68°F and 85°F (20°C – 29°C). Too cold can slow down fermentation, while too hot can kill off your SCOBY.
Another important aspect is cleanliness. Make sure all your equipment is sanitized before use to prevent unwanted bacteria from spoiling your brew. When handling your SCOBY, always wash your hands thoroughly to avoid introducing contaminants. If you notice any unusual smells or mold on your SCOBY during fermentation, it’s best to discard it and start fresh.
Troubleshooting Common Issues
Even seasoned brewers encounter issues from time to time, so don’t be discouraged if things don’t go perfectly on your first try. One common problem is overly sweet kombucha; this usually means it hasn’t fermented long enough. If this happens, simply let it ferment for a few more days until it reaches your desired taste.
Another issue could be excessive carbonation in your bottled kombucha. If you find that your bottles are too fizzy or even bursting, try reducing the amount of sugar you add during bottling or refrigerate them sooner after secondary fermentation begins. On the flip side, if your kombucha lacks fizz altogether, consider letting it ferment longer during secondary fermentation or using bottles designed for carbonation.
Storing and Enjoying Your Homemade Kombucha
Once you’ve bottled your kombucha and it’s reached the perfect level of carbonation and flavor, it’s time to store it properly. Keep your bottles in the refrigerator to slow down fermentation and maintain freshness. Homemade kombucha can last for several weeks when stored correctly; however, it’s best enjoyed within a month for optimal taste.
When you’re ready to enjoy your homemade brew, pour it into a glass without shaking the bottle too much—this helps prevent excessive fizzing.
You might want to strain out any fruit pieces or herbs if you’ve added them during bottling.
Take a moment to appreciate the unique flavors you’ve created before taking that first sip; after all, this is a drink that reflects your personal touch.
In conclusion, making kombucha at home is not only rewarding but also allows you to explore flavors and health benefits tailored to your preferences. With some basic equipment and ingredients, along with patience and practice, you’ll soon find yourself enjoying delicious homemade kombucha right from your kitchen. So why not give it a try? You might just discover a new favorite beverage along the way!
FAQs
What is Kombucha?
Kombucha is a fermented tea beverage that is made by adding a symbiotic culture of bacteria and yeast (SCOBY) to sweetened tea and allowing it to ferment. It is known for its tangy flavor and potential health benefits.
What are the health benefits of Kombucha?
Kombucha is believed to have potential health benefits, including probiotics, antioxidants, and potential antimicrobial properties. However, more research is needed to fully understand its health effects.
How do you make Kombucha at home?
To make Kombucha at home, you will need a SCOBY, black or green tea, sugar, and a large glass jar. The process involves brewing the tea, adding sugar, allowing it to cool, adding the SCOBY, and letting it ferment for 7-10 days.
Is it safe to make Kombucha at home?
When made properly, Kombucha is generally safe to make at home. However, it is important to follow proper sanitation and brewing techniques to prevent contamination and ensure the safety of the final product.
What are some common mistakes to avoid when making Kombucha at home?
Common mistakes to avoid when making Kombucha at home include using improper brewing vessels, not maintaining proper sanitation, using the wrong type of tea, and not monitoring the fermentation process closely.