Have you ever wondered how to pick the perfect watermelon or turn it into a delicious juice? Well, you’re in the right place. This article will guide you through selecting, prepping, and juicing watermelons like a pro. We’ll share some secrets that can transform your experience with this juicy fruit. Let’s get started on mastering the art of enjoying watermelon at its best.
Selecting the Perfect Watermelon
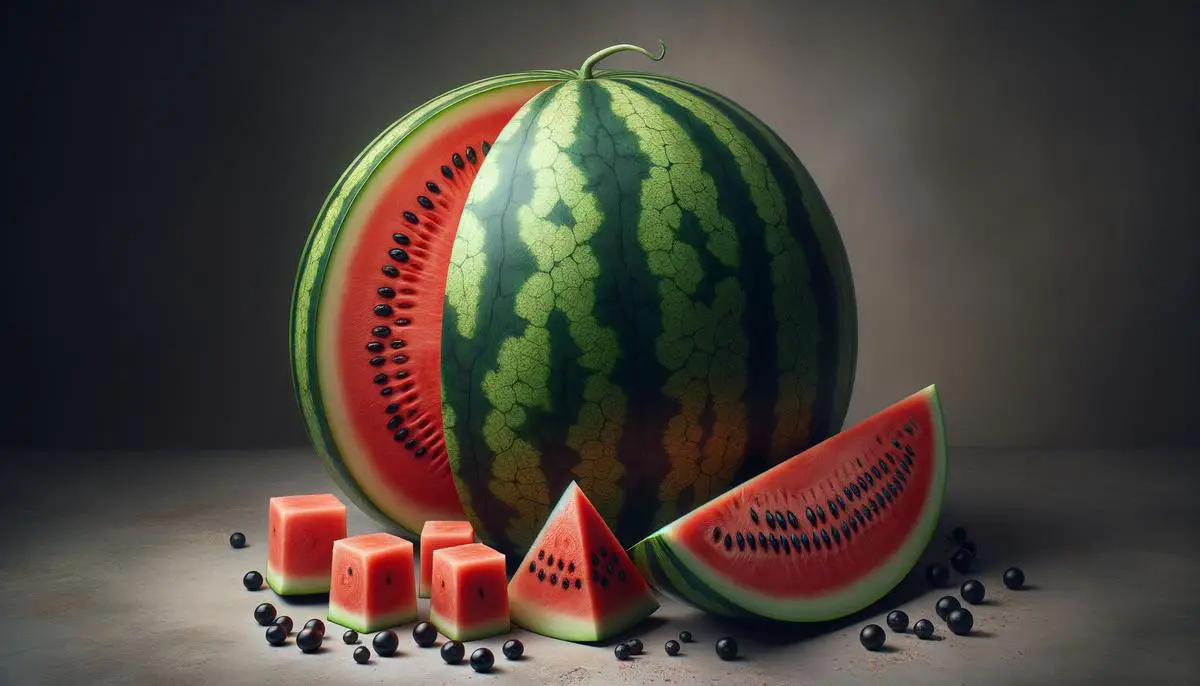
((TEXT START))Picking the Juiciest Watermelon for Your Juice!
Ever been on a quest for the perfect watermelon, dreaming of that divine, juicy sip of homemade watermelon juice, only to end up with a watery, tasteless mess? Yep, we’ve all been there. Picking the right watermelon can feel like hunting for treasure without a map. So, let’s figure out how to pick a winner every time for the sweetest, juiciest watermelon juice imaginable!
But first, a quick confession: I used to be terrible at choosing melons. My kitchen’s been witness to more disappointing watermelons than I care to admit. But fear not! After some juicy (pun intended) research and a few hit-and-miss adventures, I’ve honed a foolproof strategy. Ready to dive in? Let’s turn you into a watermelon-picking pro!
For the juiciest pick, here’s what you need to know:
- Look for the Field Spot
Start by checking out the watermelon’s “field spot”—that’s the area where it was resting on the ground. You’re looking for a creamy yellow spot. Think of it this way: the darker and yellower the field spot, the longer it sunbathed in the fields, which means sweeter, juicier goodness.
- Give it a Tap
Next, tap that baby! Hold your ear close and give the watermelon a firm knock. A ripe, juice-packed watermelon should respond with a deep, hollow sound. If it sounds more like a thud, it might not have reached its peak ripeness. It’s all about finding that perfect melon music.
- Check the Webbing
Now, here’s a trick most folks overlook: inspect the watermelon’s webbing—those brown, scar-like lines crisscrossing its surface. These marks show where bees have touched the flower multiple times. More pollination means a sweeter fruit. In a nutshell, more webbing equals more flavor.
- Let’s Feel the Heft
Ever lifted a watermelon and thought, “Whoa, this feels heavy”? That’s what you want! Pick up the melon. It should feel hefty for its size, like it’s packed with water. After all, a watermelon is about 92% water; its weight is a great indicator of juiciness.
- Size Does Matter (But Not How You Think)
Here’s a common misconception: bigger is better. Not so with watermelons! You’re shooting for goldilocks size—not too big, not too small. What truly matters is picking one that’s the right density; you want it packed tight with sweet goodness.
- Don’t Fear Imperfections
A few bumps and bruises don’t mean disaster. Oddly shaped melons or those with minor surface flaws often turn out to be the sweetest picks. It’s what’s inside that counts!
Imagine slicing into your perfectly picked watermelon, its juice spilling out in anticipation of that first quenching sip. By following these tips, you’re not just picking a watermelon; you’re choosing an experience—a promise of summer’s sweetest treats.
And with that, you’re all set! Next time you’re on a mission to craft the ultimate watermelon juice or looking to snack on watermelon slices, remember these tips. Happy watermelon picking!
((TEXT END))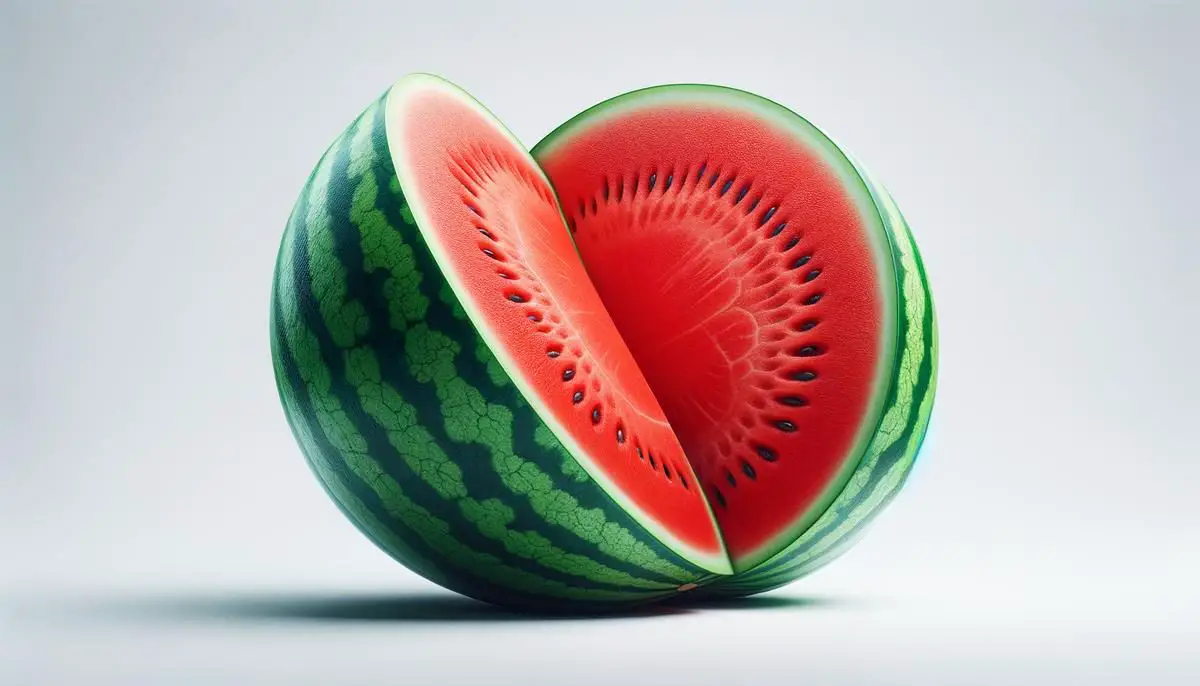
Prepping and Cutting Watermelon
Alright, folks, so you’ve become a savvy selector of watermelons, navigating through the looks, taps, and weights like a pro. Now what? You’re staring down this giant fruit on your counter, and perhaps it’s a bit daunting. Fear not! It’s time to transform that behemoth into delectable juice. Roll up those sleeves – let’s dive into the joyously messy task of prepping and cutting your watermelon for juicing!
First things first, you’re going to want to give that watermelon a good wash. Yep, even though we’re not eating the skin, it’s important! Just a quick rinse under cold water will do, but feel free to use a produce brush if you’re feeling fancy. After all, that rind has probably been on quite the journey to get to your kitchen.
Next step – let’s cut the ends off. Lay that watermelon on its side and grab a sharp knife. Safely, slice a thin piece from each end of the watermelon. This is going to create a flat base for the next part, making everything so much easier (and safer!). Now, stand your watermelon up on one of those flat ends.
Here comes the fun part. We’re going to remove the rind. With your watermelon securely upright, start from the top and slice down the sides, following the curve of the fruit to remove the rind. The goal here is to get rid of all the white part too – that’s the rind you don’t want in your juice.
Once you’re left with just the juicy red flesh (ya know, the good stuff), cut this luscious bounty into strips or slices that are manageable. Then, chop those into smaller chunks. Think bite-sized, but remember, we’re not biting; we’re juicing. These manageable pieces are going to make it easy peasy to blend or squish all that juicy goodness out.
If you have a juicer, your next step is pretty straightforward— toss those pretty pink chunks in there and let the machine work its magic. For those using a blender, fill it up with watermelon chunks, hit that blend button, and watch the magic happen. Just remember, after blending, you’ll want to strain the pulp out to get that smooth, drinkable juice.
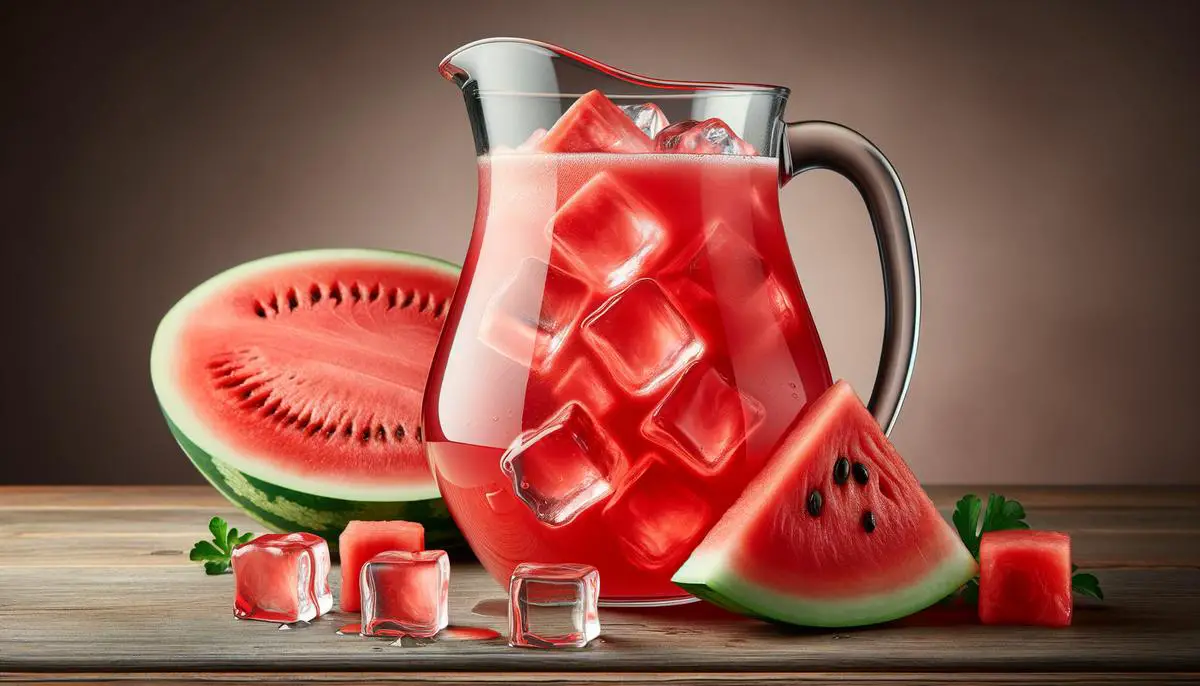
And there you have it! You’re now standing in your kitchen, perhaps a bit more watermelon-splattered than when you started (wear it with pride), with a pitcher of homemade watermelon juice. It’s sweet, it’s hydrating, and oh-so-summery.
Tip: Don’t toss that pulp! It’s great for composting, or better yet—mix it in your next smoothie for an extra fiber boost.
Juicing Techniques and Tips
Alright, dive into the juicy world of maximizing flavor extraction from watermelon, moving past the basics and into the nitty-gritty of juicing techniques that promise to tantalize your taste buds more than ever!
Now, you’ve done all the prep, selected the perfect watermelon using savvy tips, and you’re armed with juicy chunks ready to transform into liquid gold. But hold on, we’re not stopping at just any juicing method. We’re chasing the pinnacle of flavor here!
The secret sauce? A dash of chilling meets pressure – that’s right, cold press juicing meets a little freeze hack. While traditional methods do a decent job, we’re flipping the script to amp up the flavor.
Let’s break it down:
Step 1: The Cold Pre-game
- After cutting your watermelon into juicing-ready pieces, spread them out on a tray lined with parchment paper.
- Pop this tray into the freezer. Here’s the kicker – we’re not freezing them solid. Leave them in there just long enough to get a chill (about 30 minutes ought to do the trick). This semi-frozen state enhances the watermelon’s natural flavors, making the juice more vibrant.
Step 2: The Cold-Press Magic
- Whip out your cold press juicer. Why cold press, you ask? It’s a gentler process than traditional centrifugal juicing, keeping the juice’s integrity, retaining more nutrients, and believe it or not, it boosts the flavor.
- Process your chillaxed watermelon pieces through the juicer. You might notice right off the bat that the texture and color of the juice have a richness about them. That’s the cold press effect mixed with our little freeze trick working its magic.
What If You Don’t Have a Cold Press Juicer?
- Blend your semi-frozen watermelon pieces on a low setting briefly, then crank it up for a few seconds to break everything down nicely.
- To replicate the gentle cold press effect, pour the blended mix through a nut milk bag or a fine mesh strainer over a bowl. Gently press or squeeze to extract the juice, letting gravity do most of the work. Patience is key here – no rush.
Final Tweaks and Tricks
- Consider giving your fresh watermelon juice a brief stint in the fridge before serving. Chilling it just a bit more can elevate the refreshment factor exponentially.
- Wondering about that leftover watermelon pulp? Throw it into your compost bin, or get inventive. Watermelon pulp can add a nice touch to fruit-infused waters, or even better, throw some into your next smoothie for an extra flavor kick.
By employing these methods, not only do you get the most out of your watermelon by extracting every last drop of juice, you also unlock a symphony of flavors that standard juicing methods might leave behind.
So there you have it! Embrace the chill, press gently, and sip your way into sublime watermelon bliss. Enjoy that vibrant, icy-cold glass of watermelon juice, enhanced in a way that promises summer in every sip. Cheers!

By following these tips and techniques, you’ve now unlocked the full potential of enjoying watermelon in its most delightful form. Whether it’s selecting the ripest melon or extracting every flavorful drop for a refreshing juice, these steps ensure that your summer refreshments are as sweet and satisfying as they can be. Remember, every slice and sip carries the promise of summer’s simple pleasures. So go ahead, enjoy your homemade watermelon juice and let each taste bring a smile to your face.