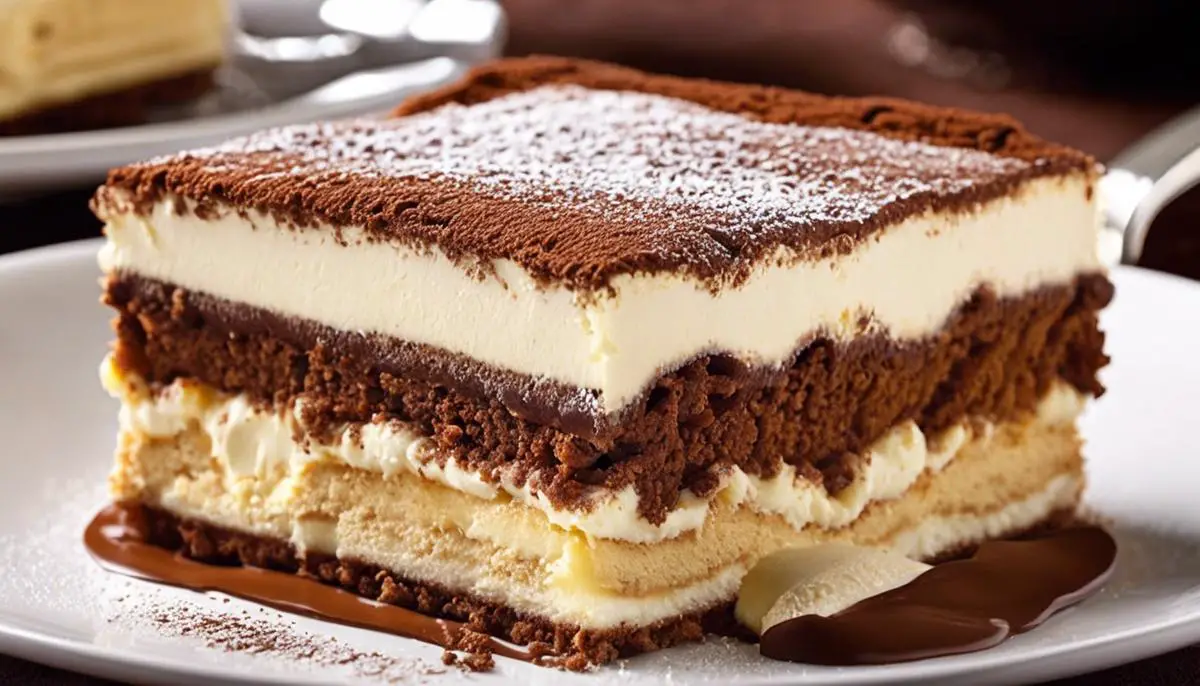
Embarking on a culinary journey to craft the quintessential Italian dessert, tiramisu, is an adventure that tantalizes the taste buds and touches the soul with its rich, indulgent layers. This delightful confection, whose name literally means “pick me up” or “cheer me up” in Italian, is more than just a sweet finale to a meal; it’s an experience that combines the bold flavors of espresso with the creamy, luscious texture of mascarpone cheese. As we gather high-quality ingredients, from the robust espresso or strong coffee that will infuse the ladyfinger biscuits with a deep coffee flavor, to the smooth and tangy mascarpone that forms the heart of this dessert, each element plays a critical role in bringing the authentic taste of Italy to our kitchen. Add to this the structural integrity of crisp ladyfingers, the sweetness of sugar, and the rich dusting of cocoa powder—and you have the foundation of a classic tiramisu that beckons the senses and promises pure gastronomic bliss.
Assembling the Ingredients
A Classic Tiramisu: The Foundations for a Heavenly Dessert
Hey there, fellow sweet-toothed parents and homemaking heroes! Let’s talk tiramisu – that cloud-like Italian masterpiece that turns dessert into an affair to remember. It’s the pick-me-up your dinner party needs and the perfect way to cap off a family feast.
Now, remember, tiramisu isn’t rocket science, but it’s all about nailing those core ingredients. So, let’s break it down into simple, bite-sized steps because who has time for fussy recipes when there are little ones running around and a house to keep sane?
Start with your espresso station, people! Strong brewed coffee is the heart-beat of this dessert, soaking into ladyfingers to give that robust, wake-up-call taste. Embrace those beautiful bitter notes, they’re the deep roots of flavor for our tiramisu tree.
Then you’re going to whisk up the heart and soul of the dessert – Mascarpone cheese, the creamy dream that gives tiramisu its signature lush texture. Think the warm hug from a loved one; that’s what Mascarpone brings to your dessert bowl. You’ll be tempted to eat it straight from the bowl with a spoon, but hold tight – it gets better!
Time to call in the eggs. Yes, friends, eggs are the unsung heroes here, split into yolks and whites, because we’re all about uniting flavors while honoring individuality. Yolks meet sugar until they’re best friends, thick and foamy, and then blend seamlessly with your Mascarpone.
As for the whites, it’s gym time for these, whipped until they stand tall and proud like a kid showing off a tower of blocks. Fold them in gently; this is what airy dreams are made of. No heaviness here, we’re floating in a tiramisu cloud, remember?
Ladyfingers form the bones of this dish – literally translated as ‘Savoiardi’ in Italian, they’re like the little sponge-pillows that soak up all the coffee goodness and support all that fluffy cheese mixture. And let’s not forget the sprinkling of cocoa powder – this isn’t just for looks; it’s like the topsoil, locking in all the flavors and adding a touch of chocolate sophistication.
The finale? A dusting of magic, by magic, I mean the powdery fairy dust of cocoa sprinkled over the assembled masterpiece.
Now, here’s the gotta-know when it comes to tiramisu – you’ve got to let it set. Patience, fellow parents and peacekeepers of the playroom, let the fridge do the heavy lifting as flavors bond in a sweet symphony.
So, grab your whisk and let the tirade of tiramisu making begin. Remember folks, the joy is in the creation as much as in the devouring. Happy stirring, happy layering, and oh, happy tasting – your classic tiramisu is waiting to be the star of your next family event!
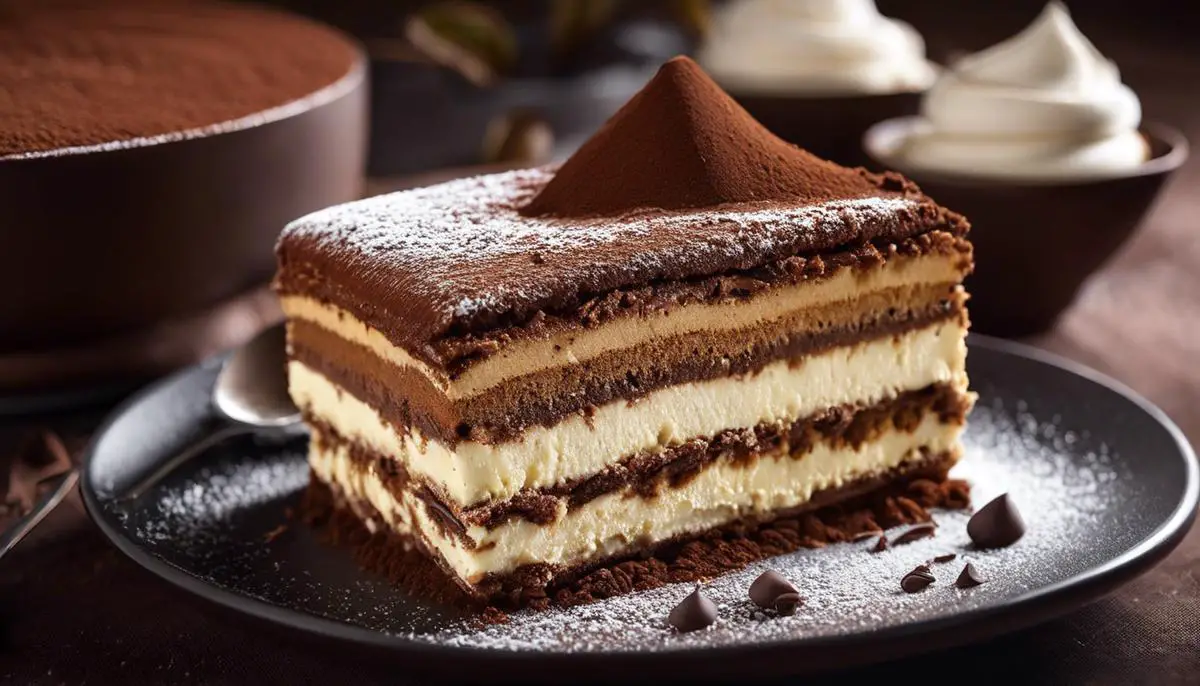
Layering the Tiramisu
Crafting a Tiramisu That’ll Make Your Taste Buds Sing
Ah, tiramisu! This classic Italian stunner is a symphony of coffee-soaked ladyfingers and creamy, dreamy Mascarpone magic. And when it comes to layering everything just right for that quintessential tiramisu experience, well, it’s like putting together the pieces of a delightful puzzle where every layer harmonizes with the next. Ready to ace this dessert? Let’s stack up those layers!
First things first, let’s talk assembly. You’ll need a clear dish or a trifle bowl – you know, something that lets you and your guest’s peep at all those gorgeous layers. It’s not just for the “oohs” and “ahhs”; this also helps to see the distinct layers as you build – a little secret for eyeballing your masterpiece.
So, we’ve gabbed about the Mascarpone’s silkiness and the sturdy sponge of the ladyfingers, but let’s dive into the layer-by-layer lowdown. Here’s how to create that tiramisu texture everybody craves:
Savvy Layering Tips for Tiramisu Champions:
- Begin with a Thin Mascarpone Blanket: Spoon out some of your Mascarpone and egg mix to create a thin coverage on the bottom of your dish. Think of it as laying down a cozy rug for those ladyfingers to rest on.
- Dunk Those Ladyfingers Like a Pro: Take ladyfingers, and one by one, roll them in that strong coffee. Let each soak for no more than a couple of seconds – they need to be damp but not drenched. You’re aiming for a soak-up without a break-up!
- Cosy Ladyfinger Linup: Line those coffee-hugged ladyfingers snugly as you would tuck in your little ones. No gaps – you want a seamless coffee-kissed base.
- Here’s the Fluffy Middle: Now, lavish that ladyfinger layer with a generous Mascarpone blanket. Gently spread the cheese mixture evenly, teasing it to the edges. That’s your middle tier, as fluffy as a cloud.
- Repeat for Reach: Again, with the coffee-bathed ladyfingers, closely followed by another creamy layer. Aim for at least two layers of each, but if your dish is tall and your heart sings for more, by all means, stack ’em up high!
- The Cocoa Crown: Once your layers are set, it’s time for the crowning touch – a dusting of cocoa powder. Use a little sieve to sprinkle it evenly. It’s like a soft chocolate snowfall atop your tiramisu mountain.
- The Patience Game: Now, the hardest part – the chilling. Let your tiramisu chillax in the fridge. It’s a patience-tester, but oh, the wonders it does for those flavors and textures! A few hours or overnight, and you’ll have a dessert that’s firmed up beautifully, ready to enchant.
Digging into that first spoonful, where the soft sponge hugs the rich Mascarpone, dusted with just enough cocoa… it’s a moment! And sure, tiramisu is more of a grown-up affair with that coffee and all – but hey, it might just make your little ones want to grow up a tad quicker!
There you have it! Layers upon layers of tiramisu perfection. Enjoy the process, the aroma, and eventually, that first exquisite bite. Here’s to tiramisu that’s not just a treat – it’s a work of art.
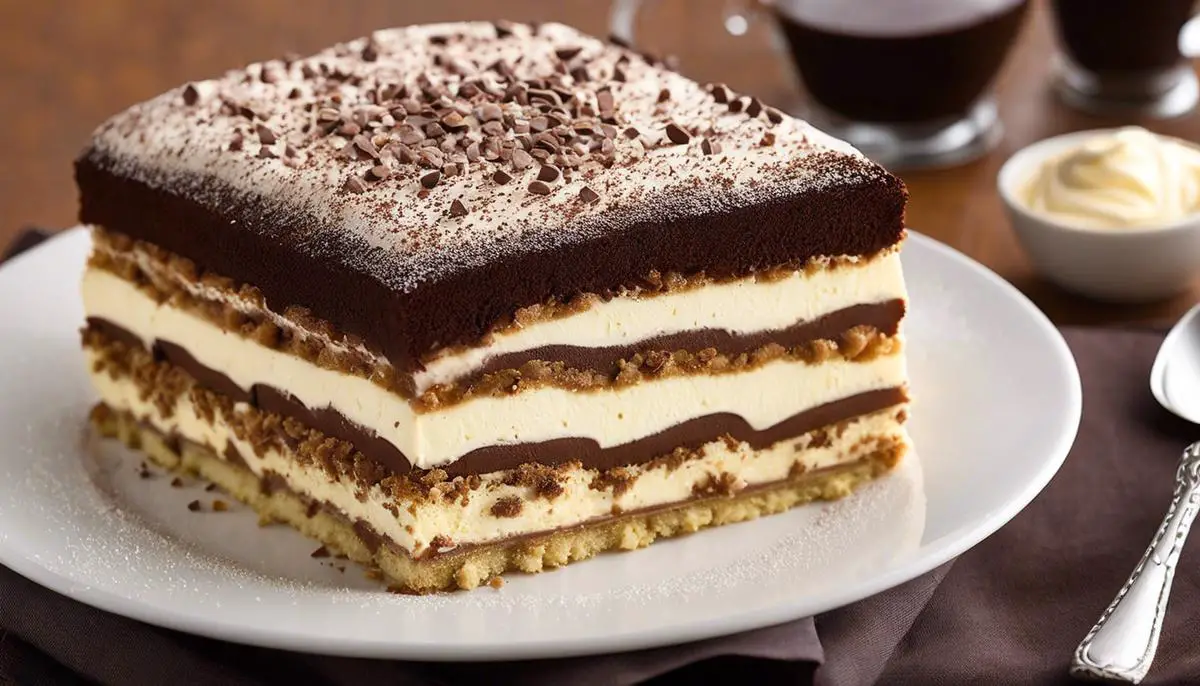
Chilling and Serving
Attention all tiramisu aficionados! Are you gearing up to dazzle your taste buds with the ultimate Italian dessert experience? Perfecto! But let’s not forget one critical step in your tiramisu journey – the chill time. Trust me, patience here is definitely a virtue, and rushing could mean missing out on the symphony of flavors tiramisu is famous for.
When it comes to tiramisu, time is indeed your secret ingredient. It’s that pause that allows each component to sink into a harmonious blend. Ah, the anticipation!
So, here’s the lowdown: Once your layers of love – espresso-soaked ladyfingers, cloud-like mascarpone, and that final sprinkle of cocoa heaven – are set, your tiramisu needs a chill session. Aim for a minimum of 24 hours in the fridge. Yes, you heard it right, a whole day! But hey, the best things in life are worth waiting for, right?
This cooling hiatus transforms your tiramisu from good to ‘mamma mia’ great! It’s the time given to those flavors to cuddle up, get cozy, and really get to know each other. We’re talking about a depth of flavor that only time can provide – each layer exchanging sweetness, creaminess, and a java kick that’ll send your senses hopping.
But why stop at 24 hours, you ask? Well, if you’re the planning type, a 48-hour stint will make your tiramisu even more spectacular. The flavors don’t just develop; they mature, melding together so beautifully that every bite feels like a Venetian gondola ride through a canal of creamy deliciousness.
Remember, good things come to those who wait. And as you finally unveil your tiramisu masterpiece, just envision the oohs and aahs, the wide-eyed wonder of your fellow dessert lovers as they dive into this timeless treat. So pop that tiramisu into the fridge, kick back, and let time work its magic.
Now, aren’t you glad you took a moment for your tiramisu to blossom fully? Get ready to bask in the glory of your chilled-to-perfection creation. Because soon, very soon, it’s going to be showtime for your spoon! And when that moment comes, take a dollop, savor it, and know that every minute of chilling was absolutely worth it. Enjoy, and remember, the wait makes the flavors all the sweeter!
Having journeyed through the intricate process of creating tiramisu, from meticulously sourcing the finest ingredients to mastering the art of layering, we can now appreciate the harmony of flavors and textures that characterize this beloved Italian dessert. As each silky layer contributes to the lush complexity of tiramisu, we recognize the beauty in the simplicity of its components. Whether you choose to savor it as a celebration of tradition, or as a comforting treat to elevate the everyday, let the impeccably chilled and set tiramisu stand as a testament to the timeless allure of Italian dolce vita. With the final dusting of cocoa casting a velvety veil over the confection, every spoonful offers an escape into the sweet serenity of culinary craftsmanship at its finest.