Whipping up a batch of sugar biscuits is more than just mixing ingredients; it’s about creating moments of joy and sweetness that linger. From the soft butter to the final sprinkle of flour, every step is a testament to the love and care poured into baking. This article will guide you through crafting those delightful treats, ensuring each bite brings a smile. So, let’s get started on this sweet adventure together.
The Perfect Dough
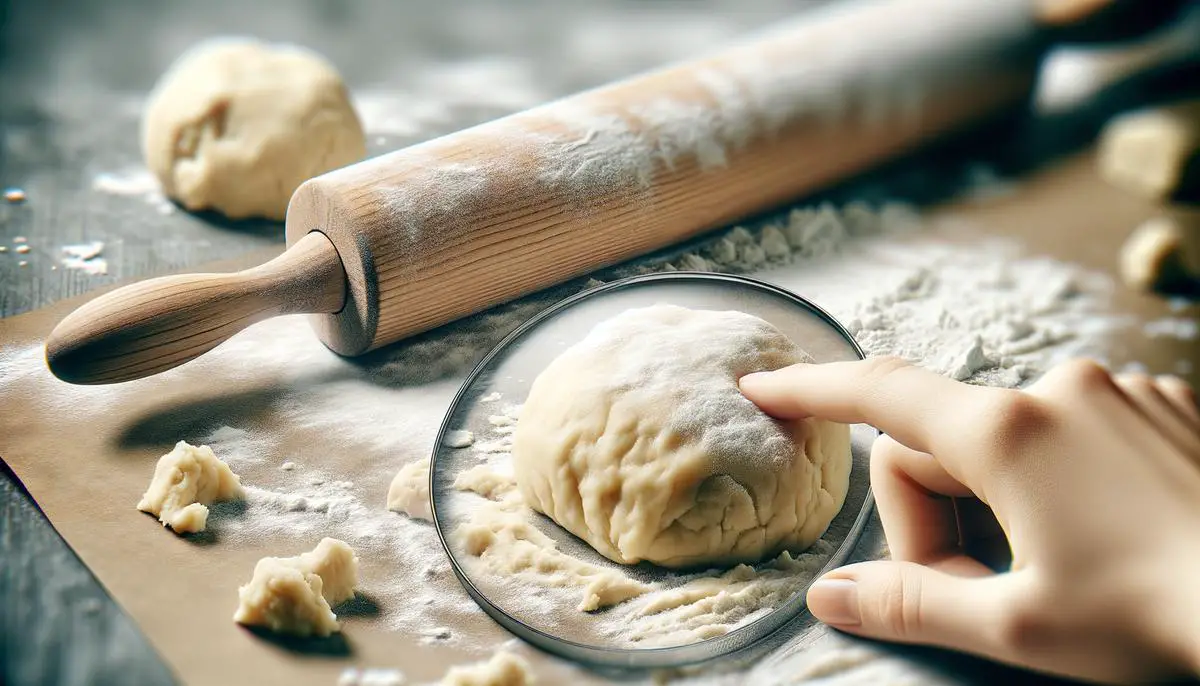
Making the Perfect Sugar Biscuit Dough
Whipping up a batch of sugar biscuits is like a hug for your soul. It’s the perfect melody of sweetness meets satisfying crunch. But let’s be honest, making that flawless dough can be a bit of a culinary dance – precise, and when you nail it, oh-so rewarding. So, put on your apron, and let’s dive into making the dough that turns into those little discs of joy.
Ready? Let’s make some sweet, sweet magic happen.
For Your Dough:
Ingredients:
- 1 cup (225g) unsalted butter (make sure it’s softened like a pillow in the sun)
- 1 cup (200g) granulated sugar
- 1 large egg (it’s the binder, the dough whisperer)
- 1 tsp vanilla extract (pure magic in a teaspoon)
- 3 cups (360g) all-purpose flour (the foundation of it all)
- 2 tsp baking powder (the little lift that could)
- ½ tsp salt (because sweetness needs its opposite to truly shine)
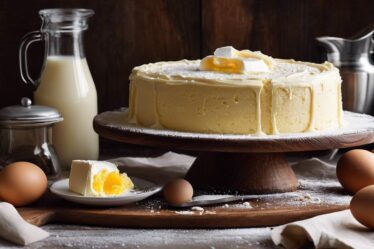
Mixing Up Sweetness:
- Start by creaming together your soft butter and sugar in a large bowl. You’re going for pale and fluffy, like a cloud made of butter. A hand mixer or a stand mixer, on medium speed, will be your best friends here.
- Crack in the egg and pour in that splash of vanilla extract. Mix them into the cloud. It’ll become the smoothest, sweetest cloud you’ll ever see.
- Now, let’s make it rain flour. In another bowl, whisk together your flour, baking powder, and salt. It’s like making a mini-flour storm.
- Gradually add your flour storm to the butter cloud. Do it slowly; we’re not in a rush. Take your time and watch the magic as it turns into a beautiful dough.
- Once all mixed, give it a final love-knead with your hands. It should be soft but not sticky, like playdough you can’t stop playing with.
Shaping your Masterpieces:
- Divide the dough in half. Flatten each into a disk – think frisbees but tastier.
- Wrap them up in plastic wrap like little precious presents and chill in the fridge. Give them at least an hour; they need their beauty sleep.
Roll, Cut, Bake:
- After their nap, roll out one disk on a floured surface until it’s about 1/4 inch thick. Go for the thickness of a coin, but not as hard.
- Cut into whatever shapes your heart desires. Stars? Bunnies? The inevitable mis-shaped blob that’s ‘just for testing’? You do you.
- Gently whisk these onto a baking sheet lined with parchment paper—no sticking allowed.
- Bake in a preheated oven at 350 degrees Fahrenheit (that’s about 175 degrees Celsius) for 8-10 minutes. You’re looking for just a kiss of golden around the edges.
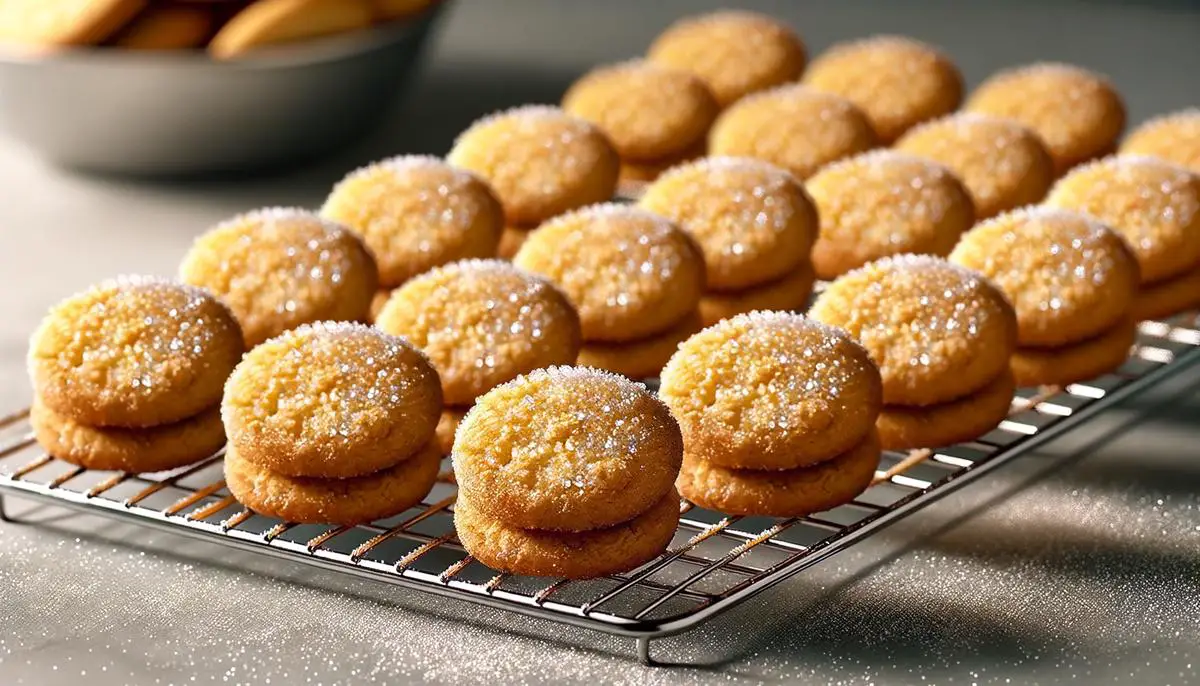
- Let them cool on the baking sheet for a minute before transferring to a wire rack. Like a biscuit spa.
And there you have it! The dance to making the perfect sugar biscuit dough is complete. Whether they come out looking like a Pinterest fail or a bakery-worthy masterpiece, remember – it’s all about the journey (and the nibbles along the way). Enjoy, you splendid baker, you!
Rolling and Cutting
So, you’ve danced through the first few elegant steps of crafting the perfect sugar biscuit dough, giving your kitchen the irresistible aroma of buttery bliss. Now let’s dive into the thrilling part – rolling and cutting your biscuit dough into the cutest shapes imaginable. Hold on to your rolling pins, folks, because we’re about to get rolling!
First things first, snatch that dough out of the fridge. It’s had a nice chill; now it’s ready for action. Plop it onto a lightly floured surface – think of it as your dough’s stage, ready for its performance. A sprinkle of flour is your dough’s best friend here; it keeps things from getting too sticky. And who wants a sticky situation, right?
Now, the rolling pin enters the scene. Don’t be shy; give your dough a firm but gentle roll. Work from the center outward, maintaining an even pressure. Rotate your dough now and then to ensure it doesn’t stick and to keep that thickness uniform. You’re aiming for about 1/4 inch thick – not too thin, not too chunky, just perfect.
Think of yourself as an artist, and this part of the process is where your creativity shines. Dive into your collection of cookie cutters. Stars, hearts, unicorns – pick whatever tickles your fancy! Press your chosen cutter into the dough with a gentle but firm pressure, rocking it slightly to ensure a clean cut. It’s like magic watching these shapes come to life.
But what about the dough scraps? Waste not, want not! Gather them up gently into a ball and roll them out again. More shapes await their creation from these humble beginnings.
Next, with the grace of a seasoned pastry chef – or let’s be honest, anyone who’s been excited by Play-Doh as a kid – transfer your shapes onto a baking sheet lined with parchment paper. They need a little bit of room to breathe, so keep them an inch apart.
Once your oven is preheated (you didn’t forget, did you?), slide those trays in and watch the magic happen. This is like the finale of a spectacular show – the crescendo where everything comes together.
And there you have it! You’ve rolled and cut your way to sugary stardom. With biscuits looking so inviting and pretty, they might just earn a permanent spot in your baking repertoire. But remember, it might take a rehearsal or two to perfect. The path to biscuit brilliance is filled with fun, and hey, even ‘mistakes’ taste delicious. Now go forth and bake your heart out!
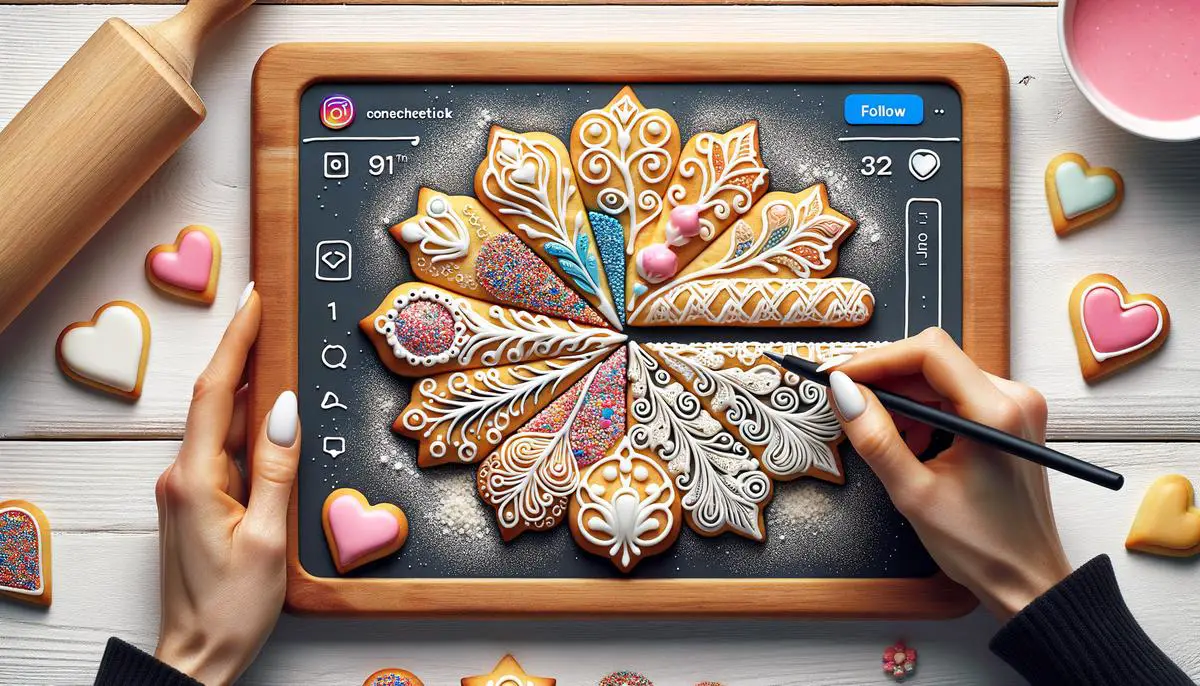
Decoration Techniques
Now, let’s move swiftly onto making those biscuits shine because let’s face it, everyone loves a cookie that looks as good as it tastes. Decorating sugar biscuits like a pro isn’t rocket science, but it sure requires a pinch of patience, a dash of creativity, and the right techniques. Here’s how to glam up those baked goodies and make them party-ready.
For the icing adventure, you’ll need these supplies: royal icing, food coloring, piping bags, and an assortment of piping tips. Oh, and don’t forget a toothpick or a scribe tool for those intricate details.
Making Royal Icing
- In a clean bowl, whisk together 2 cups powdered sugar, 2 tablespoons meringue powder, and about 5 tablespoons of water. Aim for the consistency of toothpaste for outlining and the texture of thick syrup for flooding the surface. Yeah, precision is key here.
- Diving into the world of colors, add food coloring to your icing. Remember, a little goes a long way. Start with a tiny bit and work your way up until you get the hue that makes your heart sing.
- Transfer the icing to piping bags fitted with your chosen tips. The small round ones are perfect for precise outlines, and the bigger ones or a simple cut at the tip can work wonders for flooding.
Outlining & Flooding
- Start by outlining the edges of your biscuit. A steady hand and confidence are your best friends here. Think of it as drawing the borders on a map, tracing the shape neatly.
- Next step: flood the insides. Fill the area within the outline with a more fluid version of your royal icing. Use a toothpick or scribe tool to nudge the icing into nooks and crannies, ensuring an even layer.
- Allow the icing to dry fully. This could take several hours or as much as overnight. Patience, young grasshopper.
Adding Details
- Once the base layer is completely dry, unleash your inner artist. Use icing of different colors to pipe on decorations, patterns, or words. Flowers, polka dots, stripes – the sky’s the limit.
- For a simple yet elegant touch, consider drizzling or splattering food-coloring mixed slightly with water over the cookies. It gives them an artisanal look with minimal effort.
- If you’re all about that bling, edible glitter or gold leaf can be your finishing flourish, adding that wow factor eve everyone craves.
Drying & Protecting
- Finally, allow your artworks to dry completely, away from dust or humidity. Once dry, these beauties are ready to sparkle at any gathering or to be tucked away in cookie jars or gift boxes.
Step back, admire your work, and maybe even snap a pic for the ‘gram. Baking and decorating biscuits is not just about following a recipe – it’s about adding a smidgen of love and heaps of imagination into every batch. So there you have it, folks, getting your sugar biscuits from plain Jane to absolutely stellar isn’t as daunting as it might seem with the right tricks up your sleeve. Happy decorating!

As we wrap up our baking adventure, remember that making sugar biscuits is not just about following a recipe; it’s an expression of creativity and joy. Each biscuit you bake carries a piece of your heart, from choosing the shapes to adding those final touches of decoration. So wear your apron with pride and share these little discs of happiness with the world. After all, every cookie tells a story – your story – filled with sweetness and love.