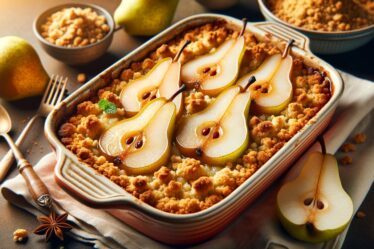
Picture this: A vibrant, crunchy, orange Sugar Pie pumpkin waiting to be transformed into a warm, delicious, and comforting pumpkin pie. As we take you through an informative journey of pie making, you’ll understand that creating a piece of this spectacular dessert is more than just baking. This step-by-step guide will introduce you to a world where the quality of the pumpkin matters, the secret to a flaky crust lies, and the balance of flavors and textures await. The art of making a pumpkin pie from scratch is truly a holiday delight, one spice, one stir, one bake at a time.
Selecting and Preparing the Pumpkin
Picking the Perfect Pumpkin for Your Pie: A Foodie’s Guide
Yearning for that classic autumn dessert, the humble pumpkin pie? Not all pumpkins make juicy fillings though. Selecting the right pumpkin is an art, a delightful journey commanded by a food connoisseur. It’s an integral part of the culinary adventure, akin to picking a fine bottle of wine to accompany a dinner, or cherry-picking fresh ingredients for a gourmet recipe.
Most will promptly point to their generic Halloween pumpkin, a sizable orange beauty – the Jack-O’-Lantern variety. Tempting as they might be due to their widespread availability and impressive size, resist the urge! They may be ideal for carving spooky faces, but these sizeable squashes are not the “pie” sort. They are typically watery, stringy and lack the mesmerizing flavor we seek for our pies.
Food lovers revel in the knowledge that the best pumpkins for pies aren’t the largest but the more compact, sweet-tasting ones, often labeled as “sugar pumpkins” or “pie pumpkins”. These culinary gems provide the creamy goodness that culminates in an unforgettable dessert, leaving your taste buds yearning for more.
Before embarking on your pumpkin hunt, it’s essential to know what to look for. A sturdy, even-colored exterior, unblemished and free of cuts or soft spots, is your first hint at a potentially great pie-making pumpkin. Its skin should be consistent, and without any signs of mold, especially around the stem.
A perfect pie pumpkin should feel solid and heavy for its size – a sign that it’s not hollow or dried out inside. The magic is in the flesh. It should be dense, bright-colored and – the pièce de résistance – bursting with sweet flavors.
A united rule among culinary aficionados states: the darker the pumpkin, the higher the sugar content and the more concentrated the flavor. Therefore, opt for a pumpkin with a deep orange hue to amplify the rich flavors in your pumpkin pie.
In an unforeseen turn of events, if you find a few nicks or scrapes on an otherwise perfect pumpkin, do not fret! These minor flaws can often be overlooked as they generally do not affect the divine flavor hidden within that rugged exterior. However, large blemishes or discolorations may suggest underlying rot or disease. In this case, remember that there’s always another pumpkin waiting to grace your pie.
Selecting the right pumpkin is the first step in the flavorful journey of making a perfect pumpkin pie. A well-chosen pumpkin, coupled with the right blend of spices and love for culinary artistry, can transform pie-making into a gastronomical celebration.
A pie baked with an expertly chosen pumpkin possesses an enchanting aroma and a rich flavor profile not even the finest of pumpkin spice lattes can mimic. So, go ahead and start your autumn culinary journey, and remember: when it comes to pie-making, perfection starts at the pumpkin patch. Happy baking!
Creating the Perfect Pie Crust
The Basics of Perfect Pie Crust: The Foundation of Every Great Pumpkin Pie
Ahhh, the beauty of pie crust. As important to a divine pumpkin pie as the pumpkin itself, each ingredient takes part in the grand ballet of intermingled tastes and textures. The foundation of every great pumpkin pie, a well-crafted crust can set your dessert apart from all others at the table.
What, then, does it take to create a pie crust worthy of your meticulously chosen pumpkin? Let’s dive into culinary exploration, getting up to our elbows in flour and butter. As with any culinary creation, the magic lies in the balance of its components: flour, fat, liquid, and salt.
Flour is more than just an ingredient in pie crust; it’s the very canvas on which we paint our culinary masterpiece. All-purpose flour is usually the go-to. However, pastry flour, with its lower protein content, can make the crust even fluffier and more tender.
Then comes fat. Whether you swear by the flakiness provided by butter, the structure provided by shortening, or a blend of the two, it should be cold. Why so? Because when those tiny bits of cold fat melt as the crust bakes, they leave behind air pockets. And air pockets mean flakiness.
Salt brings its not-so-secret power of enhancing flavors to the table. Just a pinch, mind you, but that pinch is critical. It underlines the butter’s creaminess and gives depth to the crust’s overall flavour palette.
Last but not least is our liquid. For most, this takes the form of ice-cold water. But don’t overlook the special touch that can come from using chilled vodka, apple cider vinegar, or even milk for a richer crust.
So, metal forks at the ready! To make our pie crust, we need to start by combining our salt and flour in a big bowl. Then cut your fat into tiny pieces and work them into your flour-salt mixture until it looks like coarse breadcrumbs. No food processor for this—we’re going old school with our hands or a classic pastry cutter.
Next, we drizzle in our chosen liquid, gently stirring until the dough just comes together. Certainly avoid overworking the dough or you will end up with a tough crust.
After this, we shape our dough into a flat disk, wrap it in cling wrap, and refrigerate it for at least an hour. This part is essential. It gives the fats a chance to harden again, which is key for a nicely flaky crust.
The rolling out process is next. Light flour on the counter, and a slow, steady hand with the rolling pin will get it just the right thickness – usually about 1/8-inch.
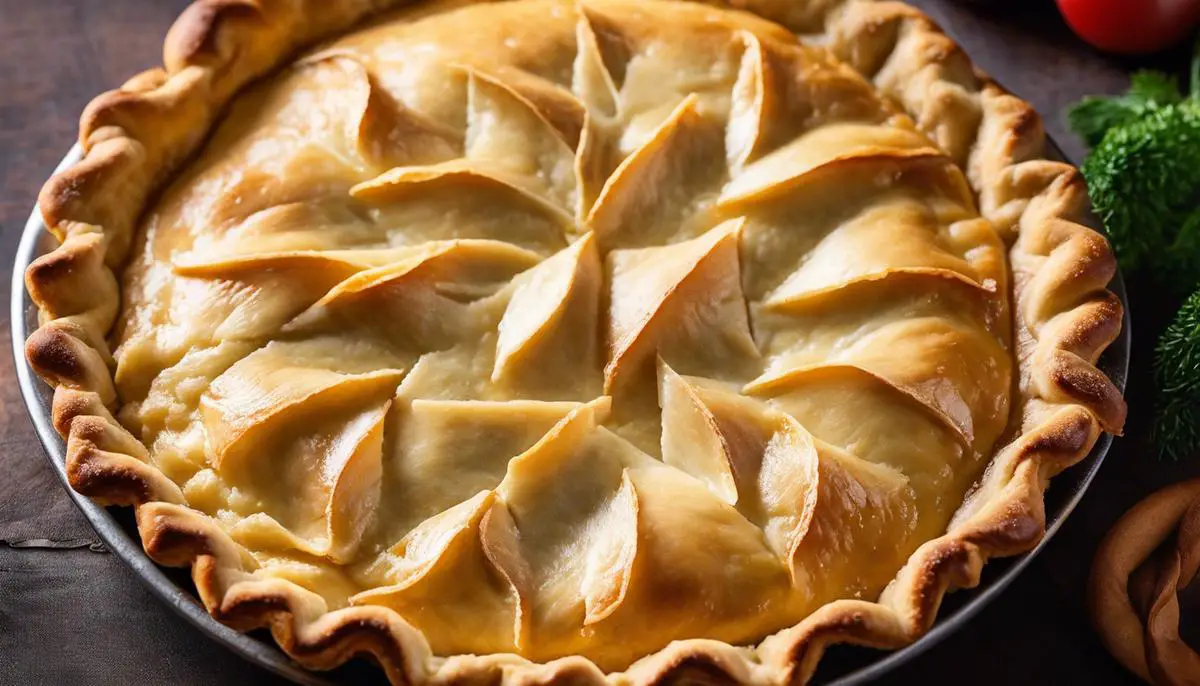
Finally, there comes the exciting part: transferring your crust to the pie plate, crimping the edges, and blind baking it if needed. Perhaps it could be a frilly, fancy design or a classic, rustic look; it will simply depend on the baker’s whim.
So here’s to the adventurous spirit of home baking! Because when all is said and done, it’s not just the final product that brings joy: it’s the dance of flour and butter underneath your fingertips, the sweet anticipation as your crust bakes, and the proud sense of achievement that comes with a pie crust done right. Happy baking!
Making and Baking the Pie
Now that we’ve covered the intricacies of picking the perfect pumpkin and crafting a stellar pie crust, it’s time to dive into the heart of our pumpkin pie – the filling. This is where the magic happens, where spices and sweetness join forces to create a blissful marriage of flavors that perfectly captures the warmth of the season.
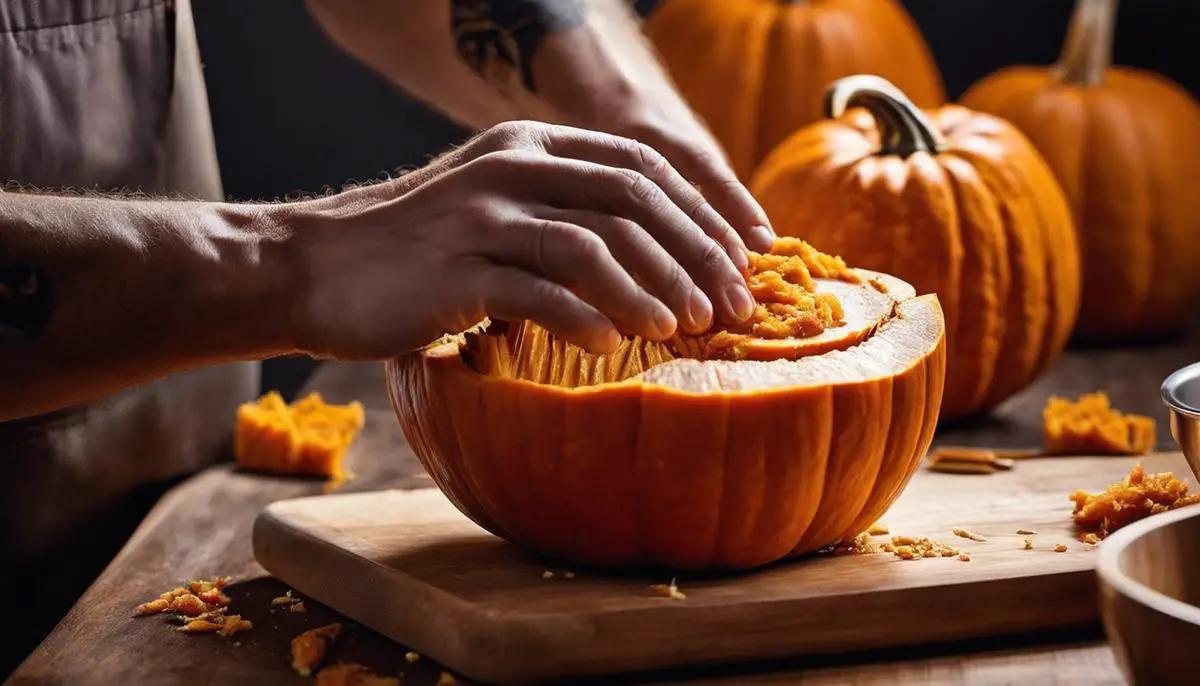
First off, we’ll need to cook our chosen pumpkin. Doing so releases its natural sweetness, softens its flesh for pureeing, and evaporates excess moisture that could interfere with the pie’s texture. This can be achieved by roasting the pumpkin in halves face-down on a baking sheet at 400°F until fork-tender, usually 45 to 50 minutes. Once cooled, the pumpkin’s flesh should be easily scooped out.
The next step involves pureeing the pumpkin until it’s silky smooth. This can be done in a food processor or blender, but that’s not the end of the story. The puree should be cooked over medium heat for about 15 minutes until excess moisture is evaporated, concentrating the squash’s flavors and making it perfect for pie. This key step will make a major difference in the end result.
Now, turn your attention to the symphony of flavors that will make your pie filling sing. This typically includes a blend of cozy spices: nutmeg, cinnamon, ginger, cloves – but feel free to experiment! Brown sugar elevates the natural sweetness of the pumpkin, while eggs add richness and provide structure. A blend of evaporated milk and heavy cream rounds out the filling with dairy’s creamy, luscious mouthfeel.
Once you’ve whisked these ingredients together, marvel at the fragrant, custardy concoction you’ve created. Its smooth, velvety texture and warm, spiced scent suggest the sensory delight to come.
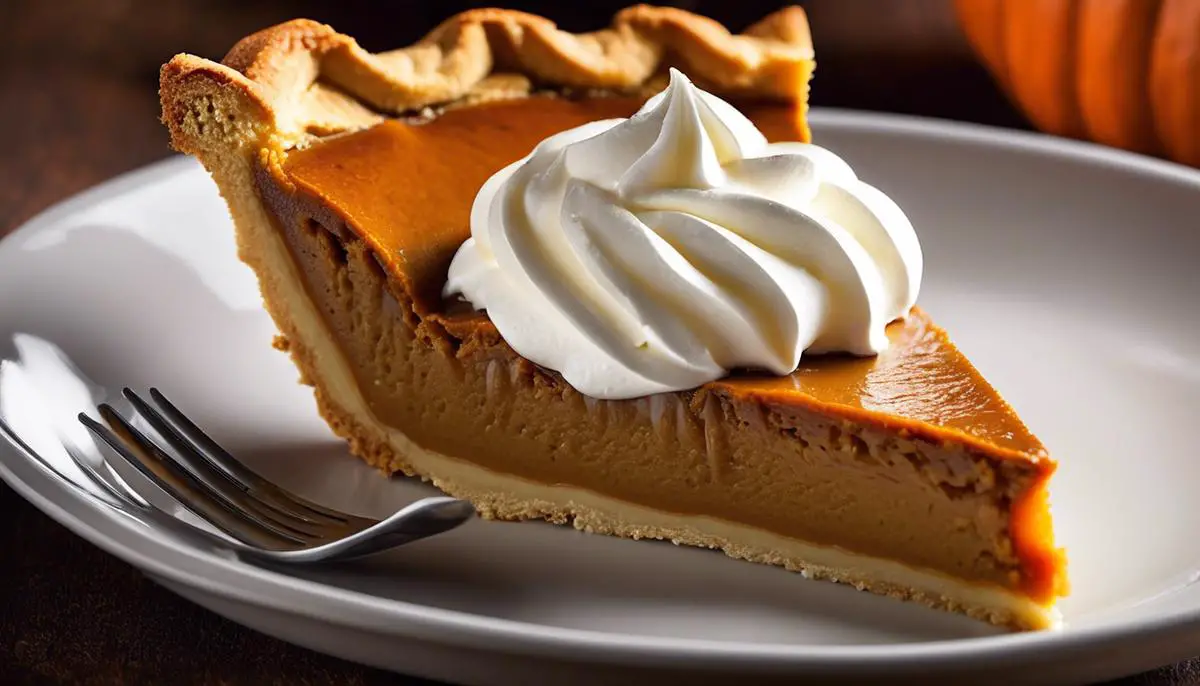
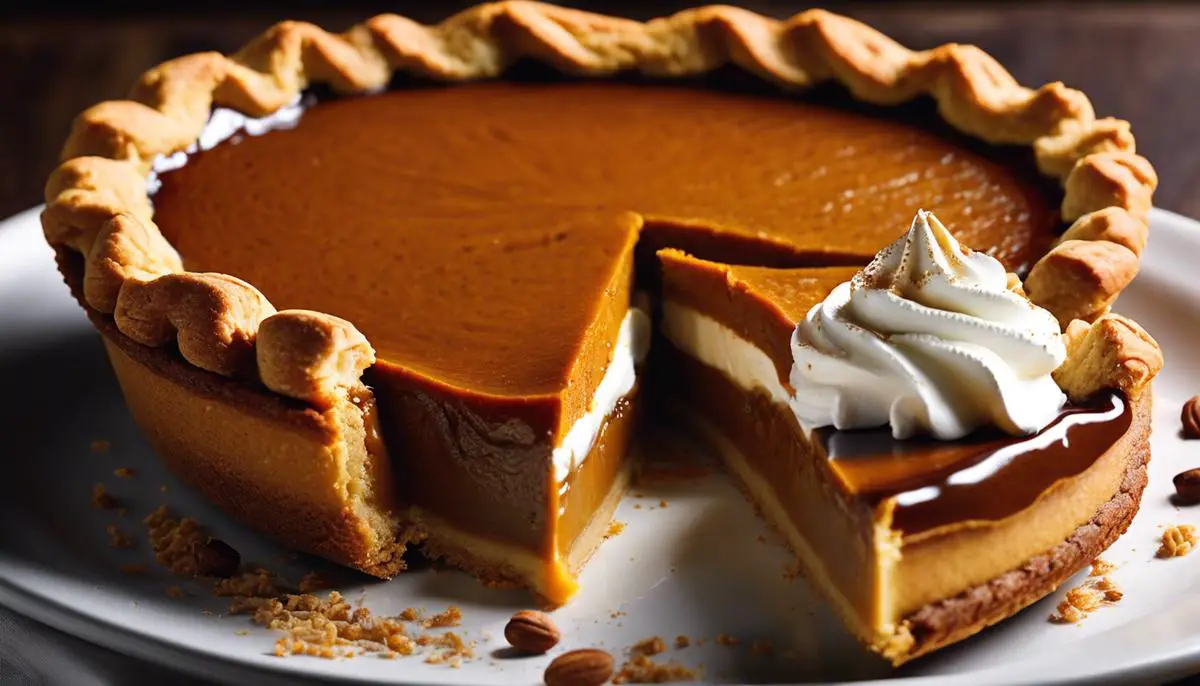
Then, into the pre-baked crust it goes. Having been prepared in advance, your crust will perfectly hold the filling and support its transformation in the oven. A good guideline for baking is about 375°F for 50 minutes, but all ovens can differ slightly so keep a keen eye! The pie is ready when the middle is still slightly wobbly, but the filling is set and slightly puffed at the edges.
It is crucial to let the pie cool completely before serving. This resting period allows the custard to set, making the pie easier to slice and improving its texture.
Making the pumpkin pie mixture and baking it is a joyful dance of flavors, techniques, and instincts, truly building on every bit of culinary flair and whimsy. It’s the step-by-step journey through wiping the misty fog off the pumpkins at the farm, blending butter into flour to create tender flakes, and swirling the symphony of spices into creamy pumpkin puree that makes this autumn staple, not just a dessert, but a rite of passage every food lover should experience. And, the reward is indeed a slice of heavenly and homely nostalgia, one that reminds us why we love to cook…and eat!
As we wrap up the culinary adventure of transforming a humble Sugar Pie pumpkin into a celebrated dessert, it’s time to appreciate the simplicity of ingredients and the complexity of flavors that unveils in every bite of a homemade pumpkin pie. The process of selecting the right pumpkin, crafting an impeccable crust, and turning simple pantry staples into a rich, creamy filling is truly a labour of love. Understand, embrace, and enjoy this traditional baking experience to create more, appreciate more, and impress even more. Here’s to many more baking journeys, one pie at a time.