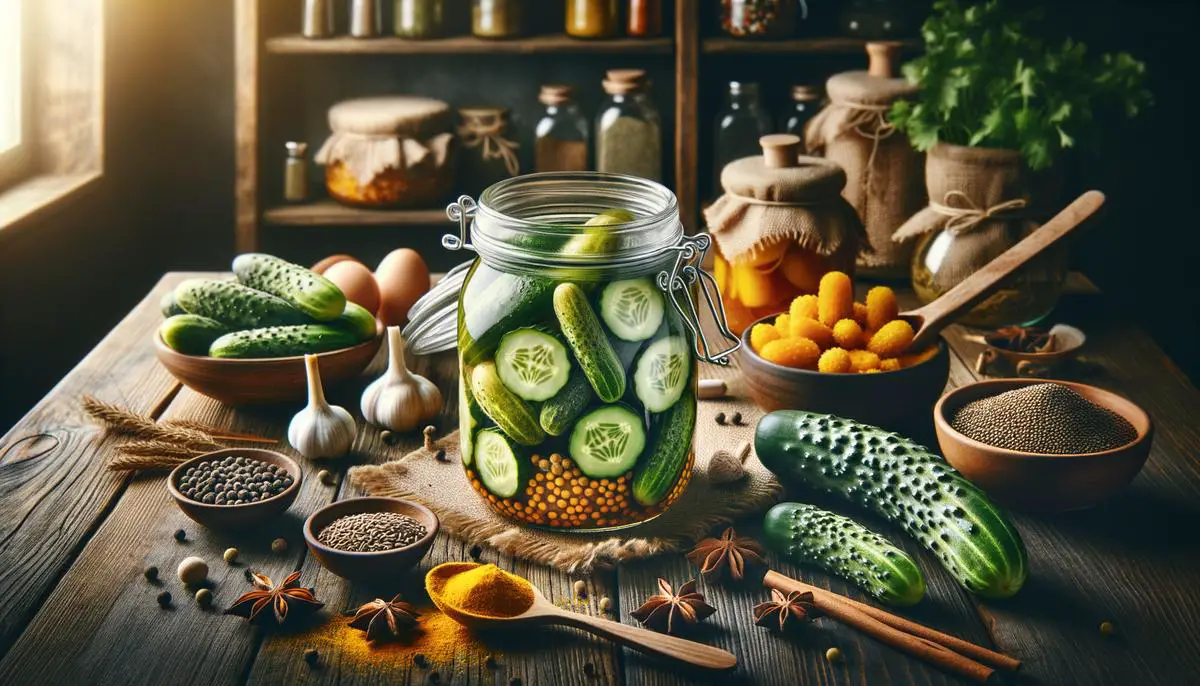
Pickling cucumbers is an enjoyable way to transform cucumbers into a tasty, crunchy snack. The key to making the perfect pickle starts with selecting the right cucumber. This guide will help you choose cucumbers that will improve your pickling results, ensuring each bite is satisfying.
Selecting the Best Cucumbers
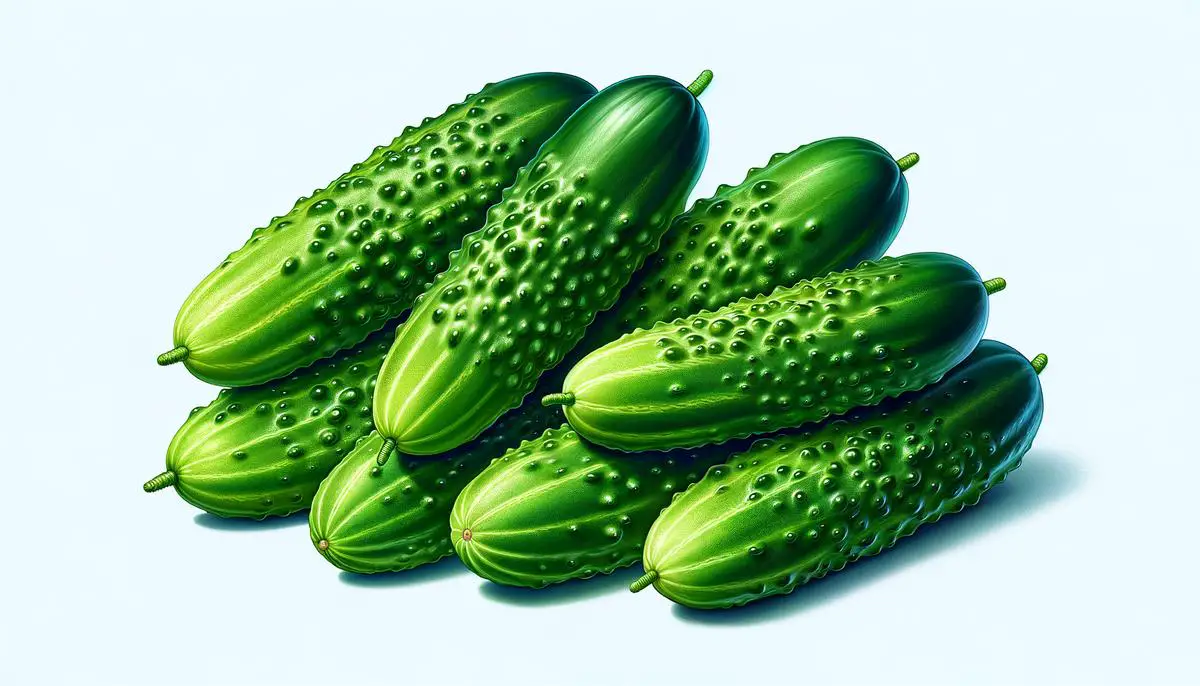
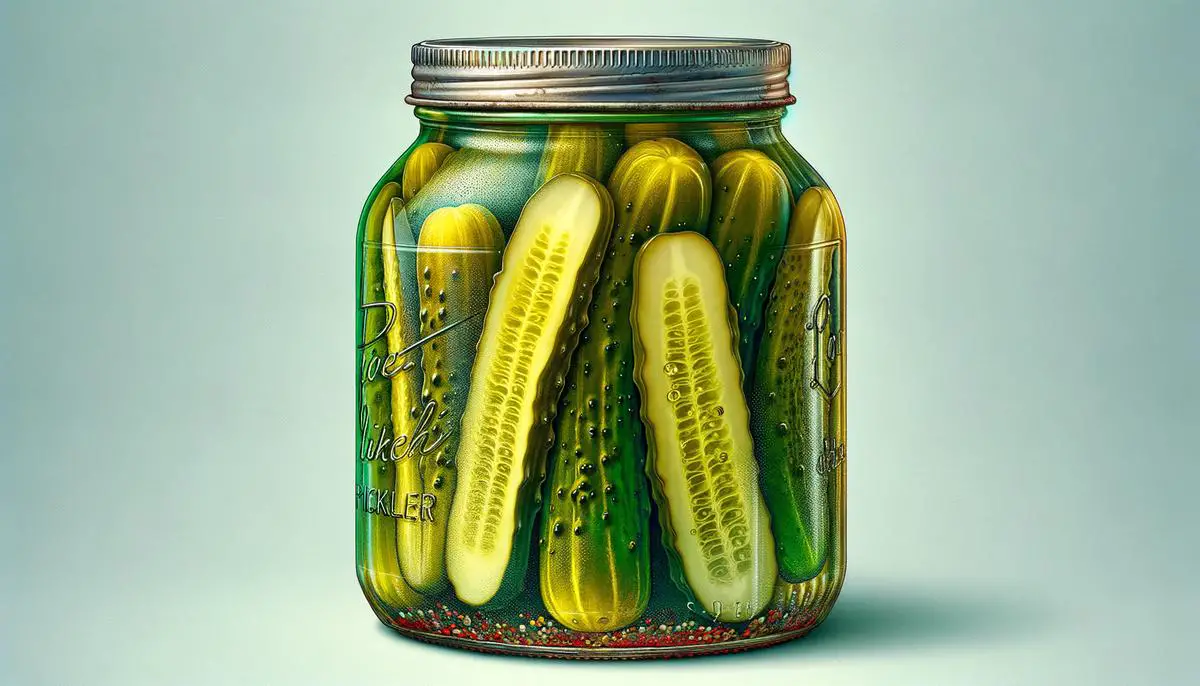
When it comes to pickling cucumbers, smaller is typically better. These little guys, often labeled as "pickling cucumbers," pack in fewer seeds and less water than their larger counterparts, which means they end up crunchier once pickled. Aim for cucumbers that are no thicker than an inch in diameter and about four to six inches long. This size is just right for fitting into jars and getting that perfect pickle bite.
You'll want cucumbers with bumpy, rather than smooth, skin. This isn't just a visual preference—these bumps indicate a firmer texture which holds up better during the pickling process. Smooth-skinned cucumbers, like the ones you'd toss into a salad, tend to soften up a bit too much when pickled.
Fresh cucumbers are important for the best-tasting pickles. Look for bright green skin without any yellow spots or blemishes. The cucumber should feel firm throughout, without any soft spots. And if the cucumber still has its blossom end (that's the side opposite the stem), make sure it's not too dried out—this is another indicator of freshness.
Gently squeeze your cucumber in the middle to check for firmness. If it feels solid and doesn't give under slight pressure, it's a good choice. If it feels hollow or soft, it's likely overripe and not the best option for your pickles.
Choose cucumbers that haven't been waxed—a common practice for cucumbers destined for the salad bowl but bad news for picklers. Wax prevents the pickling brine from penetrating the cucumber.1 Also, keep your cucumbers cool after buying. If you can't pickle them right away, store them in the refrigerator to keep them fresh.
By following these tips, you'll be well on your way to creating perfect pickles, full of flavor and satisfying crunch that's the hallmark of a well-pickled cucumber.
Creating the Perfect Pickling Brine
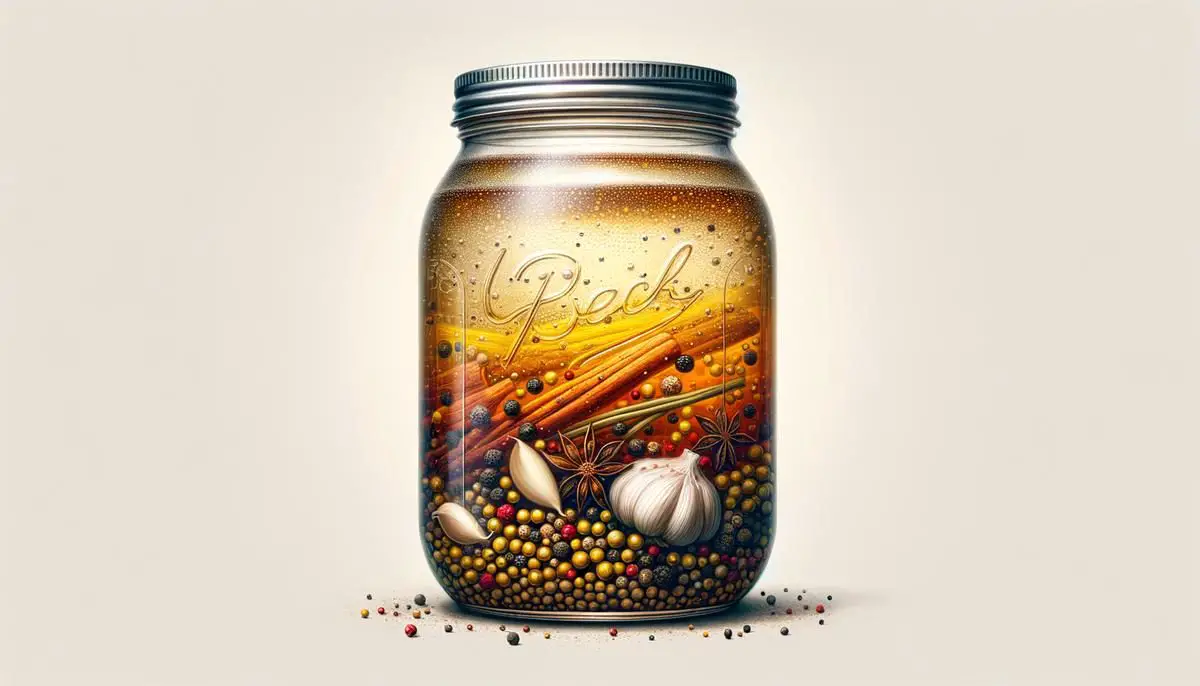
When making the pickling brine for bread and butter pickles, start with your foundation: vinegar. A blend of white distilled vinegar and apple cider vinegar works well, balancing sharpness and tang. This mix, incorporating both vinegars in equal ratios, makes for a pickle that has a nice flavor.
Sugar is your next important component, balancing the vinegar's acidity. While traditional recipes might use less sugar, for bread and butter pickles you'll want to use a bit more. Sugar tempers the vinegar's acidity, giving your bread and butter pickles their characteristic sweetness that combines nicely with their tangy edge.
Mustard seeds are essential—they add bursts of flavor that infuse the brine and bring a subtle depth to your pickles. And don't overlook turmeric; not only does it contribute an earthy tone, but it gives your pickles their golden color.
Toss in celery seeds for hints of bitterness that cut through the sweet-sour profile. A dash of ground cloves and cinnamon can introduce a warm, aromatic note that complements the cucumbers, ensuring the final product has a nice blend of flavors.
Salt—the binding agent that brings all these diverse elements together. Opting for pickling or kosher salt over table salt is a smart choice here. It dissolves easily and doesn't cloud your brine with unwanted additives.2
Combine these ingredients together and heat just enough to dissolve the sugar. You've got a pickling brine ready to transform cucumbers into tasty bread and butter pickles. Giving your mixture enough time to marinate will result in pickles worth the wait.
Canning Process and Safety
After selecting and prepping your cucumbers and making a well-balanced pickling brine, it's time to move on to the important steps of safely canning your bread and butter pickles to ensure they're preserved and ready to add a zesty crunch to any meal.
Begin by properly sorting your canning jars and lids. Check each jar for nicks or cracks – even a tiny flaw can prevent sealing and spoil your hard work. Clean them thoroughly with soapy water, rinse, and then heat your jars.
- Place your clean jars on a rack in a large pot, filled with water enough to cover them by at least an inch. Heat the water till it's simmering – this is just the "keep warm" stage before filling them with your pickled creations. The jars need to be hot to prevent cracking when filled with hot brine and ingredients.
- Remove one jar at a time, packing it with your prepped cucumber slices and onions, leaving enough headspace. Pour the hot, sweet and tangy syrup you've created over the slices, still leaving the headspace. This gap at the top allows the contents to expand and form a vacuum seal as they cool. Slide a non-metallic item down the side of the jar to remove any trapped air bubbles.
- After wiping the rim clean, cap your jar with a lid and a twist of the ring. Fingertip tight is what you're aiming for. Too loose and the seal might not form, too tight and the air won't be able to escape to create that vacuum seal.
- Next step, processing. Back to the large pot, your jars go, ensuring they're completely submerged under about an inch of water. Bring to a rolling boil and let them process for 10 minutes – adjusting as necessary if you live at a high altitude where cooking times are a bit longer.3
- When time's up, carefully lift the jars out and place them on a cloth-covered surface to cool. You'll hear the "pop" signaling a successful seal as they cool down.
After cooling, test the seal by pressing down on the center of the lid. If it pops back, it's not sealed properly and should be refrigerated to be eaten first. Properly sealed jars can be stored in your pantry.
- Ingham, B. H. (2019). Homemade pickles & relishes. University of Wisconsin–Division of Extension.
- Nummer, B. A. (2002). Canning pickles. Utah State University Extension.
- National Center for Home Food Preservation. (n.d.). Frequently asked pickle questions.