There’s something special about taking a beloved classic and transforming it into something new and delightful. This guide promises just that, with a focus on turning the traditional peach cobbler into charming miniatures that are as pleasing to the eye as they are to the palate. With a step-by-step approach to selecting, preparing, and assembling these tiny treats, you’re in for a baking experience that’s sure to impress and satisfy.
Preparing the Peaches
Peachy Mini Cobblers: A Bite-Sized Delight!
Who doesn’t love a good peach cobbler? Its warm, syrupy filling paired with a golden, crumbly topping is a piece of heaven! But what if you could shrink that delight into a bite-sized treat? Well, prepare to be obsessed with peach mini cobblers – they’re like the adorable baby siblings of the classic dessert. Here’s a fail-proof guide to selecting and prepping peaches that’ll guarantee your mini cobblers are the talk of the town (or at least your dinner table)!
Selecting the Perfect Peaches:
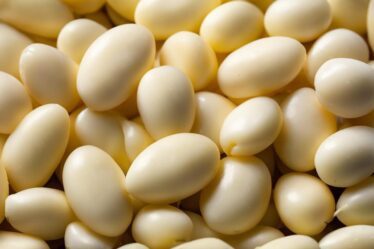
First thing’s first – picking the right peaches is crucial. Aim for the “clingstone” variety during summer months, as they’re sweet and perfect for baking. How to pick ‘em? Sniff those beauties! Ripe peaches smell sweet and peachy. They should feel heavy for their size, and the skin should give a little when gently pressed. No bruises or overly soft spots, though – we’re not making peach mush here!
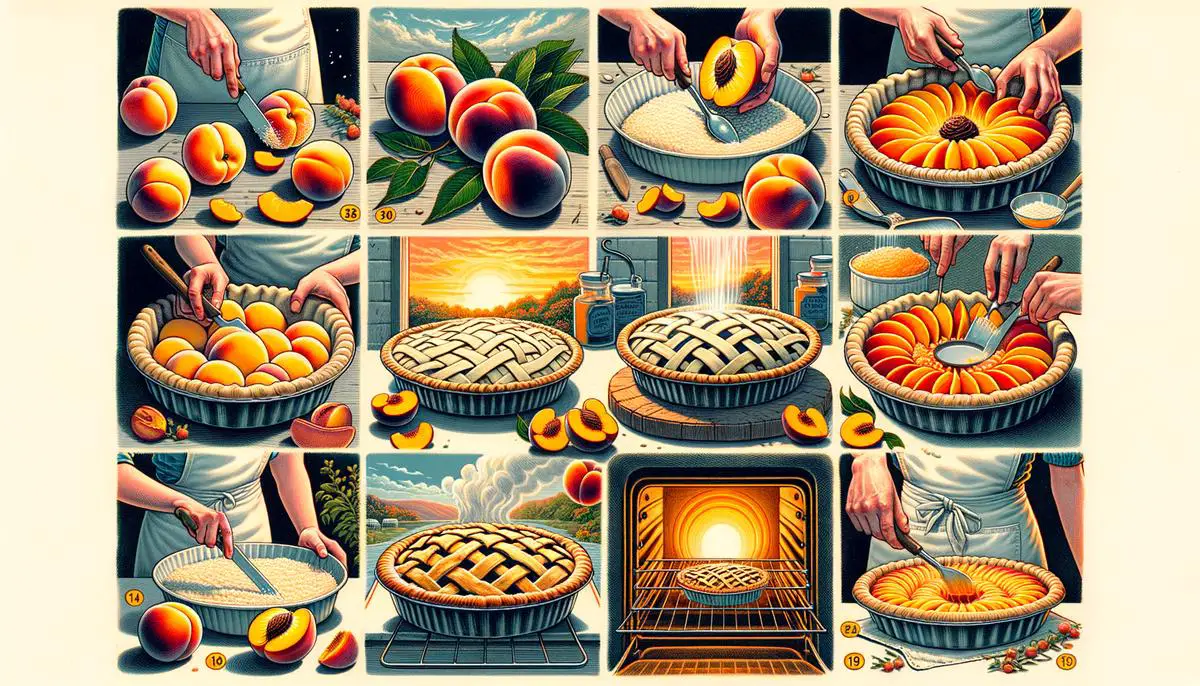
Prepping Your Peaches:
Got your peaches? Great, let’s get them cobbler-ready.
- Rinse those golden orbs under cold water to get rid of any dirt or residue. Pat them dry because nobody likes a soggy cobbler.
- Time to peel. You could use a peeler, but for a mess-free life hack, try blanching. Score an “X” at the bottom of each peach, plunge them into boiling water for about 30-60 seconds, and then give them an ice bath. The skin will slide off smoother than butter on a hot skillet.
- Now, let’s pit and slice. Cut around the peach following its natural seam, twist the halves, and gently remove the pit. Then, slice ’em up! Aim for about half-inch slices or chunks – not too thin, not too thick. Goldilocks would approve.
- A bit of lemon juice over your peach slices will keep them from browning and add a zesty zing to your mini cobblers. Plus, it’s an excellent excuse to get a little messy and have some fun.
- Optional but recommended for an extra ooze factor: Toss your peach slices in a mix of sugar, a pinch of cinnamon, and a smidge of vanilla extract. It’ll give your mini cobblers that irresistible, caramelized edge.
And there you have it – peaches primed for the perfect mini cobbler. Now, whip up your favorite cobbler topping, spoon those sugared slices into muffin tins, and sprinkle over the mixture. Bake until golden and bubbly, and voilà – a tray of peachy, bite-sized perfection awaits.
There you go, friends – a no-fail guide to cobbler-prep glory. Remember, baking is an adventure, sometimes messy, sometimes surprising, but always rewarding. So, keep this guide handy, and let those peachy delights be a sweet testament to your culinary journey. Happy baking!
Making the Cobbler Crust
While we’ve covered much about crafting the perfect peach mini cobbler, the crust really deserves its moment in the spotlight. You know, that irresistibly flaky, golden beauty that holds all the juicy, spiced peach glory. Let’s dive into the secret sauce behind achieving that dreamy texture every single time. Spoiler: It’s simpler than you think, and a game-changer for your baking endeavors.
First off, your choice of fat is crucial. For that quintessential flakey texture, it’s all about butter. And not just any butter – we’re talking cold, straight-out-of-the-fridge, maybe-even-borderline-frozen butter. The reason? When those little butter bits hit the hot oven, they steam up, creating pockets in your dough that result in the flakiness we’re all after.
Now, onto the mixing. Here’s where the magic happens – or doesn’t. The goal is to be gentle. Think of it like you’re that delicate butterfly flitting from flower to flower – light and breezy. Overworking the dough develops the gluten, making your crust tough instead of tender. So, mix your dough just until it comes together. It might look a bit shaggy, but trust me, that’s exactly what you want.
Let’s talk about water – ice water, to be precise. The temperature here is non-negotiable. Cold water helps keep everything chilly, ensuring those butter bits don’t melt prematurely. Add water a tablespoon at a time, stirring gently after each addition, just until your dough starts to come together.
Rolling out the dough can be a bit tricky, but here’s a foolproof technique. Once your dough is ready, flatten it into a disk, wrap it up, and let it chill in the fridge for a bit. This chilling step relaxes the gluten in the dough, making it easier to roll out and helping prevent shrinkage in the oven. When you’re ready, roll the dough out on a lightly floured surface, aiming for a thickness of about 1/4 inch. Remember, patience is key. If the dough starts to stick, a little flour goes a long way, but don’t overdo it!
Finally, the baking step seals the deal. An adequately preheated oven is your best friend for ensuring that immediate burst of heat needed to puff up those buttery layers. Place your mini cobblers in the oven and watch magic happen as they transform into golden, flaky delights.
In the world of baking, it’s often the simplest touches that elevate a good dessert to a great one. By focusing on the quality of your ingredients, handling your dough with care, and mastering the temperature game, you’re on your way to creating mini cobbler crusts that are the stuff of legend. And remember, each batch is a step toward perfecting your craft. Happy baking!
Assembling and Baking
Now, let’s get those mini peach cobbler pies assembled and ready to wow everyone. Trust me, when you pull these beauties out of the oven, the oohs and aahs will be all the gratification you need to realize that every bit of effort was worth it. So, grab your apron and let’s dive into the final steps to achieve that golden, bubbly perfection.
Assembling the Mini Peach Cobblers
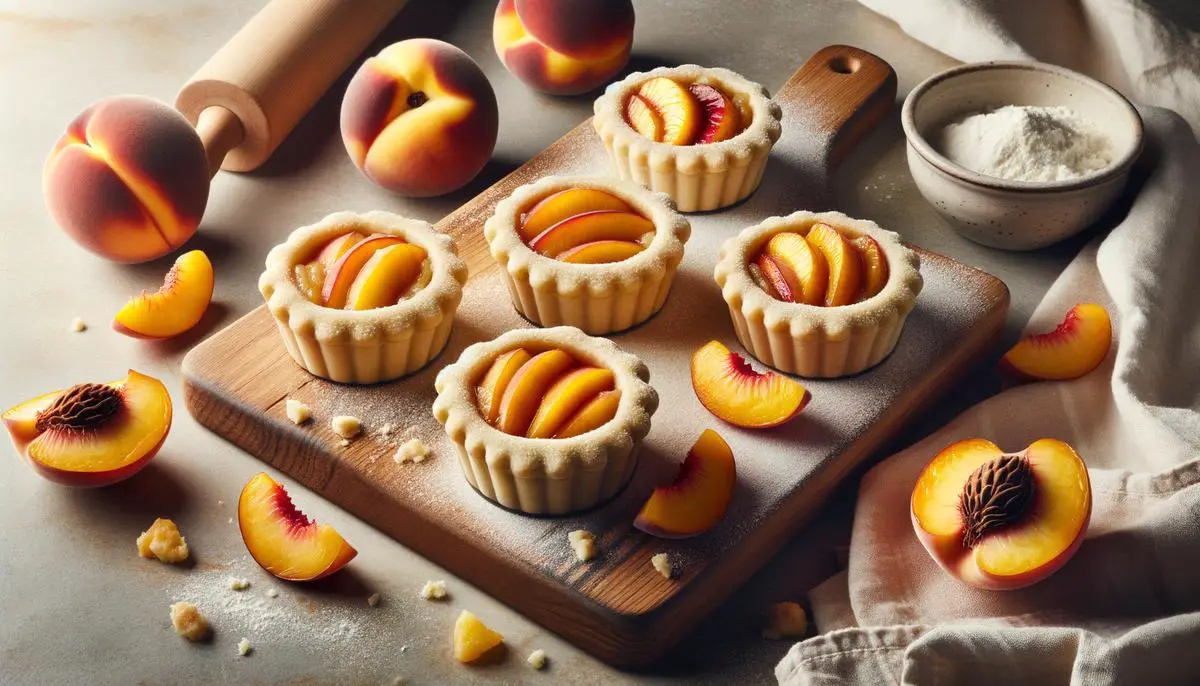
First up, grab your chilled dough from the fridge. You’ve already given it the love and rest it needed, so it should be perfect for working with. On a lightly floured surface, roll it out to about a 1/4-inch thickness. Remember, we’re going for a sturdy base that can hold all those juicy peach slices without turning into a soggy mess.
Using a round cookie cutter or the rim of a glass, cut out circles that are just a bit larger than the cups of your muffin tin. This is where the magic starts. Gently press each dough circle into the cups of the muffin tin, making sure it snugly fits at the bottom and up the sides. This is your mini pie crust — the vessel for that peachy goodness.
Next, let’s fill those crusts up! Take your prepped and seasoned peach slices and heap them into the crusts. Don’t be shy; fill them up good. A little mound above the rim is perfect because they’ll cook down.
Making the Cobbler Magic Happen
Now, for the crown of our mini peach cobblers, sprinkle each one with a generous helping of the cobbler topping we discussed earlier. This will give you a lovely texture contrast between the soft, succulent peaches and the crispy, golden topping.
Before you pop them into the oven, here’s a little trick: brush a bit of beaten egg around the edges of the dough. This will give you a beautifully browned crust that looks as good as it tastes.
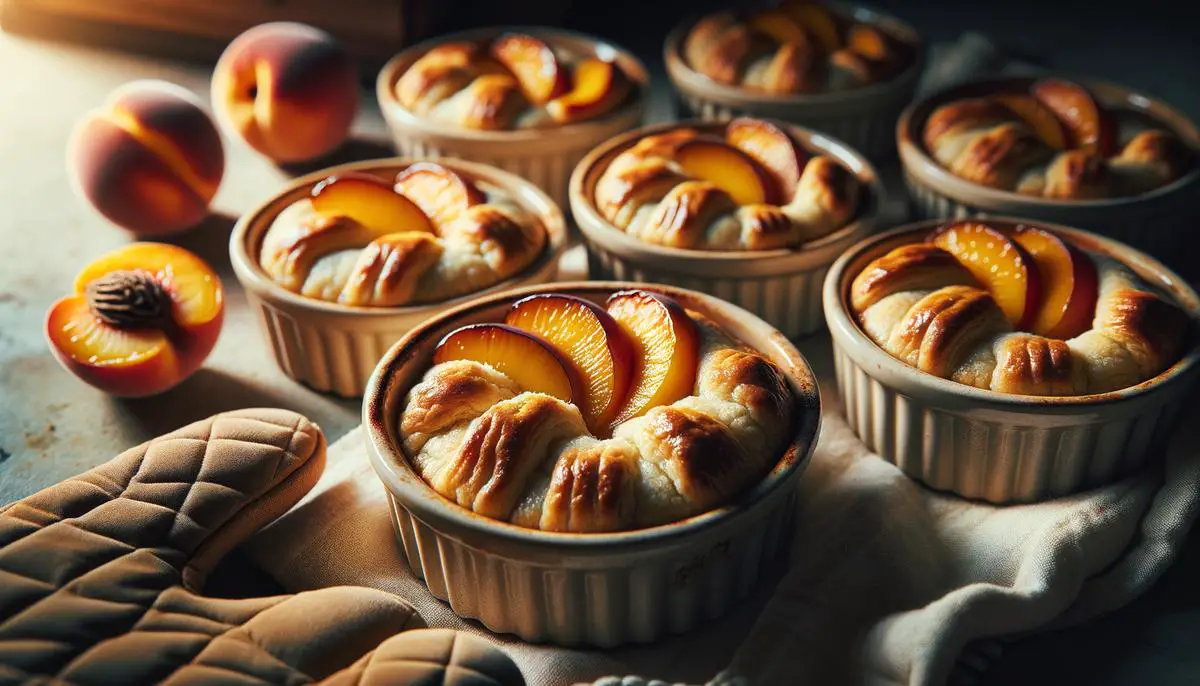
Slide your muffin tin into the preheated oven and bake according to the instructions we laid out earlier. Keep an eye on them! You’re looking for that moment when the crust is a perfect shade of golden-brown and the peach filling is bubbling through the cobbler topping like little volcanoes of joy.
Ready, Set, Serve!
Once they’re done, let them sit for just a minute or two. Then, using a spoon, gently lift each mini cobbler out and transfer it to a serving plate. The smell alone will be enough to gather a crowd, trust me.
And there you have it, darling mini peach cobbler pies that are as delicious to eat as they are easy on the eyes. Serve them warm, maybe with a scoop of vanilla ice cream or a dollop of whipped cream on top, and watch as they disappear quicker than you can say “bake”.
Remember, baking is as much about the journey as it is about the destination. Each step, from selecting the perfect peaches to putting the final touches on these mini masterpieces, is a step towards creating something truly special. So relish the process, share the joy, and most importantly, keep baking with love. Enjoy!

By following this guide, you’ve embarked on a baking adventure that marries the nostalgia of peach cobbler with the novelty of its mini version. Every bite is a testament to the care and creativity baked into each step, from selecting the juiciest peaches to presenting these adorable desserts on your table. So, whether you’re sharing these peachy mini cobblers with friends, family, or enjoying them on a cozy night in, you’ve created more than just dessert – you’ve crafted an experience to remember. Keep baking with love, and let each treat you bake bring a smile to someone’s face.