Crunchy, tangy, and wonderfully vibrant, Vietnamese carrot pickles, or “Do Chua”, are a staple in Southeast Asian cuisine that can transform ordinary dishes into extraordinary ones. The art of pickling vegetables is both an ancient culinary practice and a current trend that celebrates the essence of preservation and flavor enhancement. This essay delves into the heart of Vietnamese carrot pickling, starting from the very basics of selecting the highest quality ingredients that capture the essence of authenticity in each bite. With a focus on the freshest carrots and a balance of flavors through vinegar, sugar, and aromatic spices, we embark on a journey that goes beyond the mere act of cutting and submerging vegetables into brine. The harmony of sweet, sour, and slightly spicy notes is no accident; it is a carefully orchestrated symphony of flavors and textures that requires skill and understanding to master. Let’s peel back the layers to uncover the secrets of creating the perfect Vietnamese carrot pickle, one that is crisp, refreshing, and delightfully fragrant—a true homage to the vivid palette of Vietnamese cuisine.
Selecting Ingredients
Picking the Freshest Carrots for Vietnamese Pickles – A Crunchy Delight!
Hello, vibrant homemaking enthusiasts! As we all know, the crunch of a perfectly picked carrot in Vietnamese pickles can elevate a meal from great to extraordinary. Selecting the ultimate carrots for this dish isn’t just a step—it’s an essential art form for our culinary adventures at home. Let’s dive into how we can all become carrot connoisseurs!
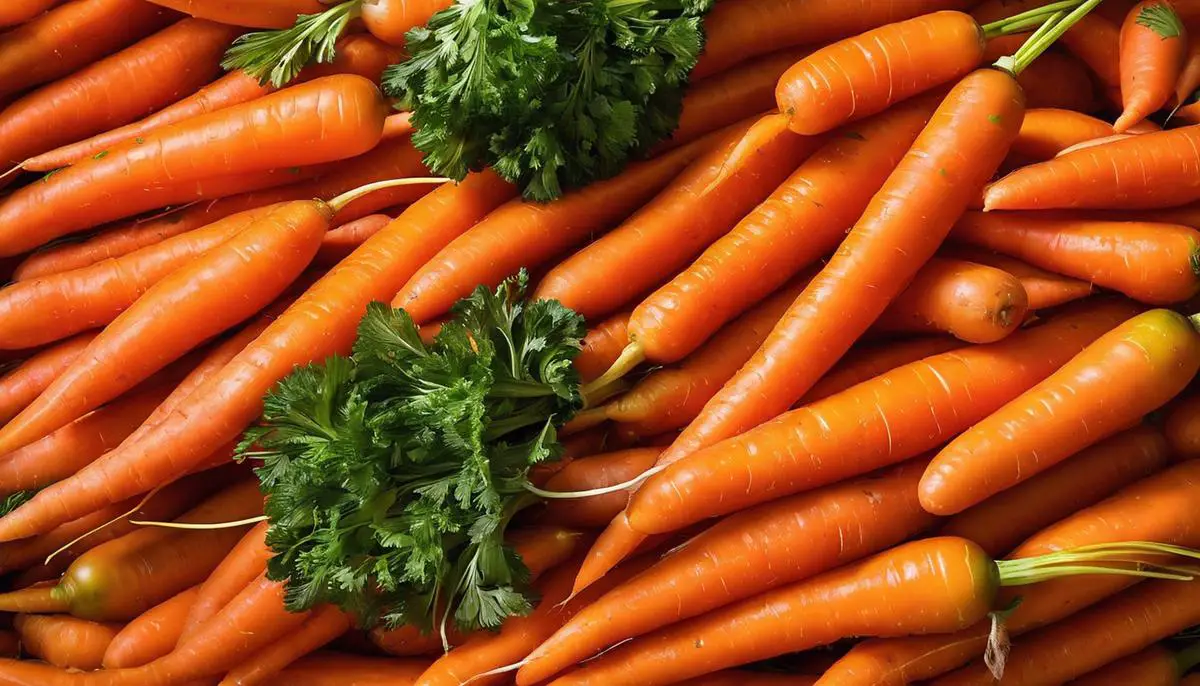
First things off, when on the hunt for those ideal carrots, color is your trusty guide. Look for bold, bright orange hues; vibrant carrots are often the freshest. Pass on any that look pale or discolored as if they’ve been sitting out and lost a debate with the sun.
Next, let’s get in touch with our tactile senses. Carrots for pickling should be firm, not playing the role of a limp noodle. Give a gentle squeeze—if they have any give or bendiness, it’s a no-go. We’re talking about a vegetable, not a stress ball, right?
Of course, size does matter, but in the world of carrots, it’s all about moderation. Oversized ones may look appealing, but they often lack flavor and have a tough, woody core. Petite is neat here—you want those small to medium-sized carrots for the ultimate juicy crunch.
The skin will often whisper the age story of the carrot. We’re looking for smooth operators—no wrinkles or cracks. If a carrot’s skin reminds you of bygone autumn leaves, it’s past its prime. Remember, we’re making pickles, not pen pals for the compost bin!
Have a gander at the tops, folks! If carrot tops are still attached, they should be a lively green, not wilted or yellowed. It’s a hint that the carrot has been loved and cared for like healthy houseplants, not neglected like that treadmill in the guest room.
And here’s a sniff test for you. Fresh carrots have a sweet, earthy smell. If it’s lacking in aroma or smells a bit off, trust your nose and say goodbye—it’s not worthy of your pickle jar.
Finally, avoid any carrots that come with bonus features like sprouts or hint at a secret underground life with hairs or roots. While they may hint at a carrot’s aspirations to become a chia pet, they don’t belong in your pickling masterpiece.
There you have it, my fellow pickling pals! Bag those orange treasures with confidence—your Vietnamese pickles will thank you, and so will the crunch-loving crowds at your table. Now, get those carrots in the kitchen, and let the pickling party commence!
Preparing the Carrots
Crunch Time: The Ultimate Guide to Cutting Carrots for Pickling Perfection
Alright, folks, let’s cut to the chase — we’re here to talk about cutting carrots for pickles, and we’re not just talking any old slices. We’re going for that perfect bite, the one that’s just right in every crunchy mouthful. So, grab those vibrant, firm carrots, and let’s hop into carving these root veggies into pickle-ready stars!
Step 1: Peeling — Yes or No?
First off, to peel or not to peel? This is a personal choice. If your carrots are just out of the garden or super fresh, give them a good scrub, and you might want to let that beautiful bright skin shine through. But if you’re looking at store-bought ones, and the skin looks a tad tired, grab your peeler. It’s a small step but think of it — no tough bits, just smooth, crisp pickled goodness.
Step 2: The Shape Game
Now, this is where we get serious — shapes. Remember, we’re aiming for that pickling sweet spot, not to mention the crunch. Think about it; you’re not just tossing these into a stew. These are pickles. They have to stack nicely in your jar and need to be able to soak up all those incredible pickling flavors.
Option 1: The Classic Stick
For the spears, you’ll want to lop off both ends of your carrot and slice it into halves or quarters lengthwise, depending on the girth of the carrot. Try to aim for uniform thickness, about ¼-inch wide. They’ll look super elegant stacked up in the jar, and you still get that satisfying crunch.
Option 2: The Coin Cut
Prefer coins? They’re like little nuggets of joy that are perfect for snacking or jazzing up your salads. Cut these little guys into ¼-inch thick rounds. Keep them consistent so they pickle at the same rate – nobody wants a soft pickle in the mix.
Option 3: The Fancy Crinkle-Cut
Feeling fancy? Crinkle-cut is your friend. Not only do they add an eye-catching shape, but those grooves are perfect for trapping the brine, boosting the flavor in every bite. Get yourself a crinkle-cut knife and go to town, keeping to that magic ¼-inch thickness.
Step 3: Pre-Pickle Toss
Before they hit the brine, give your carrot cuts a quick toss. Make sure each piece is not just cut but also ready to become the star of your pickle show. This isn’t just about taste; it’s about that crunch, that snap, and the joy of popping open your jar to those perfectly pickled delights.
And voila! You’ve transformed those humble carrots into prime pickling candidates. Jar them up, pour in your favorite pickling mix, and let the magic happen. Before long, you’ll be crunching away with pride, knowing you’ve carved those carrots to perfection. Happy pickling! 🥕✨

Pickling Process
Get those jars ready, it’s time to dive into the art of pickling! Picture this: crunchy, tangy, zesty – a pickle-lover’s paradise. Whether it’s for a savory Banh Mi or just to snack on, these Vietnamese pickled carrots add a pop of flavor and texture that can send any dish over the top. And don’t worry, we’ll walk through every crunchy step together!
Step 4: Salt Water Soak – The Crisp Maker
Ever wonder how pickles get that snap? It’s not by chance, my friends. Start by giving those shaped carrot beauties a nice saltwater bath. Mix water and salt in a bowl, just enough to cover the carrots. Let them soak for about an hour. What does this do? It draws out excess moisture, making sure our pickles will be firm to the bite – nobody wants a limp pickle!
Step 5: Wash & Dry – Shake Off the Salt
Now that our carrots have soaked up the salty spa treatment, rinse them off under cold water to ditch the excess salt. We’re not trying to turn anyone into a salt lick, right? Pat them dry with a clean cloth or paper towel. You want them as dry as the humor in those dad jokes we all love (or groan at).
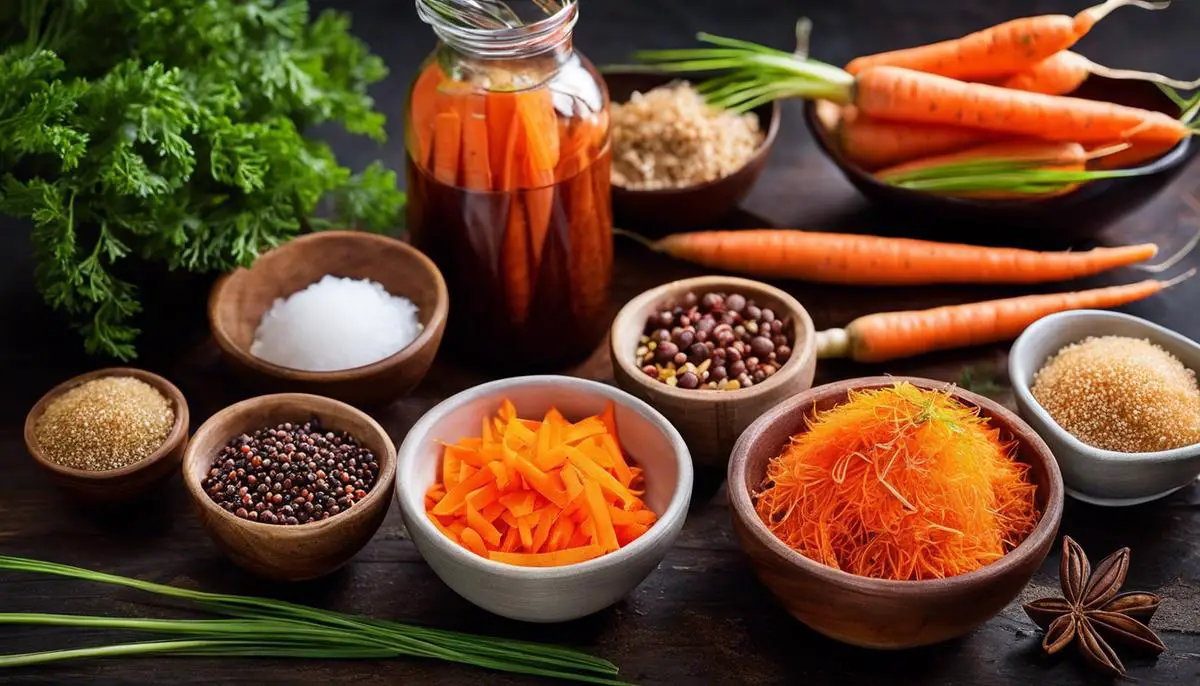
Step 6: The Flavor Symphony – Pickling Solution
It’s time to create our pickling solution – the liquid that’s about to transform our ordinary carrots into tangy treasures. Vinegar, water, and sugar – that’s our trio. Boil them together, stirring to dissolve the sugar. This sweet and sour concoction is what makes the magic happen, infusing our carrots with the perfect balance of flavors.
Step 7: Jar Filling Fun – Stack ‘Em High
Get ready to carefully stack those carrot cuties into jars. Be organized but not obsessive – you’re not solving a jigsaw puzzle. Leave a bit of room at the top; think of it as personal space for your pickles.
Step 8: Pour & Seal – Lock in the Awesome
Pour the hot pickling solution over the carrots, making sure they’re completely submerged. This is their pickling pool party, and we want every carrot to take a dip. Seal the jars while they’re still feeling the heat. This isn’t just about keeping them fresh; it’s about creating that airtight environment that turns good veggies into great pickles.
Step 9: Time & Patience – The Waiting Game
The hardest part? Waiting. These carrots need their beauty rest, tucked away in their jar beds. Give them about a week to absorb all the flavors and become the pickles of your dreams. It’s a good time to catch up on that novel, take up knitting, or, you know, plan your next pickle adventure.
So gear up, give it a go, and get ready to pucker up for the most delightful, homemade Vietnamese pickled carrots. Enjoy them on their own, or give your dishes a kick that’ll have everyone saying, “You pickled those yourself? Genius!” Happy pickling!

Embarking on the pickling adventure equips you with a timeless culinary skill that pays homage to the rich tapestry of Vietnamese gastronomy. Each jar of Vietnamese carrot pickles serves not only as a condiment but as a celebration of tradition and cultural fusion passed down through generations. As the carrots soak in their tangy baths, they begin to tell their own story—one of heritage, simplicity, and the sheer joy of crafting something with one’s own hands that is so integral to a nation’s culinary identity. Whether served alongside a banh mi sandwich, perched atop a steaming bowl of pho, or simply enjoyed as a crunchy snack, these pickles are a testament to the beauty of patience and the treasures that await us in the balance of flavors perfectly captured within each slice. As we seal our jars and allow time to work its magic, we’re reminded that good things come to those who wait, and in the case of Vietnamese carrot pickles, the wait is unequivocally worth every crisp, delicious bite.