Hey there, cupcake enthusiasts! Ready to whip your baking skills into shape? Let’s dive straight into the heart of cupcake wizardry, starting with the crucial step of creaming butter and sugar. Picture this: you’re about to create the fluffiest, most delightful cupcakes that ever danced on your taste buds. By mastering this technique, you’re on your way to cupcake fame! Next up, we’ll tackle the precision of measuring ingredients—because, let’s face it, baking is part science and all heart. Lastly, we’ll get all Sherlock Holmes on our batch to figure out when they’re baked to perfection. Sounds like a delicious investigation to me! Let’s gear up and conquer the kitchen with some serious baking prowess.
Creaming Butter and Sugar
Achieving the Perfect Fluffy Cupcake Base
Dreaming of cupcakes with a base so fluffy it practically floats away? Get ready to make those dreams come true! Don’t fret if you’ve faced cupcake catastrophes before; I’m here to guide you through the magic of making that perfect, cloud-like cupcake base that’ll have everyone swooning.
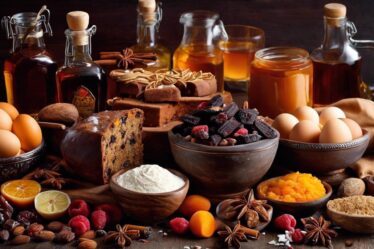
Ingredients:
- 1 cup granulated sugar
- 1/2 cup unsalted butter, softened
- 2 large eggs
- 2 teaspoons vanilla extract
- 1 1/2 cups all-purpose flour
- 1 3/4 teaspoons baking powder
- 1/2 cup milk
Tools:
- Muffin tin
- Cupcake liners
- Electric mixer (or a strong arm and a whisk!)
- Mixing bowls
- Measuring cups and spoons
Method:
- Get Prepared: Set your stage by preheating your oven to 350 degrees Fahrenheit (175 degrees Celsius). Pop those colorful cupcake liners into the muffin tin’s cozy cavities.
- Creamy Goodness: In a decent-sized bowl, cream together sugar and butter with an electric mixer until it’s light and fluffy. Picture the fluffiest thing you can—then double it! That’s your target texture.
- Crack Eggs Like a Pro: Crack in one egg at a time, mixing well after each addition. Dribble the vanilla extract and mix again. With each mix, you’re whisking in air and promises of fluffy cupcakes.
- Measure Up: In another bowl, whisk together the flour and baking powder.
- Alternating Act: Add the flour mix to the creamy mix, a sprinkle at a time, alternating with milk. Start and end with flour. Each addition should be fully combined before the next. Gentle folding is key—no heavy-handed mixing here!
- Fill ‘Em Up: Spoon the batter into liners, filling each about two-thirds full. This leaves room for that grand rise.
- Bake to Perfection: Pop them in the oven for 20-25 minutes. How do you know they’re done? The tops should bounce back when poked like a cushy pillow, and a skewer should come out clean like a whistle.
- Cool It: Let them cool for a couple of minutes in the tin, then transfer these golden beauties to a wire rack. Patience, cupcake warrior—the fluffiness is setting in!
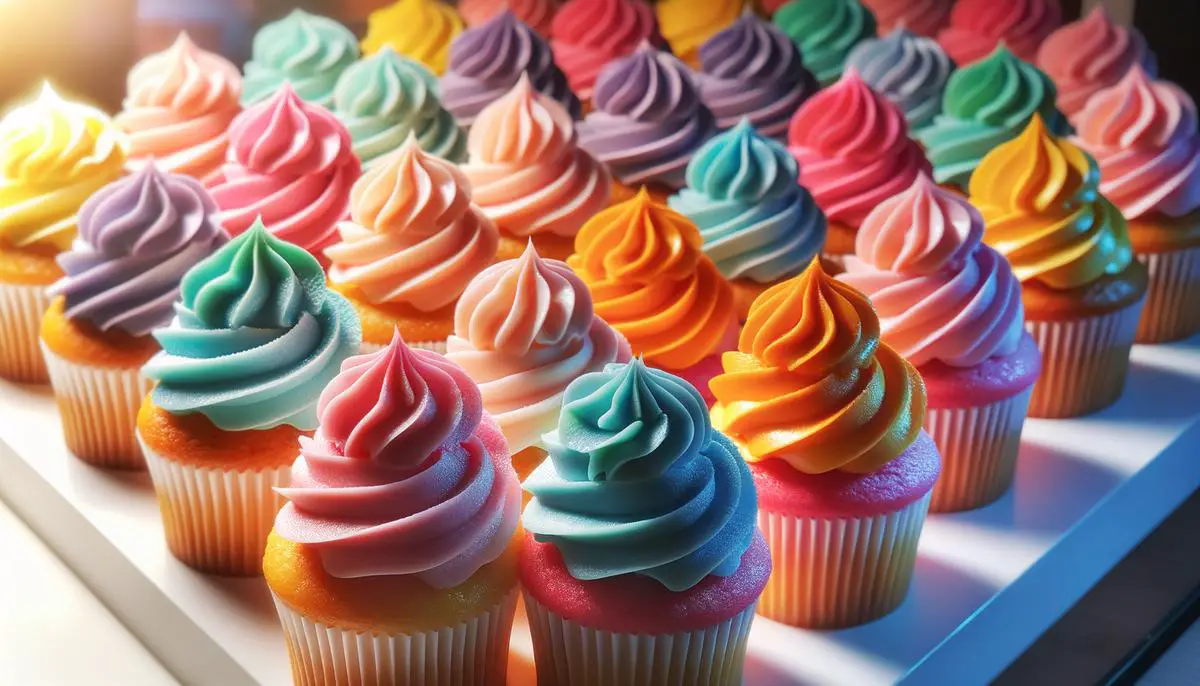
Now, behold your creation: cupcakes with bases so fluffy they defy gravity. Just wait until you top these with your favorite frosting and watch them disappear faster than you can say “fluffy”. Happy baking! 🧁✨
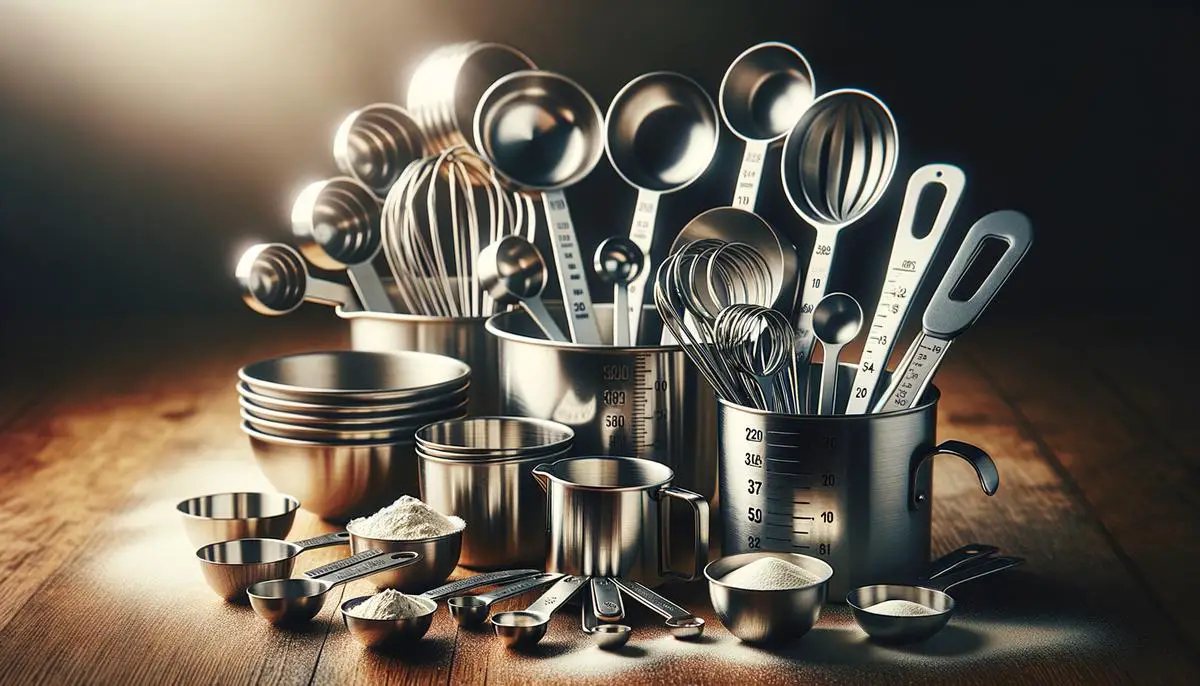
Measuring Ingredients Accurately
Alright folks, gather ’round for the lowdown on nailing those exact measurements for cupcake ingredients! We’re talking the nitty-gritty of baking where precision is the name of the game, and I’m here to spill the beans on how to ace this culinary math test.
Now, before we dive into this, let’s hit it with a truth bomb: baking is not just an art, it’s science. And, my friends, precision is our golden ticket to consistency—vital for that dreamy, even rise and spot-on flavors we’re all chasing. So, let’s get our lab coats on (figuratively, of course!) and talk about why precision is your bake’s best bud.
First off, you’ve gotta cozy up with the proper measuring tools. Chuck out those dinnerware spoons and cups; we’re not in Grandma’s kitchen now. Snap up some proper measuring cups and spoons made specifically for baking. They’re your teammates in this game, and you want the A-team on your side.
When it comes to dry ingredients, like flour and sugar, the scoop-and-level method is your go-to move. Fluff up that flour with a spoon (no compacting, alright?), scoop it into your measuring cup, then level it off with a straight edge—like a knife or a spatula. No shaking, no tapping; let’s keep it chill.
Got sticky stuff like honey or syrup? Here’s a neat trick—grease your measuring spoon or cup with a smidge of oil or a non-stick spray first. Your sticky buddy will slide right out like it’s on a water slide, ensuring you’ve got every last drop of the goods.
Now let’s chat about eggs. It might seem like a no-brainer—crack ’em and go—but here’s the scoop: eggs vary in size, so when a recipe calls for ‘one egg’, it can be a wild card. For consistency, beat those eggs first and measure out exactly what you need.
For liquids, eyeball level is key. Pour your liquid into the measuring cup and get down to its level—no crouching, no tiptoeing. We’re aiming for accuracy here, not a yoga pose. You want the meniscus (that’s the curve on the liquid’s surface) to line up perfectly with the measuring line.
Remember, pals, every little detail counts. A dash too much or too little can throw your whole baking masterpiece off balance. Don’t rush the process—respect the science behind it and treat your ingredients like they’re gold dust.
And that, my fellow bakers, is the scoop on precise measuring to ensure that every batch of cupcakes is nothing short of perfection. Now you’re equipped with the know-how, so get out there and show those ingredients who’s boss. Next up, get those toppings ready, because soon you’ll be adding the cherry on top of your impeccably measured cupcake creations. Happy baking, and let the sweet smell of success fill your kitchens!
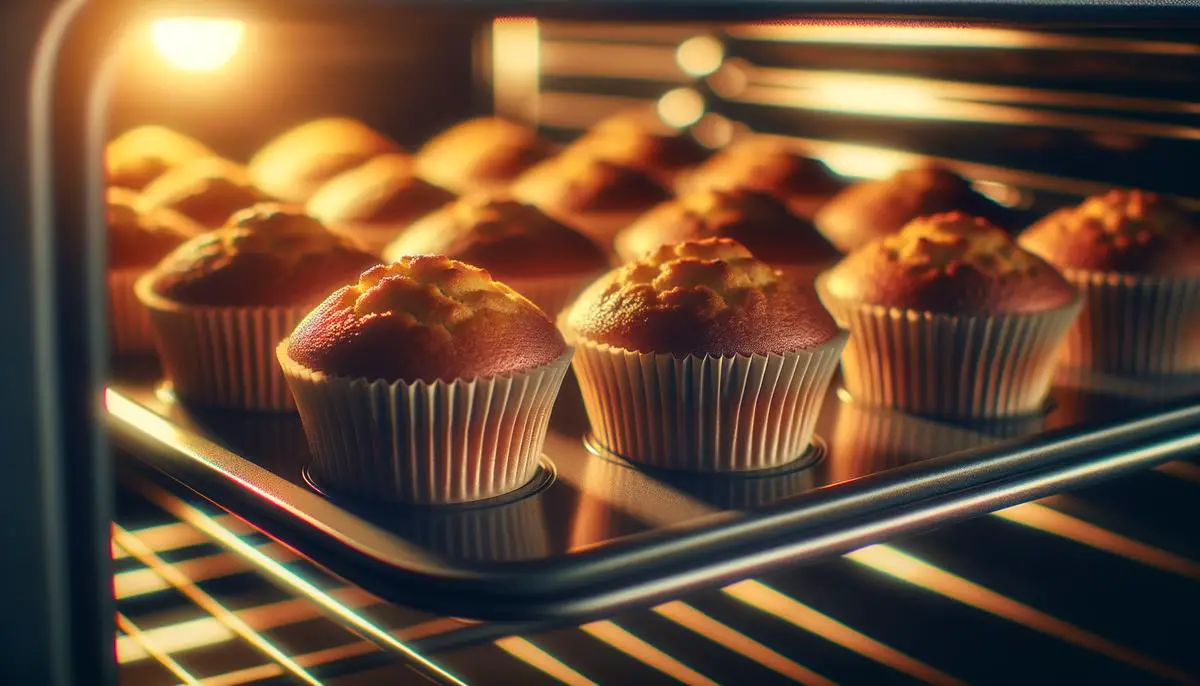
Baking and Testing Doneness
Now, let’s chat about one of the sweetest parts of cupcake baking—knowing when they’re done to that golden excellence. It’s a bit like a mini triumph when you peek into the oven and see those domed beauties shining back at you, all golden and ready to be devoured. But how do you get there without playing a guessing game? Let me spill the tea.
Firstly, you gotta trust your oven and know its true colors. Set a timer for the minimum baking time given in your recipe—usually around 15-20 minutes for cupcakes. While patience isn’t always our strongest suit, resist the temptation to open the oven door too early. You don’t want to let that precious heat escape and mess with your cupcakes’ rise to fame.
As the timer ticks to an end, arm yourself with a toothpick or a skewer. It’s showtime! Don your oven mitts and gently open the oven door, basking in the warm, sweet-smelling air. Be quick and careful, as we’re on a mission. Your cupcakes should have risen, and they’ll likely be starting to flaunt their golden tops. But that color isn’t the only sign of cupcake perfection.
Hover around and go in with your toothpick, aiming for the center of a cupcake. No need to be rough; a gentle poke will do. If it comes out with rogue batter clinging to it, your cupcakes are pleading for more time. However, if the toothpick emerges with just a few soft crumbs or clean as a whistle, you’ve nailed it. It’s like a mini high-five from your cupcakes to you.
Do a quick touch test for good measure. Press the top lightly—if it springs back like a plush pillow, it’s all systems go for cooling those cuties down. And if a rogue peak forms from the toothpick testing, no sweat. Charm them back into shape with a slight tap or let them be; they’re unique little characters after all.
Remember, a golden hue is what we’re aiming for, not sunburnt. Think buttery yellow with a tan, like it’s been lounging under the sun with SPF. If the edges are starting to darken more than the rest, consider using cupcake wrappers next time for a bit of armor.
Before you pull them out for the cooling rack, give yourself a quick pat on the back—baking is an art and you’re the artist. Let them chill for a bit, and then you’re all set to crown them with your favorite frosting, or munch them au naturel; I won’t judge.
Just like that, you’re turning out golden, fluffy cuppets (that’s cupcake-puppets, obviously) that rise to the occasion every time. Keep practicing these little hints and soon, you’ll be doing the cupcake victory dance, no toothpick needed. Bake on, my friends, bake on!
So, you’ve embarked on this cupcake journey, got your hands a little messy, and now you’re practically a pro at creaming, measuring, and testing your creations like a baking detective. Remember, every sprinkle of sugar and dash of dedication brings you closer to that picture-perfect cupcake. Stay curious, keep experimenting, and above all, enjoy every sweet moment of your baking adventure. Now go forth and share your newfound cupcake glory with the world— or, you know, just devour them all yourself. I won’t judge!