Welcome, fellow food lovers! If you’re eager to spice up your culinary creations with a homemade touch, you’ve come to the right place. Today, we’re embarking on an exciting adventure into the world of chili pepper jelly. From selecting the perfect peppers to canning your delicious concoction for long-term enjoyment, this guide will walk you through each step with ease and enthusiasm. So, grab your apron and let’s get started on creating a masterpiece that will elevate your meals and impress everyone at the table.
Preparing the Peppers
Choosing and Prepping Chili Peppers for the Perfect Jelly!
Hey, spicy food fanatics and jelly enthusiasts! I’m here to guide you through the fiery world of chili peppers to add that kick to your jelly. Let’s dive into how you can pick and prepare the perfect chili peppers for a jelly that’s bound to be the talk of the town (or at least your dinner table)!
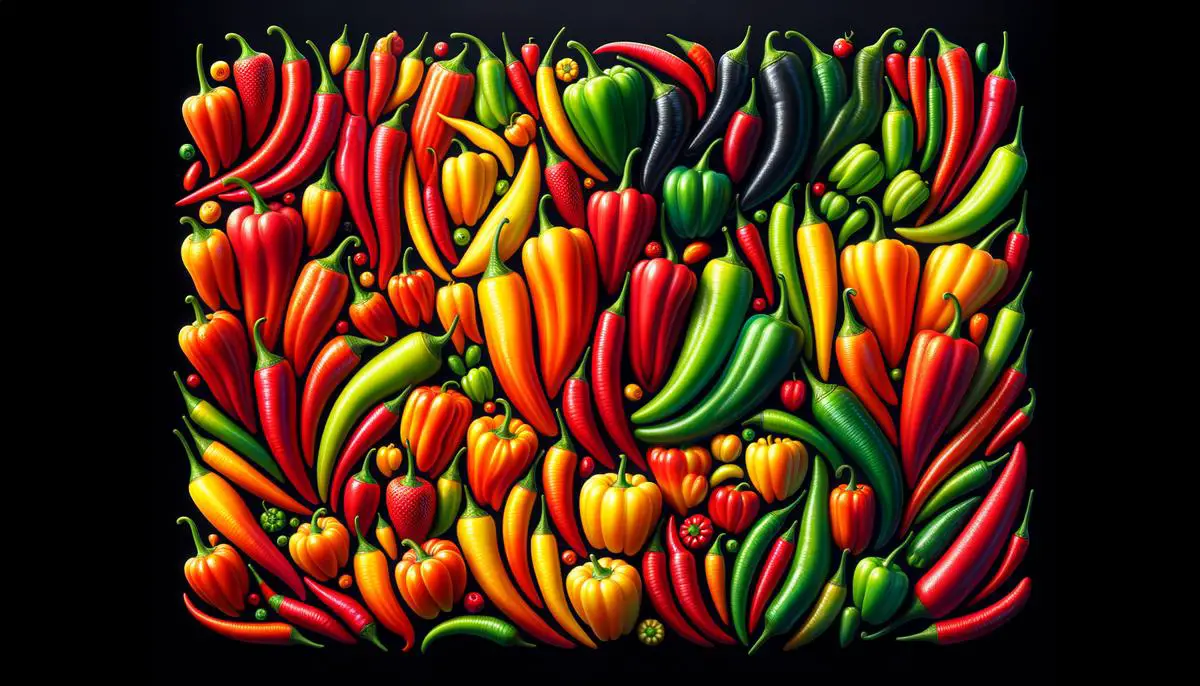
First things first, picking your peppers is like choosing your adventure. Will it be mild and sweet or fiery and bold? Here’s how we make that choice:
Selecting Your Chili Peppers:
- Check for Freshness: Look for bright, vibrant colors. The skin should be firm, not wrinkly. A fresh pepper equals fresh taste.
- Pick Your Spice Level: Jalapeños for a mild kick, serranos if you’re stepping it up, and habaneros or ghost peppers for the brave souls.
- Mix and Match: Feel free to mix different types for complex flavors. A little sweet bell pepper mixed with something spicier can offer a nice balance.
Now, onto preparing these hot contenders:
Preparing Your Chili Peppers:
- Wash ‘Em Up: Give those peppers a thorough rinse under cold water. We don’t want any surprises (like garden dirt) in our jelly.
- Dress Properly: Gloves, people! Chili oils can irritate your skin, and believe me, you don’t want to rub your eyes after handling these bad boys.
- The De-Seeding Debate: Seeds add heat, but too many can overwhelm. Cut the pepper in half and scrape out the seeds if you prefer a milder jelly. Love the fire? Leave some in.
- Chop Chop: Dice your peppers finely. This is jelly, not a chunky salsa. The pieces should blend into the jelly, offering flavor without turning it into a chewy affair.
- Measure for Measure: Stick to your recipe’s recommended amount of peppers at first. Once you’re more experienced, feel free to experiment with the quantities for your desired heat level.
And there you have it! Armed with the freshest, perfectly prepared chili peppers, you’re all set to cook up a storm. Whether it’s for slathering over cream cheese or glazing a roasted chicken, your chili pepper jelly is going to bring both heat and sweet to your table. Happy jelly-making!
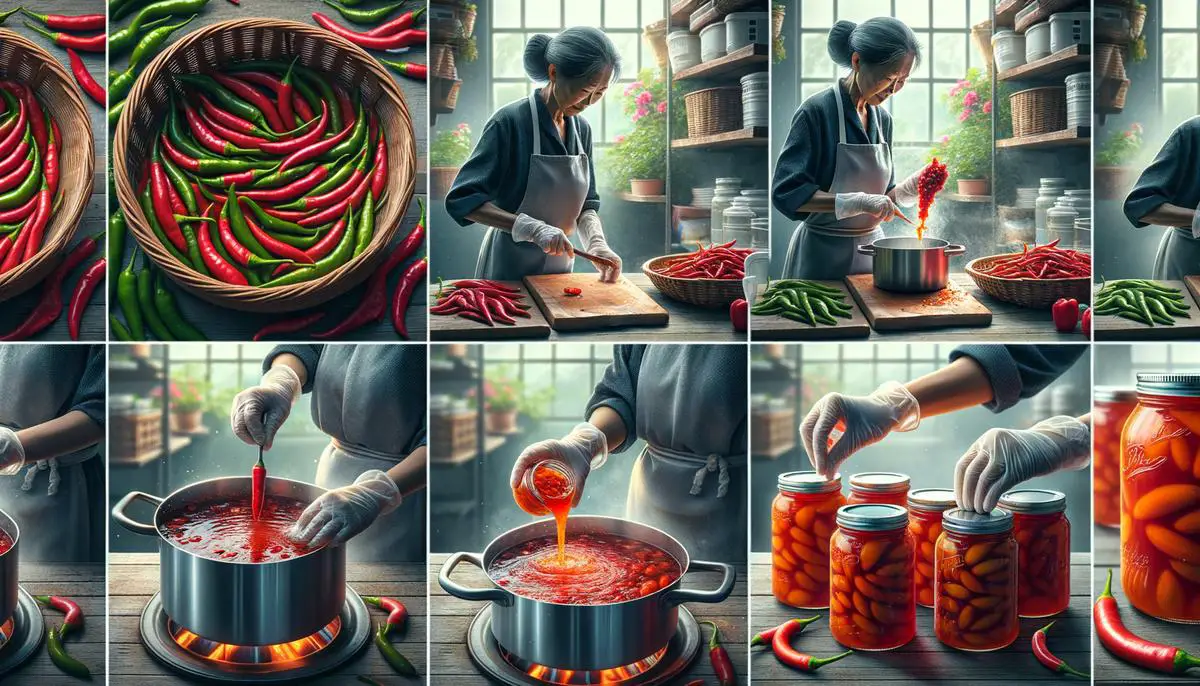
Cooking Process
Diving straight into the heart of chili pepper jelly magic, we’ve got a fun journey ahead. After prepping our chili peppers, it’s time to transform them into something spectacular. So, slap on a smile, because we’re venturing into the land of perfecting the artistry of chili pepper jelly.
Step 1: The Sweet Symphony Begins
Grab a large pot – think of it as your cauldron where the magic happens. Pour in 1 cup of apple cider vinegar; let’s call it our potion base. Over medium heat, let this potion start to whisper (i.e., simmer).
Step 2: The Sugar Welcoming Committee
Now with the vinegar simmering softly, introduce 5 cups of sugar. Yep, that’s right, a whole lot of sweetness to balance our spicy friends. Stir this concoction gently until the sugar fully dissolves and thinks to itself, “Ah, this is nice.”
Step 3: Gelatinize the Mixture
This step is crucial; it’s what turns our concoction into jelly. Sprinkle in a packet of pectin and whisk it like you’re conducting a symphony. Our motto: No lump left behind.
Step 4: The Chili Parade
Now for our star performers – the chili peppers. Add your finely chopped chilis to the pot. Stir these heroes in, letting them meld with our sweet and sour concoction. Allow this mixture to reach a rolling boil – the kind that laughs in the face of your attempts to stir it down.
Step 5: Boil of Ambition
Let it boil, hard, for exactly one minute – use a timer! This isn’t just about heat; it’s about timing and precision.
Step 6: Skim the Mystical Foam
After our impatient boil, you’ll notice a foam on top. Skim it off gently. Think of it as removing the clouds to see the clear sky.
Step 7: Jar-Filling Adventure
Before you can say “jelly,” have clean jars ready – sterilization is king here. Carefully ladle the hot jelly mixture into the jars, leaving about a ¼ inch space at the top.
Step 8: The Sealing Ritual
Wipe the jar rims for any spilled secrets (aka jelly). Place the lids on, screw the bands just enough to hold them in place but not too tight – they need to breathe.
Step 9: The Water Bath Finale
Now, for the grand finalé – process your jars in a boiling water bath for 10 minutes if you’re resting at sea level, adjusting time with elevation. This is where our jelly truly becomes immortal – shelf stable and ready for any occasion.
Serving Suggestions: Let Cool & Enjoy!
After their bath, allow your jars to cool and seal properly on a rack, checking the seal after a day (the lids shouldn’t pop when pressed). And voila, you’ve just created magic – chili pepper jelly that dances on the taste buds and sings in harmony with cheeses, meats, and even your morning toast!
Remember, each batch is a story. Some may be spicier, others might sing sweeter tunes, but each one is a triumph in the adventurous tale of kitchen wizardry. Enjoy your bewitching spread, and don’t forget; the perfect jelly is the one that makes you proud to say, “I made this.”

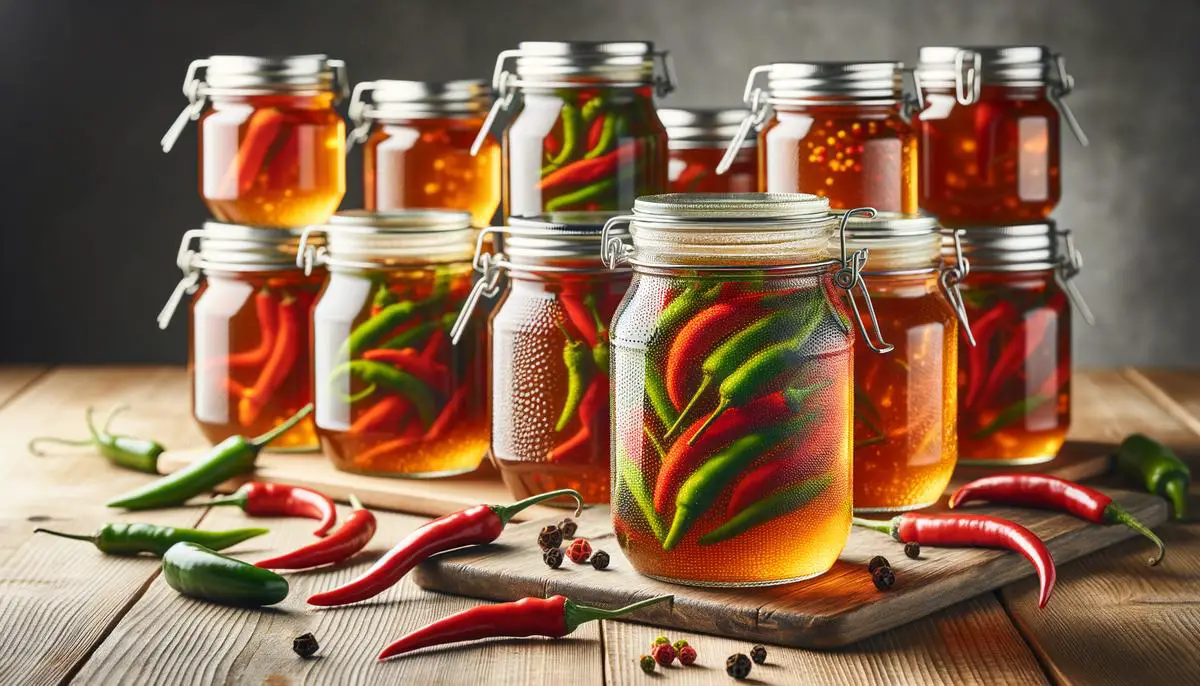
Canning and Storage
Alright, you’ve conquered the art of making chili pepper jelly. Let’s ensure all that fiery goodness doesn’t go to waste. Here comes the critical act – canning and storing your chili pepper jelly to keep it safe, ensuring you get to enjoy the fruits (or should I say peppers?) of your labor for months to come. Get ready; it’s simpler than thinking up what to do with all that jelly!
First thing’s first, let’s talk about sterilizing your jars. You wouldn’t eat food off the floor (hopefully!), so let’s not skip this all-important step.
- Grab those jars and lids. You’ll need to show them who’s boss by giving them a good bath. In hot soapy water, scrub them like there’s no tomorrow, rinse and then arrange them on a baking tray.
- Slide the tray into an oven set to 110 degrees Celsius (that’s 225 Fahrenheit for my friends across the pond), and let them dry off in there. Keep them warm until your jelly is ready to be invited in; this avoids cracking the jars with the temperature contrast – science 101, folks!
Moving onto making sure your jelly stays as fresh as the day you made it:
- Once you’ve filled your jars with that spicy, sweet mix, check for any jelly remains on the rims. A clean rim means a good seal; any jelly residue is basically a party invitation to bacteria. A damp cloth can be your knight in shining armor here, wiping away any excess jelly.
- Lid on, but not just any old way. Those lids should be finger-tight; think of it as not too tight, not too loose, just right. You’re Goldilocks in this kitchen saga.
- The fun part: the water bath. This isn’t a spa day for your jars, though – it’s serious business. Place your filled jars in a pot, covering them with about an inch or two of water, and bring it to a rolling boil. The time here varies depending on the size of your jars but think 10 minutes for the little ones, adding an extra minute for every 1,000 feet above sea level you are. Because yes, altitude matters; we’re doing kitchen science here.
After their bath, use jar lifters (or an oven mitt if you’re improvising – but really, get those jar lifters) to take the jars out, placing them on a space that screams “cool down here.” You’ll want to give them space from each other and from prying hands – these are still hot commodities.
The sound of success will come 12 to 24 hours later when you hear the pop of the jars sealing themselves shut. It’s like hearing your jelly say, “I’m ready for the long haul.”
Once cooled and sealed, check those seals. We’re talking press down the center of the lid – if it springs back, it’s a no-go, and you’ll have to show it the inside of your fridge and use it up pronto. Otherwise, it’s onto the storage phase.
In terms of keeping your chili pepper jelly in peak condition:
- Seek out a cool, dark spot. Think of it as tucking your jelly into bed, away from the light and any major temperature fluctuations. Basements or cupboards away from the stove are prime real estate.
- On the shelf, your chili pepper jelly will sit cozy for up to a year – sometimes even more if conditions are just right. But remember, once opened, it’s a fridge dweller.
And there you have it, your guide to making sure those jars of chili pepper jelly remain as perfect as the day you made them. Because nothing beats the store-bought counterpart like a homemade jar of spicy, sweet goodness. Crack one open anytime you need a kick of flavor or a reminder of your impressive canning skills! Enjoy crafting up culinary delights with your safely stored treasure.
As we wrap up our exploration of making chili pepper jelly from scratch, remember that each jar you fill is not just preserving peppers but also capturing a moment of creativity and passion in your kitchen. This isn’t just about making jelly; it’s about adding a personal touch to every meal and sharing something uniquely yours with friends and family. So next time you crack open a jar of your homemade chili pepper jelly, take pride in knowing that you’ve crafted not just a condiment but an experience that adds warmth and zest to any dish. Happy cooking!