Embarking on the journey of perfecting the art of pie-making can be as rewarding as it is delicious. Integral to this alchemy is mastering the pie dough, a crucial component that sets the stage for a myriad of sweet and savory delights. Incorporating sour cream into your pie dough may not be conventional, but the benefits are worth exploring. By understanding the nuances of mixing dough with sour cream, including the skilled incorporation of cold butter into the flour, we unlock the secret to a tender, flaky crust. This essay will delve into the unique texture and hydration properties sour cream imparts to the dough, along with expert techniques to mix, chill, roll, and bake your way to pie perfection.
Mixing the Dough
Oh, flaky pie crusts, you elusive kitchen wonders! The quest for the perfect pie dough is something of a homemaker’s holy grail, isn’t it? So, strap in, my fellow baking buffs, as we dive into the nitty-gritty of mastering the art of mixing pie dough with sour cream for that dreamy, perfect flaky crust that’ll make your heart do a happy dance.
Now, forget those tough, chewy pie crusts that leave you reaching for a glass of milk. We’re aiming for a crust that’s so tender and flaky, it practically waltzes off the plate. And guess what? The secret ingredient is right within arm’s reach—plain ol’ sour cream! Yes, you heard it right. Sour cream is about to become your pie dough’s best friend.
Here’s the deal. You’re about to learn a no-nonsense method that’s as simple as pie (pun intended), and your days of pie dough disasters will be long gone. Get ready for your kitchen to smell like a professional bakery.
For starters, grab these ingredients for your pie dough mission:
- 2 cups all-purpose flour
- 1/2 teaspoon salt
- 1/2 cup unsalted butter, chilled and diced
- 1/2 cup sour cream
Now, for the sour cream shakedown:
-
In a good-sized bowl, wake up your flour by giving it a quick whisk with the salt.
-
Toss in the cold, diced butter. Now listen: Stay frosty because the butter’s chill factor is what gives you that flakiness we’re all craving. Cut the butter into your flour with a pastry cutter or let two knives do the tango until the mixture looks like a crumbly, sandy beach.
-
Here comes the sour cream magic. Dollop it right in. Then, armed with a fork (no fancy tools needed), blend that creamy deliciousness with the flour mixture. Your goal? A dough that holds together while still showing off specks of butter. Think dough, not goo. If it’s sticky, you’ve gone too far.
-
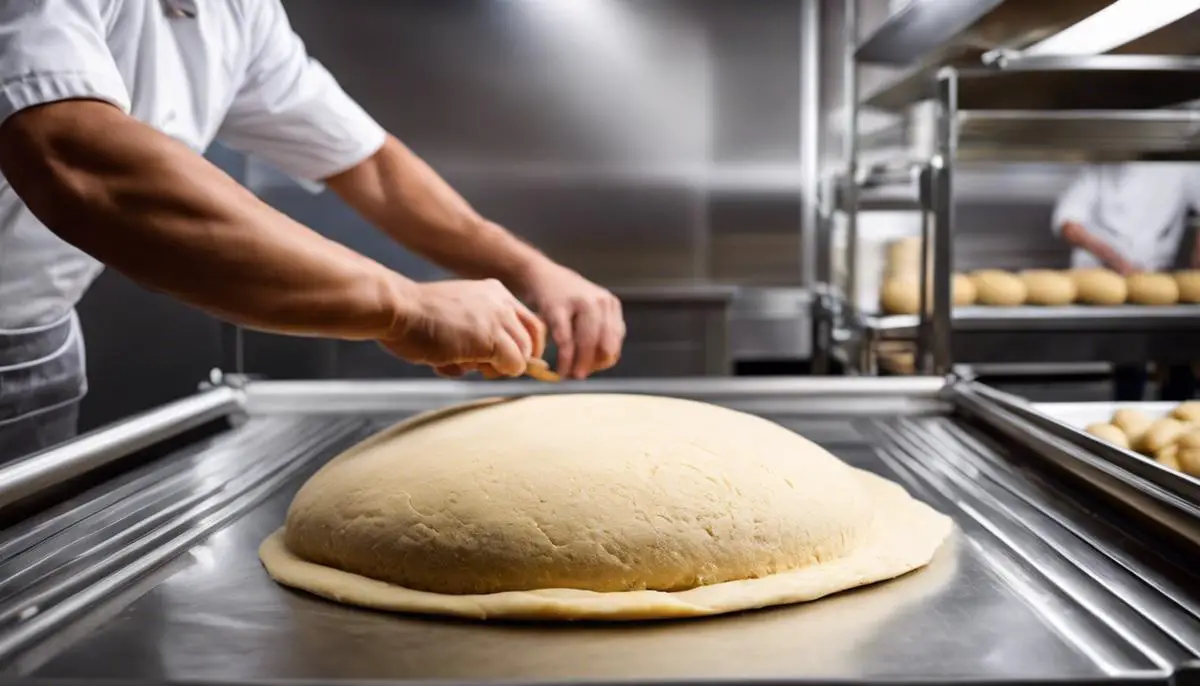
Finish off with some light dough-kneading action. Press it, fold it, love it, but only until it just agrees to be one entity. Over-kneading kicks off the gluten party, which is a no-no for pie crust heaven.
-
Shape that baby into a disk, wrap it in plastic, and slide it into the fridge. Give it a good, cold rest because that’s another secret to an amazing crust. Chill for at least 30 minutes.
When it’s game time, and you’re ready to roll, remember: gentle and quick, like you’re handling the crown jewels. Don’t let the butter melt or the dough warm up. It’s the cool attitude of the dough that puffs up into those fabulous flaky layers in the oven.
Flour up your surface, grab your rolling pin, and unleash your pie game. Roll out the dough, fit it into your favorite pie dish, and BAM, you’re in the crust master league.
And there you have it, folks. With just a touch of sour cream wizardry, you’ll whip up a pie crust that’s the envy of bakers far and wide. So here’s to those pie crusts so flaky, they’ll make your in-laws ask for seconds. Happy baking, and go on, snag that title of pie crust royalty!
Chilling the Dough
Rolling Out the Chilled Dough: The Secret to Perfect Pies!
Alright, folks, let’s dive into the most crucial part of pie-making that often gets shrugged off—chilling that dough before rolling it out. It’s not just an extra step to test your patience; it’s the key to avoiding a kitchen calamity and achieving that envy-of-the-block pie crust.
First things first, chilling the dough stabilizes the fat. Imagine this: Your butter’s been having a chill time in the fridge, right? When you roll out the dough while it’s cold, you ensure those little butter specks stay solid. This is pie-crust gold, friends, because when that pie hits the hot oven, those butter bits melt and release steam, puffing up the dough to create layers of flaky deliciousness. No chill, no flakiness—just a sad, tough crust situation.
Next up, the resting period does wonders for the gluten in your flour. If gluten were a person, it’d be that overzealous friend who can’t sit still—always stretching and bouncing, never relaxing. By chilling the dough, we’re basically giving gluten a time-out, allowing it to unwind. This makes for a dough that’s more pliable and less likely to shrink back faster than a wool sweater in hot water when you’re rolling it out.
Here’s where the science gets mouthwatering: Cold dough equals better texture. Rolling out dough at room temperature? You’ll get a crust denser than a mystery novel. But with chilled dough, you’re on track for a texture that’s light, crisp, and could practically float off the plate.
Finally, think of chilling as your dough’s personal assistant—it preps and primes it for the big show. A chilled dough is easier to handle, so when you’re shaping it into that perfect homey crust, it obediently falls into place without sticking or tearing. It’s like the dough knows it’s been given the VIP treatment and now it’s ready to strut its stuff in that pie dish, smooth and elegant.
So remember, the chilling step isn’t trying to slow your roll—it’s trusting you with the secret handshake into the pie hall of fame. Zip up that dough in some plastic wrap, slide it into the fridge, and give it time to transform. No shortcuts, no skimping. What you get in return is the ticket to the flakiest, tenderest pie crust that’ll have your taste buds singing.
Now go forth, roll out that royally chilled dough, and bake away! Let’s make every slice count, without a crumb of compromise. Consider this your pie-baking mantra: Keep it cool, roll it right, bake to perfection—no summary needed. Enjoy the fruits of patience in every bite.
Rolling and Baking
Rolling out pie dough can be as much an art as it is a science, especially when you’re dealing with the incredible sour cream variety. What sets it apart is the tenderness and flakiness it brings to the table – or to your pie dish, to be exact. But let’s not get ahead of ourselves, as even the most expertly mixed dough can meet its match with the oven if not rolled out properly. It’s about striking that delicate balance between thickness and avoiding the dreaded shrinkage once the baking begins. Here’s how you can ace it:
Gather Your Tools:
- A rolling pin with adjustable rings or guides
- Parchment paper or a silicone baking mat
- A ruler (optional, but helpful for beginners)
Step 1: Let it Rest, But Not Too Much
Prepare your countertop by lightly flouring the surface to avoid any stickage – we want the dough to glide, not stay for a visit. After its time chilling (but not getting too cozy) in the fridge, your dough is primed for action. Take it out and let it sit, just long enough so that it’s pliable but not warm. We’re aiming for that sweet spot – flexible yet firm.
Step 2: Roll with Guides
Now, bring in the rolling pin – and if you have one with adjustable rings, it’s your moment to shine. These nifty little tools will be your pie dough guardians, ensuring that each push of the pin promotes an even thickness. No rings? No problem. A couple of wooden dowels or even chopsticks on either side of your dough can guide your rolling pin to the perfect height.
Step 3: Keep It Moving
Start from the center of the dough round, applying even, gentle pressure as you roll outward. Rotate your dough a quarter turn after a few rolls, ensuring it’s not cozying up too much to the countertop. It’s a bit like a dance, the dough and you, rotating and rolling in sync. Check the thickness with a ruler if you’re all about precision – we’re aiming for about 1/8 to 1/4 inch in thickness.
Step 4: Mind the Shrinkage
Now, here’s the key to fighting the shrink. Once you’ve got that dough rolled out, it may want to relax and retract a bit, like an introvert at a crowded party. To keep it under control, after rolling it out, give it a quick rest again in the fridge. This brief chill session will help calm the gluten down, showing it who’s boss and ensuring it holds its shape during the bake.
Step 5: Dress the Dish
Before you transfer the dough, make sure your pie dish is ready to go – we don’t want any last-minute scrambling. Then, lift the dough with care using your rolling pin or by gently folding it into quarters. Center it over your dish, unfold or unroll, and ease it into the bottom and sides, ensuring it’s snugly fit without any stretching. Remember, like a good hug, it should be firm but kind – no pulling or tugging.
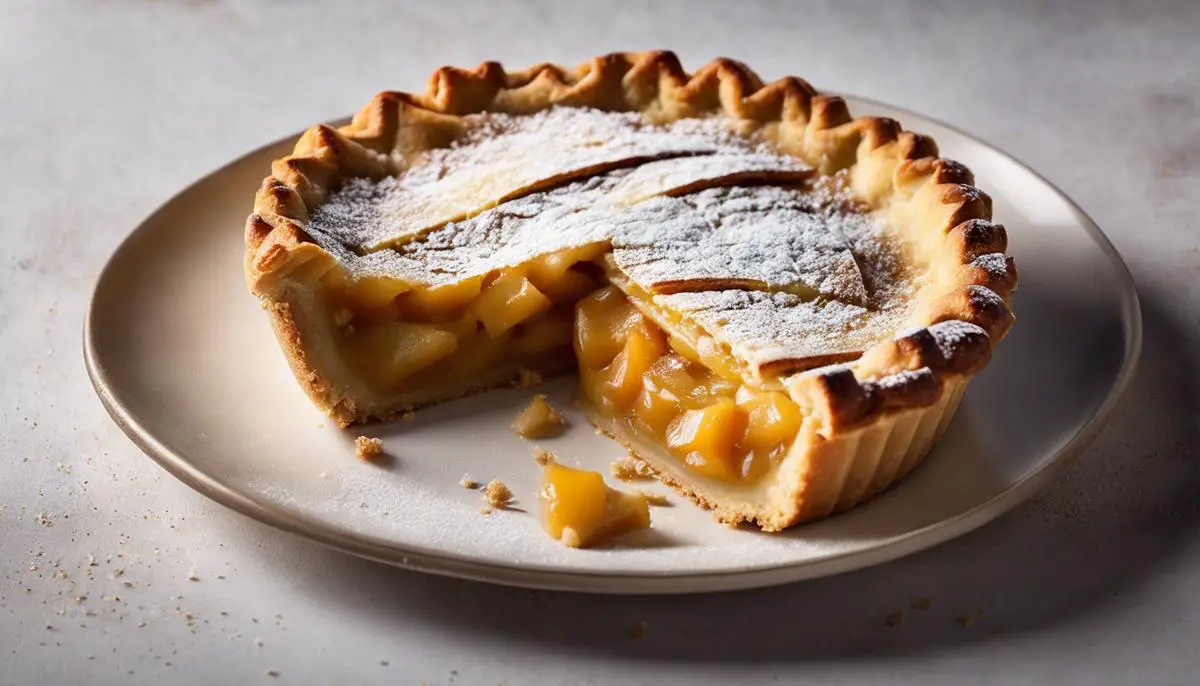
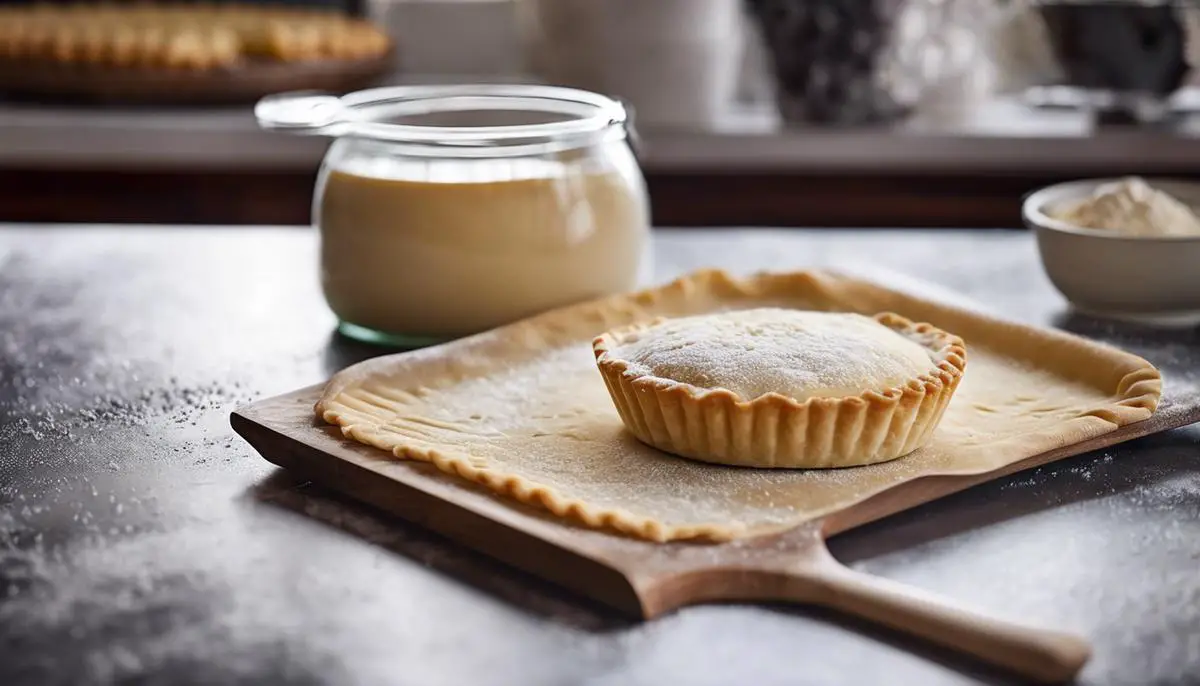
Once your dough is set in the dish, trim any excess but leave a little overhang – that’ll let you crimp or decorate to your heart’s content. And there you have it! A sour cream pie dough that’s rolled out just right, promising even thickness and minimal shrinkage, ready to be transformed into a golden, flaky dream. Happy baking, friends!
As we’ve ventured through the step-by-step process of creating a sublime pie crust with sour cream, it’s evident that precision and patience are the baker’s true allies. From the meticulous mixing of cold butter and flour to the careful chilling and skillful rolling, each stage contributes to the dough’s final texture and flavor. Remembering the tips for successfully baking sour cream pie dough will help ensure that your crusts are consistently delicious and praiseworthy. With these skills now honed, the kitchen is your canvas, and delectable pies are your masterpiece, ready to emerge from the oven to the delight of all who partake.