There is an art to crafting the perfect pecan pie, a beloved classic that graces many a table during festive seasons and cozy gatherings alike. The allure of this timeless dessert lies in its harmonious blend of textures and flavors, beginning with the foundation: a flaky, buttery crust that promises to crumble at the lightest touch. In this exploration of pecan pie recipes, we embark on a culinary journey that will guide you through selecting quality ingredients and teach you the essential techniques for preparing your pie crust, whether you’re working the dough by hand or letting a food processor do the work. As you roll up your sleeves and dust the counter with flour, you’re about to unlock the secrets behind a pastry that’s as visually stunning as it is decadently delicious.
Making the Pie Crust
The Secret to Perfect Flaky and Buttery Pie Crust for Pecan Pie
Hello, fellow homemakers and pie aficionados! When it comes to creating the ultimate pecan pie, every seasoned parent knows that the secret lies in the foundation of any great pie – the crust. Today, let’s unwrap the mystery of making a pie crust that’s just the right amount of flaky and buttery, ready to cradle that lusciously sweet filling.
Here’s a straightforward guide for crafting that perfect pie crust, sure to impress at family gatherings or cozy up your weekend baking adventures.
Ingredients:
- 2 1/2 cups all-purpose flour
- 1 teaspoon salt
- 1 teaspoon sugar (optional, but it adds a touch of sweetness)
- 1 cup (2 sticks) unsalted butter, cold and cut into small cubes
- 1/4 to 1/2 cup ice water
Instructions:
- Combine Your Dry Ingredients
- Cut in Your Butter
- Bring the Dough Together
- Divide and Chill
- Roll It Out
- Fit into Your Pie Dish
- Fill and Bake
In a large mixing bowl, whisk together the flour, salt, and sugar (if using). A dash of love goes a long way here – it’s all about the little details!
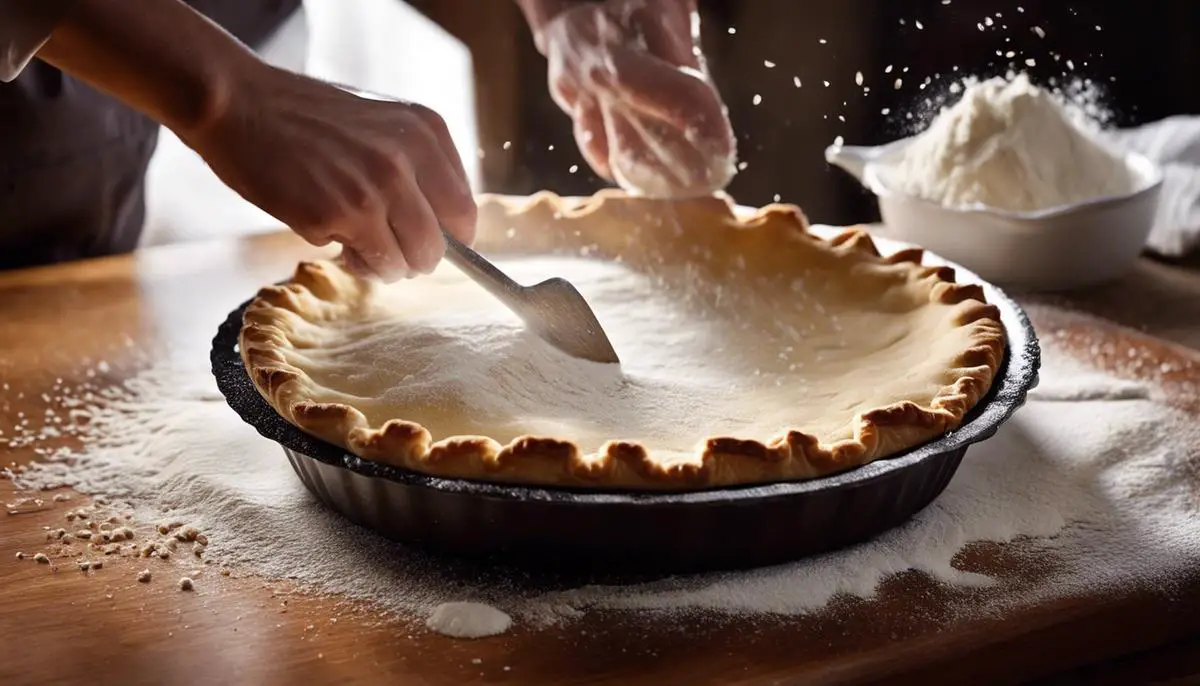
Add your cubed, cold butter to the flour mixture. Using a pastry cutter or your fingertips, work the butter into the flour until you have a crumbly texture with some pea-sized bits of butter throughout. Remember, those bits are what ensure peak flakiness in your crust!
Drizzle the ice water into the bowl a tablespoon at a time, mixing gently with a fork after each addition. Add just enough water to allow the dough to hold together when pinched. Typically, you’ll need somewhere between 1/4 to 1/2 cup. Overworking your dough is a no-no if flakiness is the goal, so treat it with a gentle touch!
Turn out your mixture onto a clean surface and gather it into a ball. Divide it in half, flatten each half into a disc, and wrap them in plastic wrap. Chill these in the fridge for at least 1 hour. This step is like a mini spa break for your dough, making it easier to work with and enhancing the texture.
After the dough has chilled, take one disc out of the fridge (save the other for your next pie project) and roll it out on a lightly floured surface. Aim for about 1/8-inch thickness and a size that will comfortably fit your pie dish with some overhang.
Carefully lay the rolled-out dough over a 9-inch pie dish. Ease it into the bottom and sides of the dish without stretching. Trim any overhanging dough to about an inch beyond the pie dish edge, then tuck and crimp for a decorative edge.
Now comes the moment of truth – it’s time to add your sumptuous pecan pie filling and bake according to your recipe’s instructions.
Pro Tip: For a pre-baked crust, chill the dough in the pie dish for about 30 minutes, then line it with parchment and pie weights. Bake at 425°F (220°C) for about 15 minutes, remove weights and parchment, and bake for another 5 to 10 minutes or until golden.
By following these steps, you’ll have a flaky, buttery pie crust that’s the stuff of dreams and the perfect complement to your pecan pie filling. It’s certainly not rocket science, but a little bit of patience and care can yield a crust that’s simply out of this world.
Bake with joy, share with love, and remember, a homemade pie is more than a dessert – it’s a slice of home. Happy baking!

Preparing the Pecan Filling
Ah, the journey to a truly unforgettable pecan pie doesn’t just end with mastering the pie crust. Whether it’s for a family gathering, a holiday celebration, or simply to satisfy a sweet, nutty craving, the key to a rich and flavorful pecan pie filling is all in the details. And let’s be honest, isn’t the filling what we’re all here for?
Now, onto the heart of the matter — the filling. It’s the crown jewel of the pie, and getting it just right will have everyone coming back for seconds, and even thirds!
Start with the best-quality ingredients you can find. It makes all the difference. Go for fresh, plump pecans, the star of your pie—these nuts should be crisp and sweet-smelling. Roughly chop some of the pecans for texture and leave others whole for that classic pecan pie look.
Brown sugar and melted butter are next. This dynamic duo lends a richness and depth to the filling that white sugar can’t match. Using brown sugar leads to that gooey, caramelized sweetness that is the hallmark of a good filling.
But don’t stop there! A secret to achieving an even more complex and warm flavor is to add a dash of molasses. Its deep, bittersweet notes harmonize beautifully with the toasted pecans and elevate the taste.
Eggs are essential in binding the filling, so make sure to whisk them well before combining them with the other ingredients. The key to a velvety filling is to avoid over-mixing once you’ve added the eggs—stir just enough to blend everything together.
Now, let’s talk corn syrup. Yes, it’s traditional, and yes, it’s sweet, but the trick is to choose a good quality corn syrup, and don’t rely solely on it for sweetness. Balance its contribution with the brown sugar and molasses for a less cloying result.
A splash of good-quality vanilla extract, and a pinch of salt can transform a good filling into a great one. Vanilla adds an aromatic warmth, and the salt—don’t neglect it—helps balance the sweetness and brings out all the other flavors.
When it comes to baking the pie, timing is key. Overcooked pecan pie filling can become dry and crumbly, while undercooked filling won’t set properly. Bake until the edges are set and the center is only slightly jiggly. Remember that the pie will continue to cook and set as it cools.
Don’t rush the cooling process. Allow the pie to cool slowly, giving the filling time to set up properly, resulting in beautifully sliced portions.
There’s a simple pleasure in creating something delightful and homemade. With these tips, the pecan pie filling will not only be rich and flavorful but become a memorable part of family traditions and joyful feasts. Here’s to the next slice of heaven on a plate—happy baking!

Baking and Serving
Moving on from that perfect crust and a filling sweet enough to transport a taste bud straight to dessert Nirvana, let’s delve into the nitty-gritty of baking that pecan pie to absolute perfection and pinpoint the ideal moment to slice it up and serve.
To start, preheat your oven to a cozy 350 degrees Fahrenheit. As it warms up, ponder a minute on the texture we’re aiming for – a filling that’s not too runny, not too solid, just dreamily custardy with pecans cradled on top.
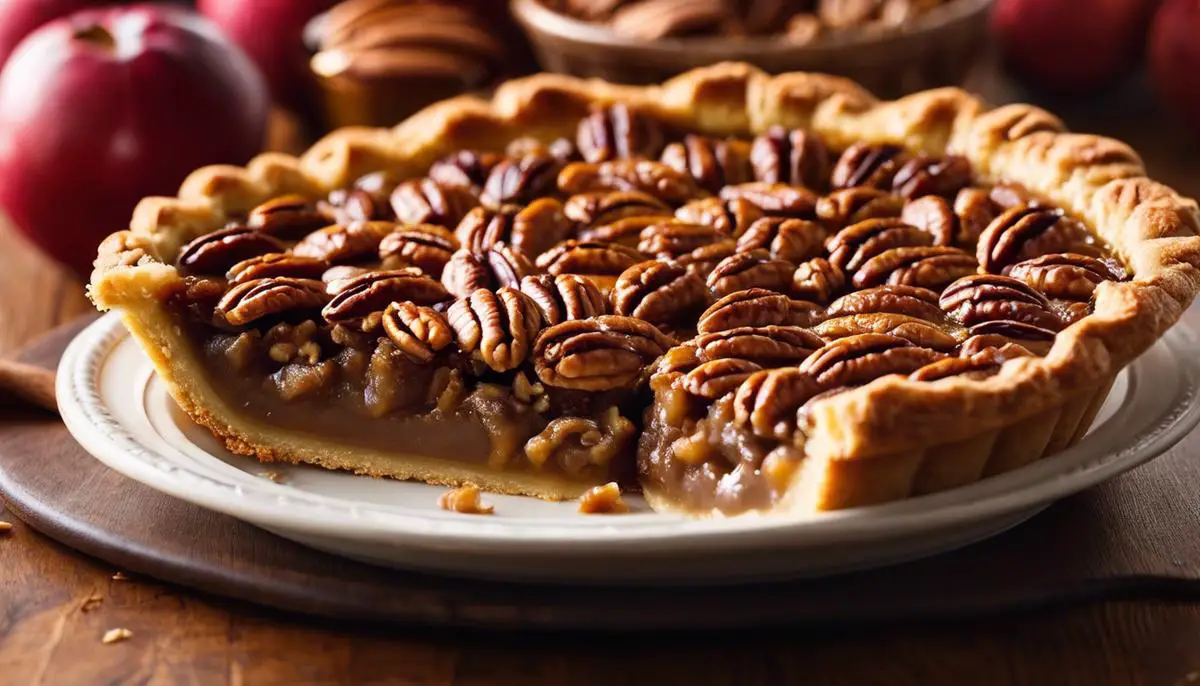
Pour your lovingly mixed filling into the pie crust, which should sit snugly in its dish. Spread the chopped pecans evenly across the surface, letting each one find its place like a leaf settling softly onto a still pond. This even coverage ensures every slice is equally studded with nutty goodness.
Ensuring the oven is at the right temperature, slide the pie onto the middle rack. This position in the oven allows for even heat distribution, so every inch of the pie cooks simultaneously, preventing that dreadful soggy bottom. Baking time is crucial; about 60 to 70 minutes should do the trick. Keep an eye out for the tell-tale signs: a filling that’s set around the edges but still slightly jiggly in the middle – a dance between firm and fluid.
It’s sometimes tempting to introduce a toothpick or knife into the heart of the creation to check for doneness, but resist the urge. This is not a cake where clean is king. Instead, watch for the surface to offer up a slight resistance to the touch and a glossy sheen that catches the light, winking at you to say it’s ready.
Once the oven timer dings, it’s not time to dig in just yet. Patience, a virtue championed in crust-making, reigns supreme once more. Withdraw the pie from the oven and find it a resting place on a wire rack. Now it’s a waiting game while the filling carries on cooking gently from the residual heat – a process that stabilizes the consistency. The slow cool-down period is as critical as the baking itself. It could take a few hours, but it’s worth it. This pie is a labor of love, not a rushed affair.
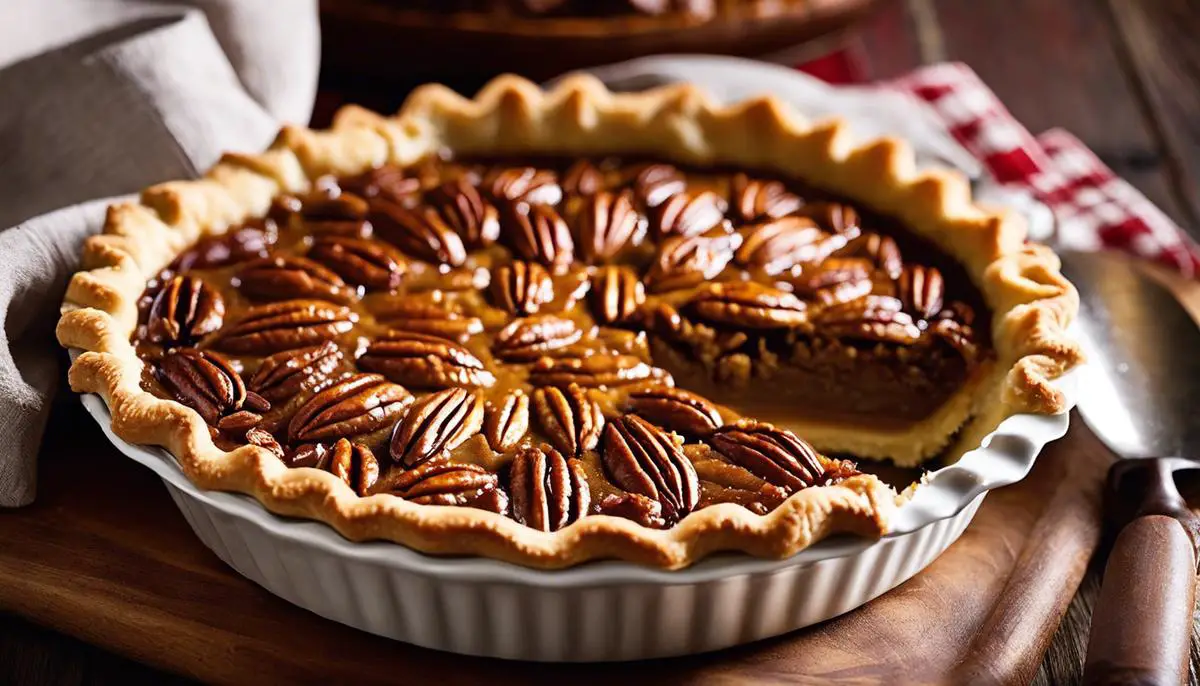
While it’s common practice to serve pecan pie at room temperature, let’s not disregard the charm of serving it slightly warm, which makes for a richer flavor experience and a decadent, almost syrupy texture that melts in the mouth. Present it with a dollop of whipped cream or a scoop of vanilla ice cream, and behold, the pie transforms from a mere dessert to a celebration on a plate.
Whether it’s the grand finale to a family dinner, the star attraction at a holiday feast, or a comfort food on a cool evening, the pecan pie is versatile, never failing to wrap up any occasion with its heartwarming sweetness. So, take these final words of wisdom, roll up those sleeves, and let the magic of homemaking bless the next get-together with a homemade dessert that’s sure to leave guests asking for the recipe.

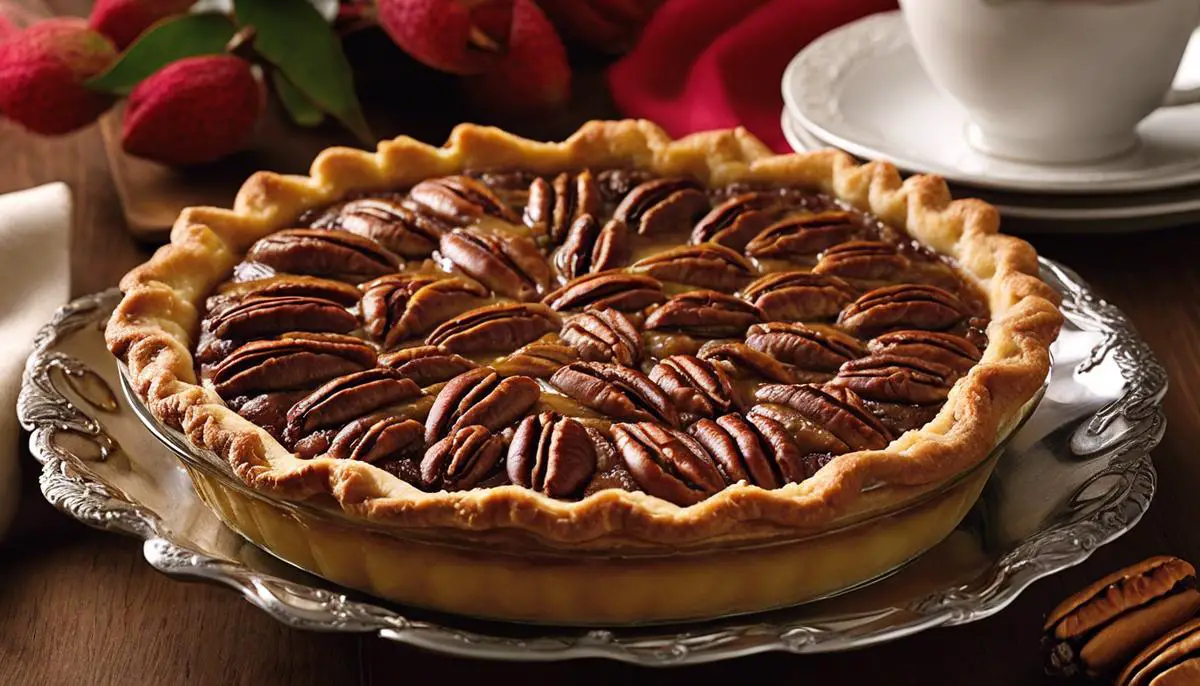
Embarking on the pecan pie-making adventure, you have now whisked, mixed, and baked your way to mastery. A golden crust encases the lusciously sweet filling studded with pecans, evoking images of shared stories and laughter at a family feast. Armed with the skills to craft this quintessential dessert, you’re not just serving slices of pie but creating moments to be savored. As you present your final masterpiece on the table, stand back and watch the joy it brings to all who partake, knowing that each bite is a testament to the love and care infused into its creation.


