Homemade Jam with Less Sugar: A Journey
The first time I realized you could buy jam from the store, I was baffled. My journey with homemade jam, after all, began in my childhood, picking berries with my mom and grandmas, measuring the fruit, and yes, dumping a staggering 7 cups of white sugar into the boiling pot. That sugary concoction might have tasted heavenly, but as an adult, I found myself increasingly uneasy about the sheer amount of sugar we consumed. Especially after our kids got hooked on PB&J sandwiches and our once-occasional treat became a daily habit.
So, I embarked on a quest to make jam with less sugar and preserve the rich, natural taste of the fruit. The idea of using honey as a substitute for refined sugar was a revelation. A little research, a few test batches, and voilà — I had a no-sugar jam recipe that passed the scrutiny of my sugar-loving family.
Choosing the Right Fruit
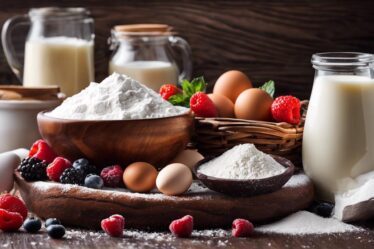
Selecting the right fruit is where the magic begins for making no-sugar jam that's worth every bite. Seasonal, ripe fruit is your best bet. In-season fruits not only offer the freshest flavors and vibrant colors but they're also more affordable. When fruits are at their peak ripeness, they naturally contain higher levels of natural sugars and pectin, essential for achieving that ideal jam consistency without adding refined sugar.
Fresh berries, such as strawberries, raspberries, and blueberries, make excellent choices for these types of jams. Their natural sweetness and pectin content help create a delicious result without additional sweeteners. Stone fruits like peaches, apricots, and plums are also great options. If using these, peeling them might be necessary for a smoother jam texture.
For year-round jam-making, frozen fruits are a fantastic alternative. They're picked at peak ripeness and flash-frozen to lock in nutrients and flavor. This method saves time on washing and de-stemming, making it a convenient option for busy days. Just remember that frozen fruit will release more water during cooking, so you might need a little extra time for the mixture to thicken.
For those who love a bit of tartness, cherries or rhubarb can be your go-to. If opting for sour fruits, adding a pinch of baking soda can help neutralize the acidity, requiring less honey to offset the tartness.
In sum, the fruit you choose lays the foundation for your jam's flavor and texture. Whether you're near a local farm or browsing the grocer's freezer, the perfect fruit for your jam is within reach. Happy jamming!

Essential Jam-Making Equipment
Let's now talk about the essential tools you'll need for making jam, ensuring each batch turns out perfectly.
First, a heavy-bottomed saucepan is crucial. This type of pan distributes heat more evenly, reducing the risk of burning your precious fruit. Uneven heating can lead to scorched spots, which can ruin the flavor of your jam.
You'll also need sterilized mason jars, lids, and rings. Sterilization is key to preventing bacteria and mold from spoiling your jam. Fill the jars with boiling water, then let them sit and drain while you prepare your jam. Clean lids and rings ensure a proper seal, crucial for the long-term storage of your jam.
A potato masher or food processor is another must. Mashing or processing your fruit to the desired consistency allows better integration of pectin and sweeteners, ensuring a uniform texture. For those who prefer a chunkier jam, a potato masher might be more suitable, while a food processor offers a smoother finish.
A canning kit can also be very helpful, particularly if you plan to make large batches or store your jams for longer periods. These kits typically include a jar lifter, a funnel, and a magnetic lid lifter. The jar lifter helps safely place jars in and out of boiling water when canning, the funnel reduces mess when transferring jam into jars, and the magnetic lid lifter aids in placing lids without touching the sterilized surface.
Lastly, a set of measuring cups and spoons is essential for getting your proportions just right. Accurate measurements ensure your jam sets properly and tastes consistent every time.
With these tools, you're fully equipped to make delicious homemade jam that your family will love. Happy jamming!

Basic Jam-Making Steps: Tips and Tricks
Making homemade jam can seem like an overwhelming task, but breaking it down into simple steps can ease the process and ensure success. Here's an uncomplicated guide to help you create delicious, no-sugar jam at home.
Sterilizing the Jars
Sterilizing your jars is a non-negotiable first step. Begin by washing your jars, lids, and rings with hot, soapy water. Place the jars in a large pot, cover them with water, and bring to a boil for at least 10 minutes. Let them stay in the hot water until you're ready to fill them. Put the lids and rings in a smaller pot of water and bring to a gentle boil. This keeps everything sanitized and prevents spoilage.
Preparing the Fruit
Start by selecting the freshest and ripest fruit you can find. Wash the fruit thoroughly and remove any stems, seeds, or pits. For berries, it's often sufficient to wash and hull them. Use a potato masher or a food processor to mash the fruit to your desired consistency. Remember, a chunkier texture means mashing by hand, while a smoother jam calls for the food processor.
Consistent Stirring to Prevent Burning
One of the biggest pitfalls in jam-making is burning the mixture. Using a heavy-bottomed saucepan can help distribute heat evenly. Consistent stirring is crucial, especially as the mixture starts to thicken. Resist the urge to walk away; even a minute can make a difference between perfect jam and a burnt mess. Keeping the heat at a steady, even temperature helps as well. Don't rush it by cranking up the heat—steady wins the race.
Testing for the Right Consistency
Achieving the perfect consistency is key. After bringing your fruit and pectin mixture to a boil, you'll need to test it. A handy trick is the plate test: pop a plate in the freezer when you begin cooking your jam. Once the jam mixture has boiled for a bit (according to your recipe), take out the plate, drop a bit of jam onto it, and let it cool for a few seconds. Push the edge of the jam blob with your finger; if it wrinkles, it's done. If it stays runny, it needs more time.
With these tips in mind, you're well on your way to making delicious, healthier homemade jam that's ready to be enjoyed on toast, in sandwiches, or as a topping on your favorite desserts. Happy preserving!
No-Sugar Jam Recipe
Ingredients:
- 5 cups prepared fruit (washed, smashed, etc.)
- 5 tablespoons low-sugar fruit pectin
- 1 cup water or sugar-free fruit juice
- 1 cup honey (optional, or use an extra cup of fruit if omitted)
Instructions:
- Prepare the Jars:
– Wash and sterilize six 8 oz. jelly jars or four 12 oz. jelly jars. Fill with boiling water and set aside.
– Put lids in a pan of water and bring to a gentle boil. - Prepare the Fruit:
– Wash, smash, and process your chosen fruit. - Make the Jam:
– Add 5 level cups of prepared fruit to a large saucepan.
– Add 1 cup of water or sugar-free fruit juice to the saucepan. (Omit the water if you prefer thicker jam.)
– Stir in 5 level tablespoons of low-sugar fruit pectin.
– Bring the mixture to a full boil over medium heat, stirring regularly.
– Once boiling, add the honey (if using) and continue to boil for 2 minutes, stirring constantly. - Jar the Jam:
– Spoon the hot jam into the sterilized jars.
– Cover with the prepared lids and rings.
– Flip the jars upside down for 5 minutes.
– Alternatively, process the jars in a hot water bath for 10 minutes.
– Flip the jars back right-side up and let cool at room temperature for 12-24 hours, ensuring the lids seal properly. - Store:
– Wipe down the sealed jars and store them in a pantry.
– Refrigerate or freeze any jars that didn't seal properly.
Variations:
- For strawberry jam, use fresh or frozen strawberries.
- For a mixed berry jam, use a blend of strawberries, blueberries, and raspberries.
- For a sour fruit jam, like cherry or rhubarb, add a pinch of baking soda to neutralize the tartness.
- For stone fruit jams, like peach or plum, peel the fruit if desired for a smoother texture.
Optional Tip:
- If using frozen fruit, allow extra cooking time to account for the additional water content.
Nutritional information per 1 tbsp serving (using honey):
- kcal: 25
- carbohydrates: 6g
- sugar: 6g
- protein: 0g
- fat: 0g
Classic Homemade Jam Recipe
Ingredients:
- 3 lbs fresh fruit (e.g., strawberries, raspberries, blueberries)
- 4 cups granulated sugar
- 1/4 cup lemon juice
- 1 packet fruit pectin
Instructions:
- Prepare the Jars:
– Wash and sterilize six 8 oz. jars. Fill with boiling water and set aside.
– Put lids in a pan of water and bring to a gentle boil. - Prepare the Fruit:
– Wash the fruit thoroughly.
– Hull or pit the fruit as needed.
– Mash the fruit to your desired consistency using a potato masher or food processor. - Cook the Jam:
– In a large saucepan, combine the mashed fruit, sugar, and lemon juice.
– Stir well and add the fruit pectin.
– Bring the mixture to a full rolling boil over medium-high heat, stirring constantly.
– Once boiling, continue to stir and let it boil hard for 1 minute. - Test for Consistency:
– Perform the plate test: Drop a small amount of jam on a chilled plate and let it cool for a few seconds. Push the edge of the jam with your finger; if it wrinkles and holds its shape, it's ready. - Jar the Jam:
– Spoon the hot jam into the sterilized jars, leaving about 1/4 inch headspace.
– Wipe the rims clean with a damp cloth.
– Place the prepared lids on the jars and screw on the rings until fingertip tight. - Process:
– Process the jars in a boiling water bath for 10 minutes.
– Carefully remove the jars and let them cool on a kitchen towel undisturbed for 12-24 hours.
– Check for proper sealing by pressing the center of each lid; it should not pop back.
Nutritional information per serving (2 tablespoons):
kcal: 50
carbohydrates: 13g
sugar: 13g
protein: 0g
fat: 0g
sodium: 0mg
fiber: 0g
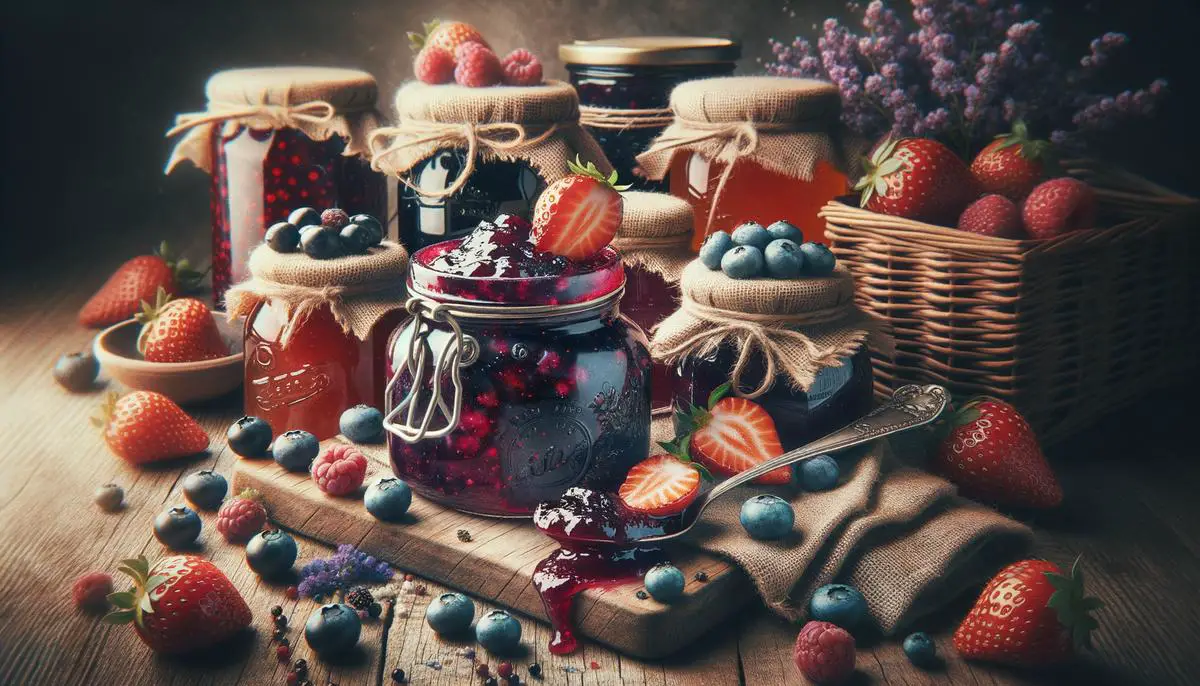
Storage Tips:
- Once cooled, store sealed jars in a cool, dark place.
- Refrigerate any jars that didn't seal properly and use them within a few weeks.
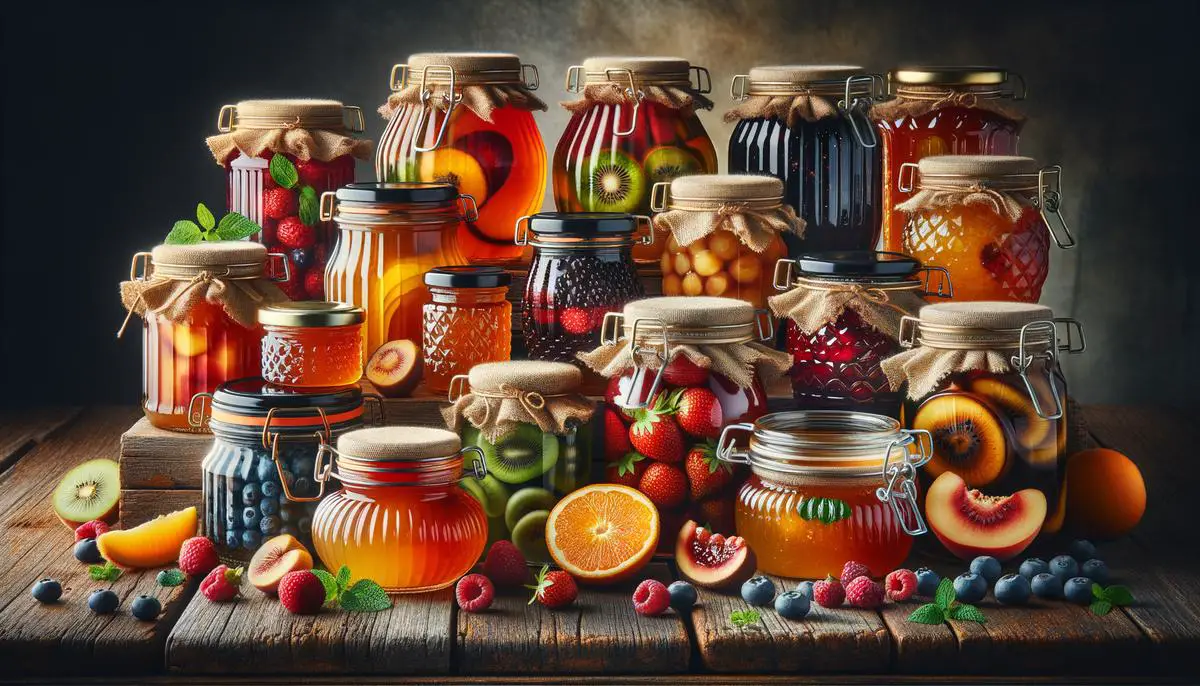
Creative Jam Variations
For those with an adventurous palate, exploring different fruit combinations and flavor twists can elevate your homemade jam game. Here are some creative and delicious jam variations that use both the basic and no-sugar recipes as bases.
Savory Strawberry and Basil Jam:
A unique twist on the traditional strawberry jam, this variation includes the refreshing flavor of basil. It's perfect for pairing with cheese platters, spreading on toast, or as a glaze for grilled chicken.
Ingredients:
- 5 cups prepared strawberries (washed, hulled, and smashed)
- 5 tablespoons low-sugar fruit pectin
- 1 cup water
- 1 cup honey (optional)
- 1/3 cup finely chopped fresh basil
Instructions:
- Prepare the Jars:
– Wash and sterilize jars and lids as previously described. - Prepare the Fruit:
– Wash and hull the strawberries.
– Smash the strawberries to your desired consistency. - Make the Jam:
– Add the strawberries to a large saucepan.
– Add 1 cup of water.
– Stir in 5 tablespoons of low-sugar fruit pectin.
– Bring the mixture to a full boil over medium heat, stirring regularly.
– Add honey if using and bring the mixture to a full boil for 2 minutes, stirring constantly.
– Stir in the chopped basil at the end. - Jar the Jam:
– Follow the usual jar and seal process for canning.
Tropical Mango and Pineapple Jam:
Bright and cheerful, this tropical blend brings the summer vibes straight to your pantry. It's excellent on toast, stirred into yogurt, or used as a delightful topping on ice cream.
Ingredients:
- 3 lbs fresh mango chunks (about 4-5 large mangoes)
- 1 cup crushed pineapple, undrained
- 5 tablespoons low-sugar fruit pectin
- 1 cup water
- 1 cup honey (optional)
Instructions:
- Prepare the Jars:
– Wash and sterilize jars and lids as previously described. - Prepare the Fruit:
– Peel and cube the mangoes.
– Combine mango chunks and crushed pineapple in a large saucepan, using the juice from the crushed pineapple for added sweetness. - Make the Jam:
– Add 1 cup of water to the fruit mixture.
– Stir in 5 tablespoons of low-sugar fruit pectin.
– Bring the mixture to a full boil over medium heat, stirring regularly.
– Add honey if using and bring the mixture to a full boil for 2 minutes, stirring constantly. - Jar the Jam:
– Follow the usual jar and seal process for canning.
Mixed Berry Jam with a Citrus Twist:
By combining raspberries, blackberries, and strawberries with a hint of lemon or lime, this variation offers a burst of berry goodness with a zesty note. It's perfect for breakfast items or as a filling for pastries.
Ingredients:
- 1 pound raspberries
- 1 pound blackberries
- 1 pound strawberries (washed, hulled, and smashed)
- 5 tablespoons low-sugar fruit pectin
- 1 cup water or lemon juice
- 1 cup honey (optional)
- Zest and juice of 1 lemon
Instructions:
- Prepare the Jars:
– Wash and sterilize jars and lids as previously described. - Prepare the Fruit:
– Wash and smash the berries.
– Combine the berries in a large saucepan. - Make the Jam:
– Add 1 cup water or lemon juice, along with the lemon zest and juice.
– Stir in 5 tablespoons of low-sugar fruit pectin.
– Bring the mixture to a full boil over medium heat, stirring regularly.
– Add honey if using and bring the mixture to a full boil for 2 minutes, stirring constantly. - Jar the Jam:
– Follow the usual jar and seal process for canning.
Peach-Plum Jam:
A delightful combination that balances the sweetness of peaches with the hint of tartness from plums. This jam pairs beautifully with freshly baked scones, croissants, or as a topping for Greek yogurt.
Ingredients:
- 1.5 pounds peaches (peeled and chopped)
- 1.5 pounds plums (pitted and chopped)
- 4 cups granulated sugar
- 5 tablespoons low-sugar fruit pectin
- 1 cup water
- 1/4 cup lemon juice
Instructions:
- Prepare the Jars:
– Wash and sterilize jars and lids as previously described. - Prepare the Fruit:
– Peel, pit, and chop the peaches and plums.
– Combine them in a large saucepan. - Make the Jam:
– Add 1 cup water and 1/4 cup lemon juice.
– Stir in 4 cups granulated sugar and 5 tablespoons of low-sugar fruit pectin.
– Bring the mixture to a full boil over medium heat, stirring regularly.
– Once boiling, continue stirring constantly for 2 minutes. - Jar the Jam:
– Follow the usual jar and seal process for canning.
With these creative variations, every meal can feature a touch of homemade charm. Enjoy trying out different combinations to find your favorites!