Selecting the perfect apple isn’t just about finding one that tastes good; it’s about understanding how different kinds respond to heat, especially when frying. This guide dives into the qualities that make some apple varieties better suited for frying, aiming to enhance your culinary creations. From choosing the right type of apple to preparing them for the fryer, we’ll explore the factors that contribute to a delicious outcome. With the right knowledge, you can elevate your dishes to a new level of flavor and texture.
Selecting the Perfect Apples
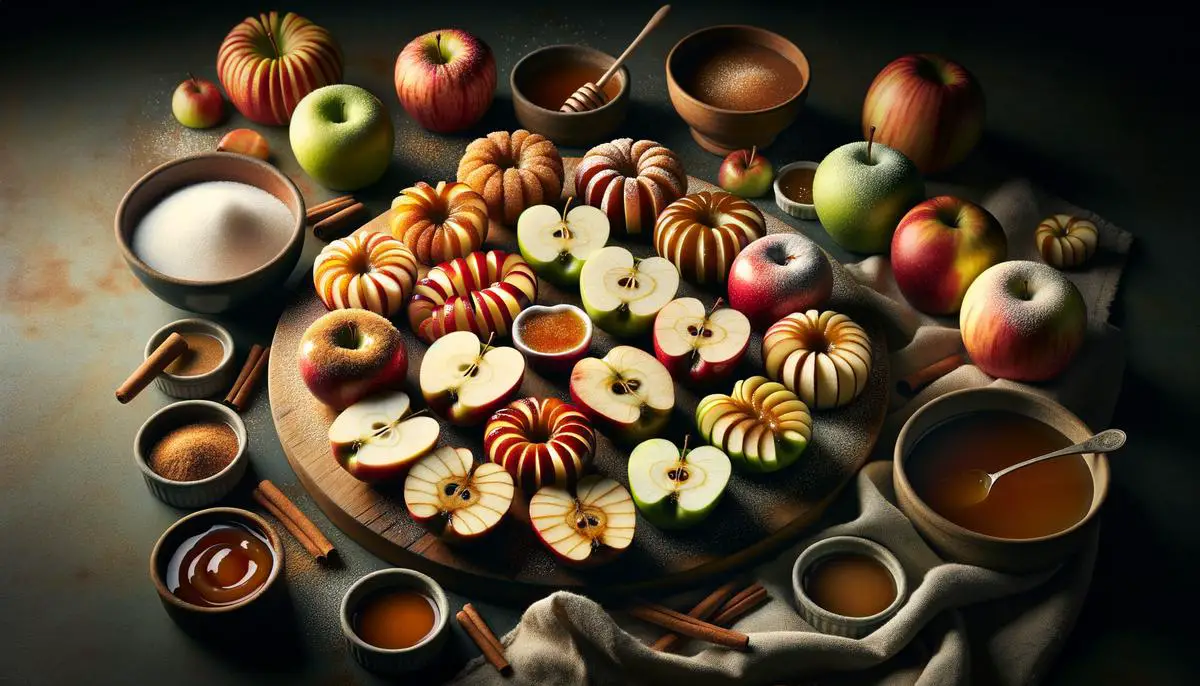
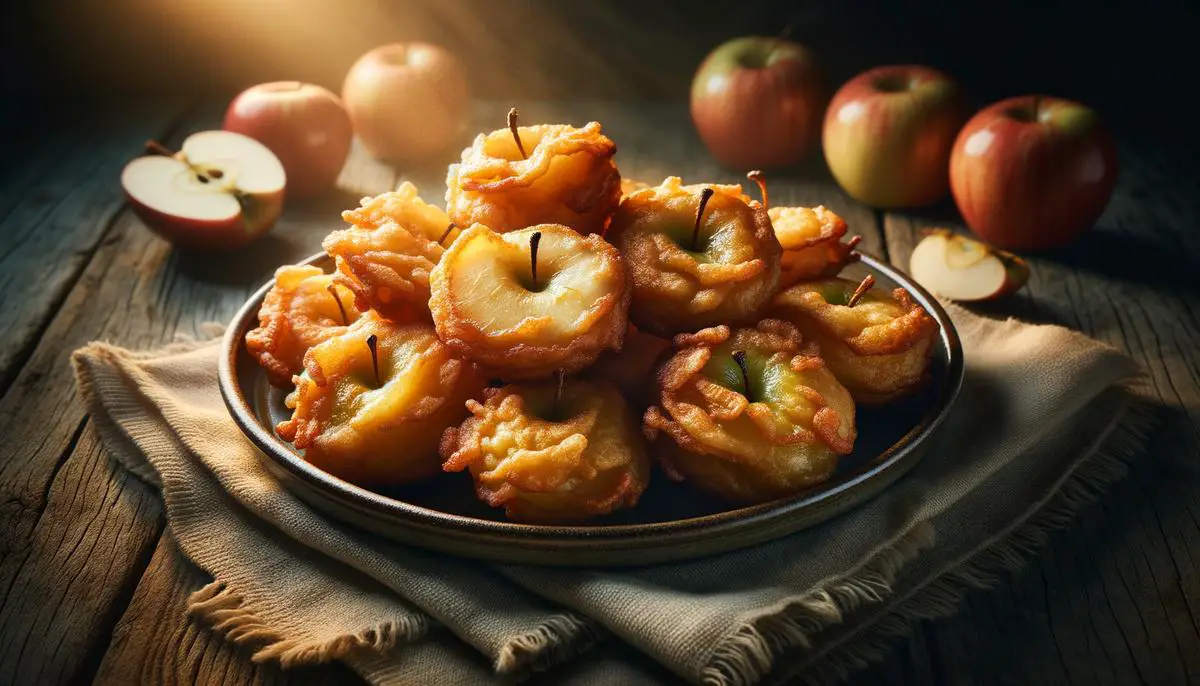
When frying apples, not all varieties are created equal. Some hold their shape and retain a bit of crunch, while others turn to mush. Here’s a quick guide to the types that stand up best to the heat of frying, making your culinary experience not just easier, but significantly tastier.
Granny Smith
: This green apple is a popular choice for its firmness and tart flavor. When fried, it softens slightly but doesn’t lose its shape, providing a beautiful contrast to sweet dishes.Honeycrisp
: Aptly named, the Honeycrisp delivers a beautiful balance of sweet and tart tastes. Its cells are larger, which means it retains a satisfying crunch after frying. This apple variety caramelizes nicely, adding a riche depth to your dish.Braeburn
: Known for its excellent cooking qualities, the Braeburn holds its texture when fried. It brings a combination of sweet and slightly spicy flavors, adding complexity to your meals.Pink Lady (Cripps Pink)
: This apple has a beautiful pinkish hue and a balanced sweet-tart flavor, making it perfect for both sweet and savory frying endeavors. It maintains its shape and offers a delightful crunchiness.Jonagold
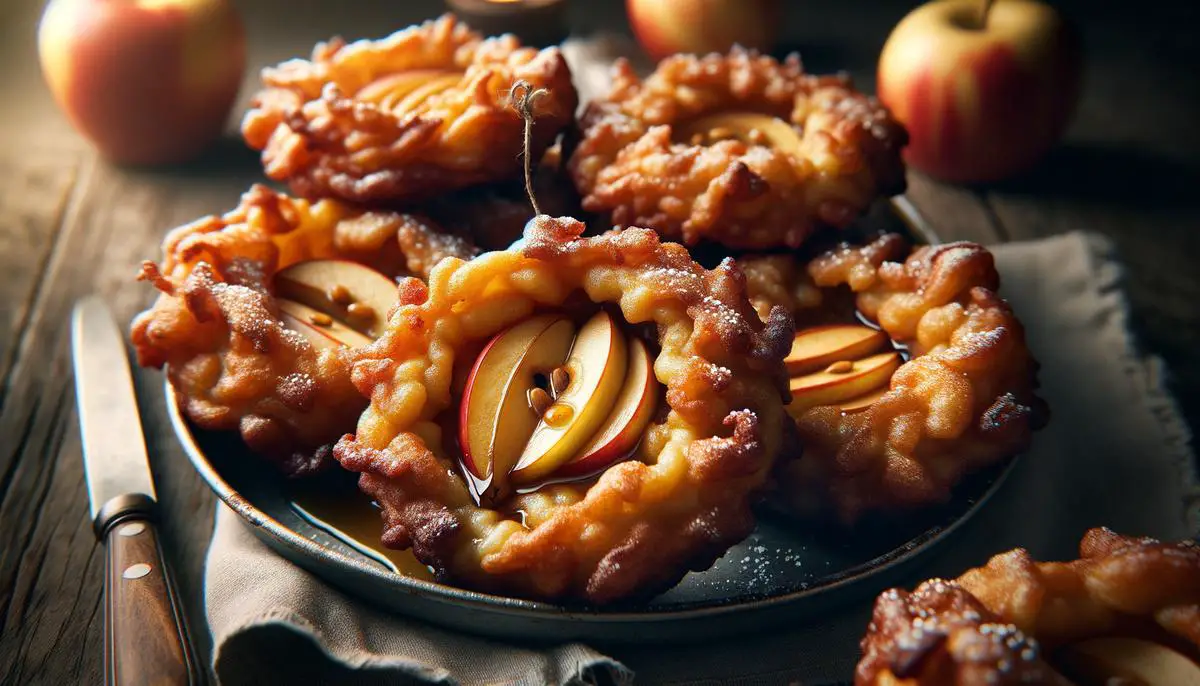
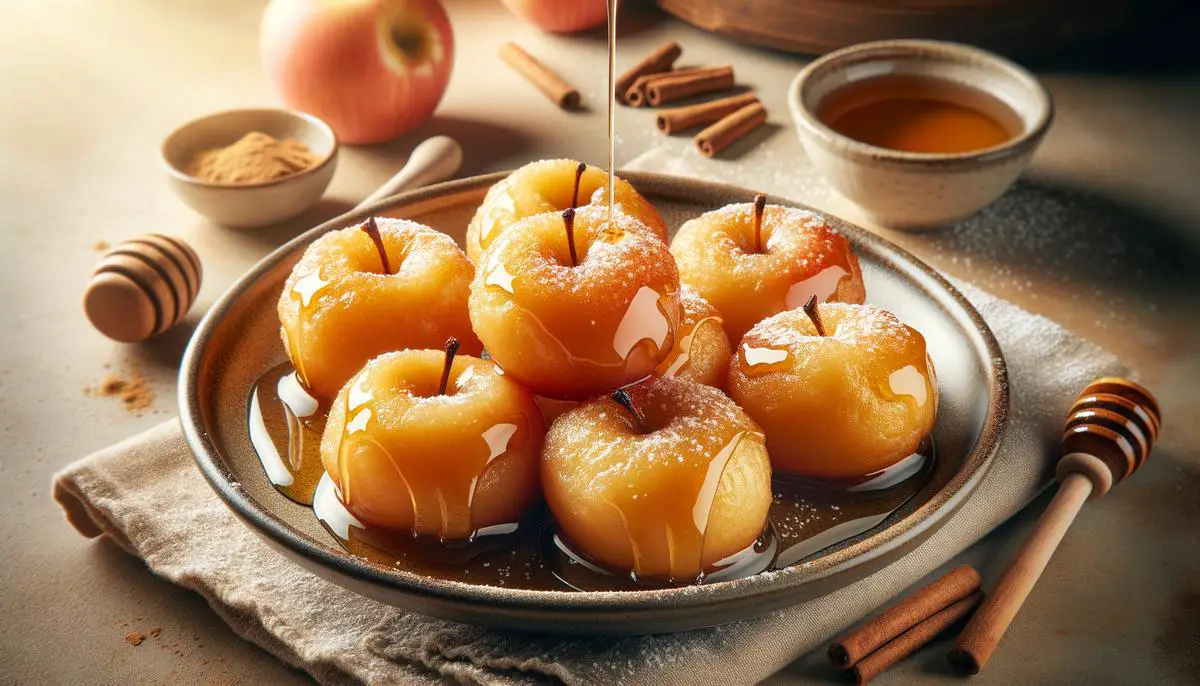
: A hybrid of Jonathan and Golden Delicious apples, the Jonagold hits the sweet spot in flavor and texture. It fries up beautifully, keeping its integrity and offering a rich, honeyed taste.For the best fried apples, start by selecting the right variety. Core and slice your apples thinly for quick and even cooking. Fry in a preheated pan with butter, adding a sprinkle of cinnamon or sugar for a delightful flavor boost. Serve hot as a side, a dessert topping, or enjoy them straight out of the pan.
Armed with this knowledge, feel free to experiment and find your favorite. Happy frying!
Preparing the Batter
Now, let’s pivot to crafting a batter that’s both light and crispy, a perfect coat for those ideally selected and sliced apples. The secret to achieving this culinary feat lies in understanding the ingredients and techniques that conspire to create that golden, airy crunch we all crave.
Ingredients:
- 1 cup of all-purpose flour
- 1 tablespoon of cornstarch
- A pinch of salt
- 1 cup of cold sparkling water
- Ice cubes
- Oil for frying (canola, vegetable, or peanut oil are great choices)
Step-by-Step Guide:
- Preparation: Start by sifting your flour and cornstarch into a mixing bowl. This isn’t just busywork—sifting helps eliminate lumps, ensuring a smoother, more uniform batter. Add a pinch of salt to the mix. Salt not only seasons the batter but can also help in creating a crispier exterior.
- Introducing Sparkling Water: The magic ingredient in our batter is cold sparkling water. Measure out about a cup, and ensure it’s ice-cold before use. The bubbles in the water introduce air into the batter, contributing to its lightness, while the cold temperature prevents the gluten in the flour from activating too early, which can lead to toughness.
- Mixing with Minimalism: When combining the sparkling water with your dry ingredients, a light touch and restraint are paramount. Over-mixing can awaken the gluten monsters, leading to a chewy, dense batter. Use a fork or a chopstick and mix until just combined. It’s fine—actually, preferable—if there are some lumps remaining.
- The Ice Cube Trick: To keep the batter as cold as possible, throw a couple of ice cubes into the mix. This keeps the temperature down, preserving the batter’s lightness until the moment it hits the hot oil. Remember to remove the ice cubes right before you start dipping your apple slices.
- Frying Technique: Heat your oil to around 350-375°F (177-190°C). This is the sweet spot for achieving a crisp, golden exterior without absorbing too much oil. Dip your apple slices into the batter, shaking off any excess, then gently lower them into the oil. Don’t overcrowd the pan—work in batches to maintain the oil’s temperature.
- The Final Touch: Once your apple slices are beautifully golden and floating to the surface, it’s time to remove them. Use a slotted spoon to transfer them to a paper towel-lined plate or a cooling rack. This step is crucial for draining any excess oil, ensuring your fried apples aren’t just crispy, but also not greasy.
- Serving Suggestion: Serve immediately while warm and crispy. These can be enjoyed as is or with a light dusting of powdered sugar or a cinnamon sugar blend for an extra treat.
Creating a batter that’s both light and crispy is an alchemy of the right ingredients and techniques. With cold sparkling water to infuse lightness, a dash of patience in mixing, and the thermal shock of the fry, you’re equipped to cloak your chosen apple slices in a batter that’s poised to crunch delightfully with every bite. Dive into the process, enjoy the tactile pleasure of mixing, and revel in the golden results.
Frying Techniques
To ensure your fried apples achieve that irresistible golden crunch and tender inside, it’s crucial to nail the perfect frying temperature and time. Miss the mark, and you’re left with soggy or overly crisp disappointments. Fear not – with these straightforward steps, mastering the art of frying apples becomes second nature.
Firstly, equip yourself with a deep-fry thermometer – this tool is non-negotiable. The optimal oil temperature for frying apples lies between 350°F to 375°F. Why this specific range? It’s the sweet spot where the magic happens: the outside crisps to perfection while the inside cooks just right, retaining its moisture without becoming mushy.
Next, timing is everything. Depending on the thickness of your apple slices, frying should generally take between 2 to 3 minutes. However, don’t just watch the clock – visual cues are key. Look for the edges to turn a golden brown and the batter to puff up slightly. These signs indicate it’s time to fetch them from the oil.
Regarding oil, choice matters. Opt for oils with a high smoke point, like canola or vegetable oil, to avoid any unwanted flavors. Also, ensure you’ve got enough oil in the pan – it should be deep enough to allow the slices to float freely. Crowded apples equals inconsistent frying.
One last thing: never underestimate the importance of the resting phase. Once you’ve fished out the slices, let them rest on a wire rack or a plate covered with paper towels. This step isn’t just about draining excess oil; it’s also about letting the crust finalize its crispiness.
Incorporate these principles into your frying regimen, and the result will be fried apples so good they’ll disappear quicker than you can make them. Remember, practice makes perfect. Each batch teaches you something new, honing your frying prowess until you’ve got it down to a fine art.
Mastering the art of frying apples transforms a simple fruit into a culinary delight. By selecting the right apple varieties and employing proper frying techniques, you can achieve that perfect balance of crispy exterior and tender interior. The journey from choosing an apple to savoring the final bite is filled with opportunities to experiment and discover. Remember, the key to a great dish lies in the details — the choice of apple, the batter’s consistency, and the frying conditions. Embrace these insights, and your fried apples will not only impress your taste buds but also inspire your culinary adventures.