Creating the perfect milk pearl tea involves more than just mixing ingredients; it’s about understanding and perfecting each component that goes into it. From selecting the right tea leaves to brewing a rich tea base, crafting silky-smooth milk foam, and cooking tapioca pearls until they’re just right, each step plays a crucial role in the final outcome. This guide is designed to walk you through these essential stages, ensuring you have all you need to make an impressive milk pearl tea every time.
Brewing the Perfect Tea Base
Ensuring a Rich and Aromatic Tea Base for Your Milk Pearl Tea
For a stellar milk pearl tea, the foundation rests on the quality of your tea base. Crafting this critical component involves selection, preparation, and infusion techniques that elevate the drink from good to exceptional. Follow these guidelines meticulously to achieve rich, aromatic results.
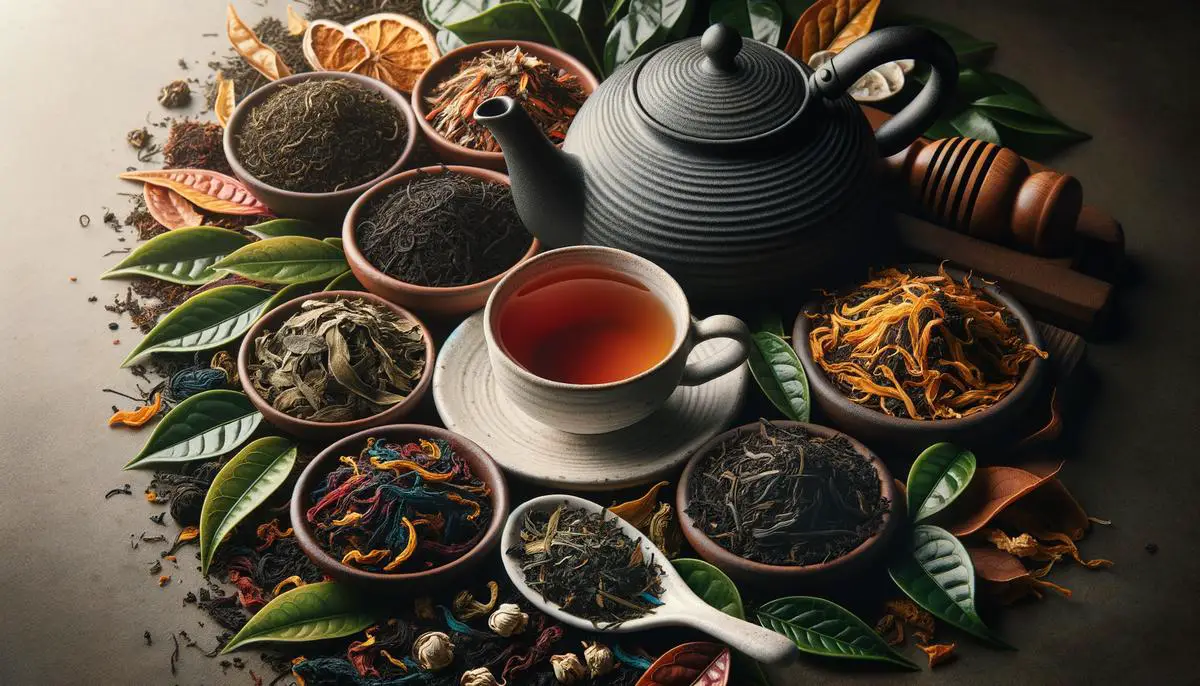
Selection of Tea Leaves:
Begin with high-quality loose-leaf tea. For traditional milk pearl tea, black tea varieties like Assam or Ceylon are preferred for their robust flavor. However, the choice is vast, and exploring different types can yield exciting results. Remember, the quality of your leaves directly influences the depth of your tea’s flavor.
Water Temperature and Quality:
Use filtered water heated to 200°F (93°C) for black tea. This temperature extracts the full range of flavors without imparting bitterness. Paying attention to water quality and temperature ensures your tea base starts on the right note.
Steeping Time:
Precision in steeping time is crucial. For a rich and robust tea base, steep your black tea leaves for 3 to 5 minutes. Exceeding this duration risks bitterness, whereas less time might yield a weak infusion. Adjust according to taste preference, but remain within the recommended range for optimal results.
Concentration:
A concentrated tea base is key. Use a higher ratio of tea leaves to water than you would for a standard cup of tea. A good starting point is one and a half teaspoons of loose-leaf tea for every 8 ounces of water. This concentration ensures the tea’s flavor stands up to the dilution from ice and the addition of milk.
Quality of Milk:
The choice of milk significantly affects the final drink. Full-fat milk or cream lends a luxurious mouthfeel and complements the robust tea. Alternative dairy-free options like almond or oat milk can also work but aim for barista editions for the best texture.
Sweetening:
The sweetening stage is delicate. Adjust according to personal preference, but start conservatively. Remember, you can always add more, but you cannot subtract. Brown sugar, honey, or simple syrup are excellent choices that blend well without overpowering the tea’s nuances.
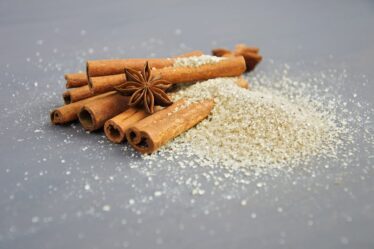
Infusion Enhancements:
For an extra aromatic kick, consider adding a dash of vanilla extract or a cinnamon stick during the steeping process. These additions should be subtle, enhancing rather than dominating.
Final Strain and Serve:
Once steeped and infused to perfection, strain the tea leaves or remove the bags. Your rich and aromatic tea base is now ready to be transformed into exquisite milk pearl tea. Mix with your preferred amount of milk, sweeten to taste, and don’t forget the signature pearls for that quintessential chew.
Follow these steps for a consistently rich and aromatic milk pearl tea experience, crafted to impress with every sip.
Crafting Silky-Smooth Milk Foam
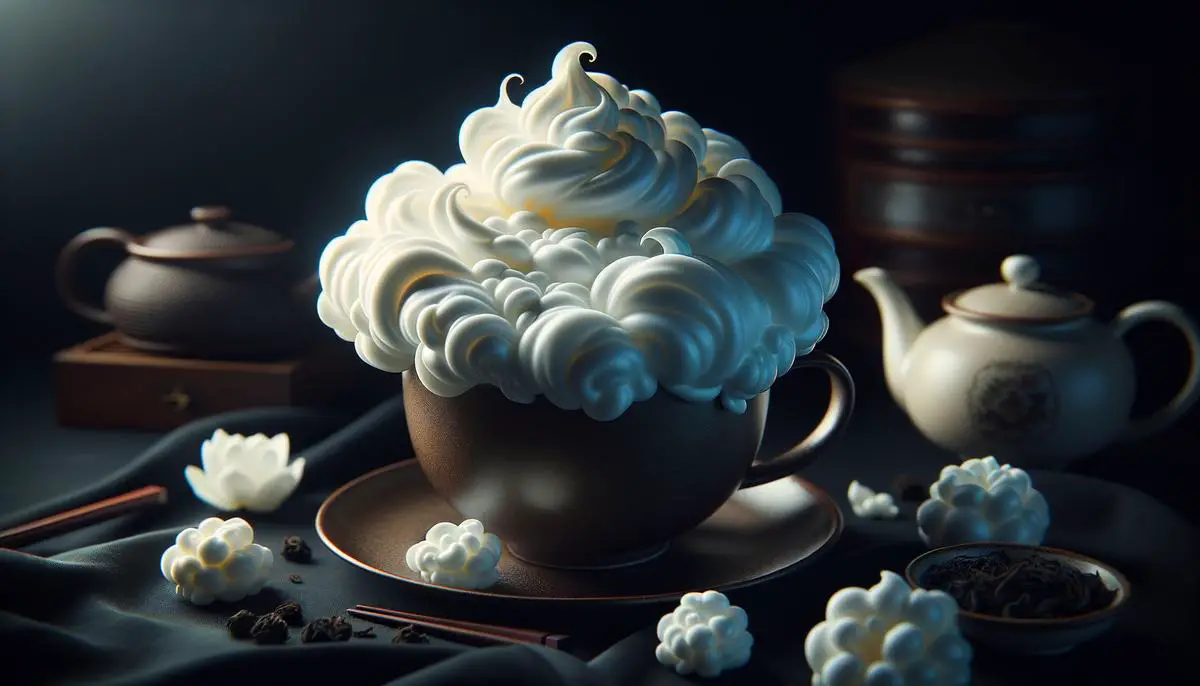
Crafting the Perfect Milk Foam for Pearl Tea
In the realm of milk pearl tea, what truly distinguishes an exceptional beverage from an average one is the quality of its milk foam. Achieving that luxurious, creamy texture which gently floats atop your tea, enhancing every sip with its rich, velvety essence, is an art in itself. It’s that ultimate crowning layer that not only seduces the palate but also the eyes, making your milk pearl tea not just a drink, but a treat.
The secret? It begins with the right tools – a hand-held milk frother or a small electric whisk will be your best allies. While traditional methods and barista machines do the job, for home connoisseurs, these tools are both accessible and highly effective.
First, choose your milk. Full-fat milk foams better due to its higher fat content, delivering that sought-after creamy consistency. However, for those navigating dietary restrictions, fret not. Almond, soy, and oat milk are commendable alternatives, each bringing a unique flavor profile and richness to your foam. Temperature plays a pivotal role here. Cold milk straight from the refrigerator is ideal; it froths up easier and holds its structure longer, ensuring your foam remains buoyant and lush throughout your drinking experience.
Now, to the frothing. Pour your chosen milk into a tall, narrow container – this shape helps in trapping the air and enriching the foam. Insert your frother or whisk, plunging it just below the milk’s surface. Turn it on and steadily move it up and down, introducing as much air as possible into the milk. This isn’t a hurried process. Patience is key. You’re not just creating foam; you’re crafting an experience. Within 30 seconds to a minute, you’ll witness the transformation – milk evolving into a thick, smooth foam, ready to grace your tea.
Gently spoon this cloud-like foam over your prepared milk pearl tea. The contrast between the robust, aromatic tea and the soft, creamy foam creates a symphony of textures and flavors that dance on the palate. It’s the kind of detail that elevates a simple beverage into a moment of indulgence.
To finalize, a delicate sprinkle of cocoa powder or cinnamon can be the flourish that marks your milk pearl tea as not just made, but crafted. It’s these nuances, this attention to detail, that transform the ordinary into extraordinary. In the end, creating that perfect milk foam is about more than just technique; it’s an expression of care, an art form where every sip tells a story of crafted perfection.
Preparing Chewy, Perfectly Cooked Tapioca Pearls
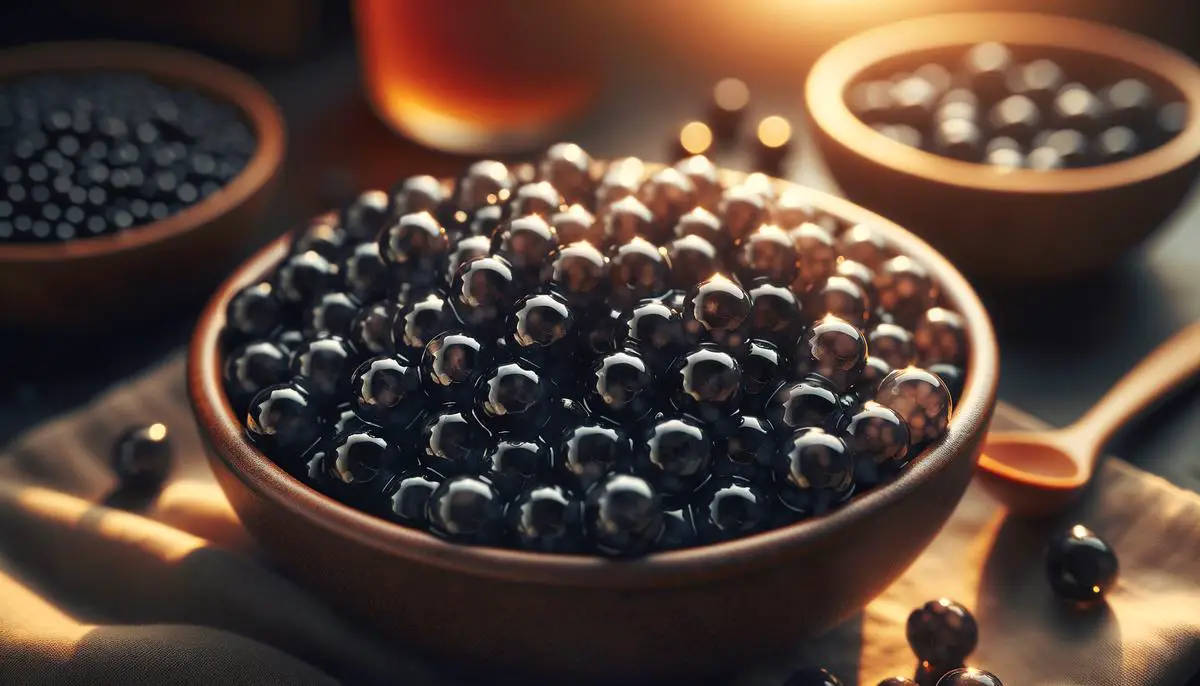
Achieving the Iconic Chewy, Yet Soft Texture of Tapioca Pearls Every Time
Creating the perfect tapioca pearls for your bubble tea is akin to a culinary ballet – precision, timing, and a bit of flair are non-negotiables. To match the standards of Michelin chefs in your very own kitchen might sound daunting, but with these straightforward steps, the mastery over these chewy delights is within your grasp.
Step 1: Select High-Quality Tapioca Pearls
Your journey begins at the store. Not all tapioca pearls are created equal. Look for pearls that boast a reputable brand and assure a consistent, quality experience. Much like selecting the freshest ingredients from the garden, this step is pivotal.
Step 2: Boil Water to a Rolling Simmer
Fill a pot with ample water – think one part tapioca to seven parts water. The key to perfectly soft yet chewy pearls is starting them in boiling water. Once the water reaches a rolling boil, akin to a simmering pot of consommé, you’re ready for the next act.
Step 3: Carefully Add the Tapioca Pearls
Gently introduce the pearls to the boiling water, stirring softly but with purpose, ensuring each pearl’s freedom to dance individually – much like radishes and carrots laid bare on a plate, simplicity in motion.
Step 4: Maintain a Gentle Boil with a Watchful Eye
Now, adjust the heat to a point where the water is excited but not overzealous – a gentle boil. This stage requires your undivided attention, reminiscent of the delicate balance in temperatures of the hot and cold egg. Stir occasionally, preventing the pearls from a tragic stickiness akin to an overly ambitious sauce.
Step 5: Test and Taste
After about 20 minutes, but depending on the pearl size and brand, perform the ultimate test – taste. Look for that iconic chewy, yet soft center – a texture not unlike the perfect roast carrot, intense yet yielding.
Step 6: Rinse and Cool
Once achieved, drain and rinse the pearls under cold water. Like quenching the thirst of fresh greens from the garden, this stops the cooking process, locking in the texture.
Step 7: Sweeten the Experience
To envelop your pearls in a layer of sweetness, consider soaking them in a simple syrup or honey solution for at least 15 minutes. Imagine draping langoustines with caviar; this step enhances the pearls, preparing them to elevate your beverage.
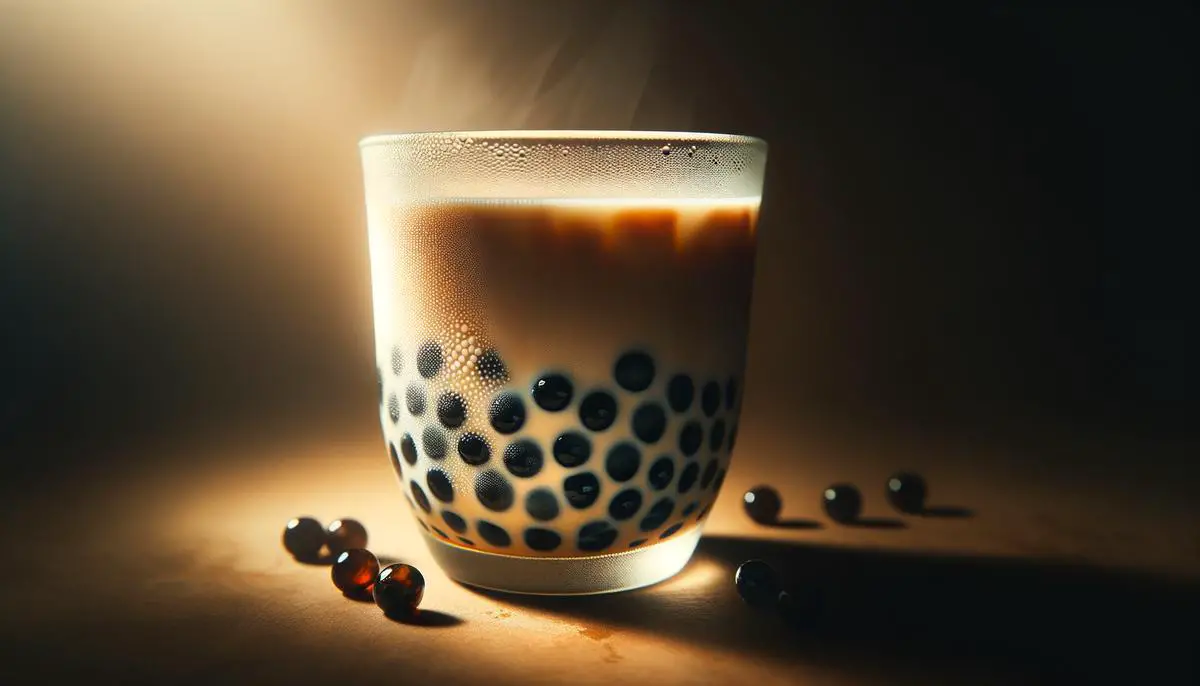
Step 8: Serve with Confidence
With pearls prepared, incorporate them into your tea concoction. Their presence should offer a delightful contrast – a celebration of textures and flavors, much like the unexpected harmony of a vegetable carpaccio sprinkled with truffle.
There you have it. The road to the iconic chewy, yet soft texture of tapioca pearls every time isn’t fraught with unpredictability as one might expect. Rather, it’s a journey of understanding the simplicity of elements, a steady hand, and the courage to transform the ordinary into extraordinary. Whether nestled at the bottom of a refreshingly cool milk tea or a daringly innovative culinary creation, these pearls can now carry the essence of your culinary expression, no Michelin stars required.
Mastering the art of milk pearl tea is a rewarding endeavor that elevates a simple beverage to an exceptional experience. With attention to the quality of tea leaves, precise preparation of milk foam, and perfect cooking of tapioca pearls, you’re not just making a drink; you’re crafting an indulgence. Follow these guidelines to ensure your milk pearl tea stands out, captivating the senses with every sip and leaving a memorable impression. So, gather your ingredients, embrace the process, and ready yourself to impress with a cup of meticulously crafted milk pearl tea.