Welcome to the aromatic and flavorsome world of Italian cuisine, where the hearty embrace of cheese, tomato, and pasta come together to forge a dish that is as comforting as it is delightful – the manicotti. This essay will serve as your culinary guide, leading you through the nuanced art of preparing manicotti filling, a blend of ricotta cheese, eggs, and cheeses, seasoned to perfection. We will delve into the technique behind cooking manicotti shells just right, ensuring they maintain their structural integrity when filled with that rich, creamy cheese concoction. Plus, we will explore together how to assemble and bake your masterpiece to achieve a harmonious balance of melted cheese, tender pasta, and robust marinara sauce that will capture the hearts and palates of your dinner guests.
Preparing the Manicotti Filling
Mastering Manicotti: Crafting the Ultimate Filling for Your Family Table
Gather ’round the kitchen, all you marvelous moms, dads, and culinary curators of the cozy household! Manicotti, those heavenly tubes of pasta just waiting to be stuffed with gooey, delicious fillings, are on the menu tonight. Crafting the perfect manicotti filling is like a warm hug for the soul – it’s all about bringing together the right blend of ingredients, love, and a pinch of creativity. Let’s dive into the tips and tricks that will have the family clamoring for seconds before their plates are even clean.
First things first, you’ll need to grab:
- 1 (15 oz.) container of ricotta cheese, the freshest you can find
- 1 cup grated mozzarella cheese, because cheese is the language of comfort
- ½ cup grated Parmesan cheese for that sharp, nutty kick
- 1 large egg, which will help bind all the joy together
- A handful of fresh parsley, chopped finely (dried will do in a pinch, but fresh is like a garden’s whisper)
- A touch of salt and a crack of pepper for that perfect seasoning
- Optional: ½ lb. ground beef or sausage, cooked and drained, for the meat-lovers in your family
Now, let’s get that dream filling mixed up! Roll up those sleeves – we’re making magic:
- Cozy up to your kitchen counter and in a large mixing bowl, tenderly combine that ricotta with the mozzarella and Parmesan. Think of it as a blend of clouds and sunshine – light, but oh so delightful.
- Cheerfully crack in the egg and invite it to the cheese party. This little guy is critical for ensuring your filling doesn’t just ooze out of the manicotti, but warmly clings to the pasta.
- Now, let’s get zesty with the parsley. Sprinkle in your finely chopped herbs like you’re scattering seeds for tomorrow’s garden.
- It’s time to season. A dash of salt, a sprinkle of pepper – just enough to whisper, “I’m here,” but not shout from the rooftops.
- (Here’s for the optional twist) – if your crew loves a hearty filling, fold in that cooked meat. Make sure it’s cool – we wouldn’t want the egg to start cooking before the big show in the oven.
- Mix it up with love, being gentle, yet thorough. The goal is a creamy, dreamy concoction that begs to be enveloped by pasta.
Voilà! Just like that, you’ve created a manicotti filling that’ll be the star of dinner. Remember, the best meals aren’t just about the food – they’re about the memories crafted around the table. So go ahead, stuff those pasta shells and pop them in the oven. And as that aroma fills your home, know that each bite comes with a dash of care, a sprinkle of comfort, and a whole lot of heart. Bon appétit!
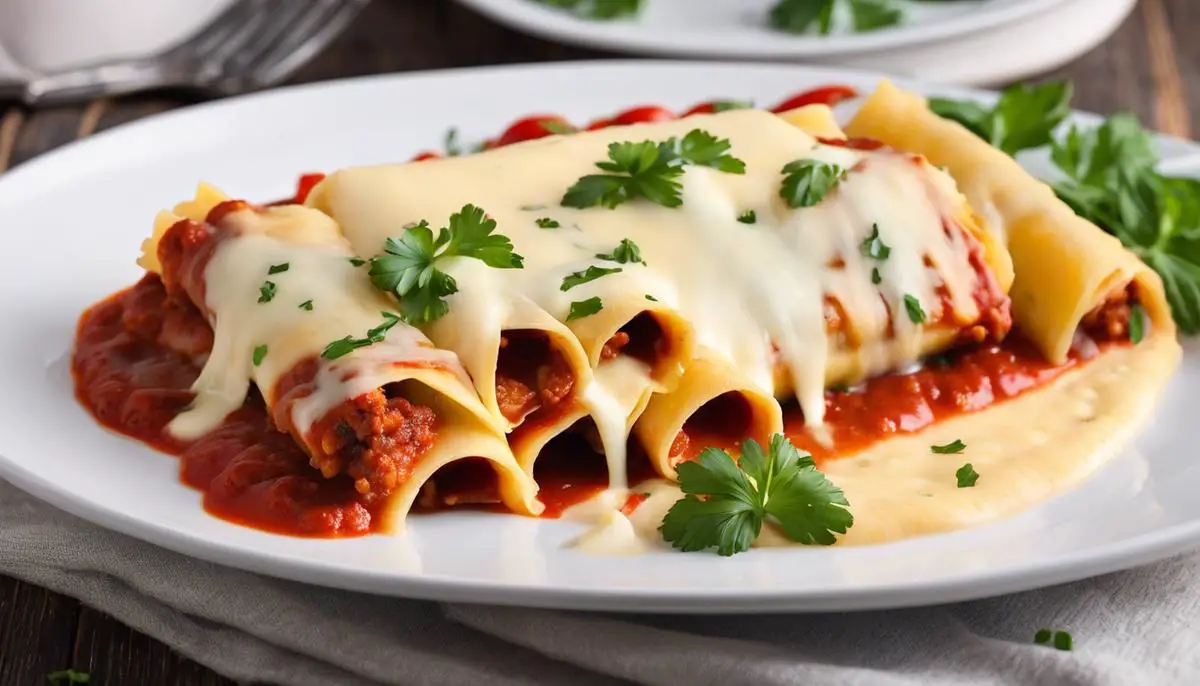
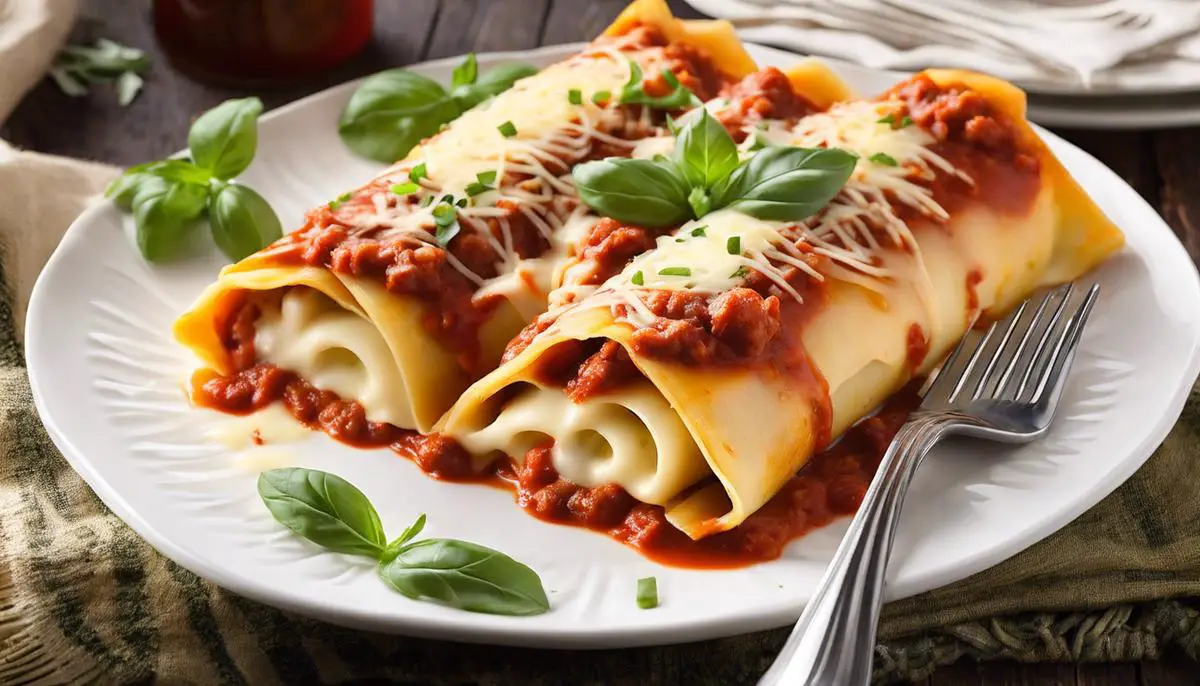
Cooking and Filling Manicotti Shells
Filling manicotti shells can often feel like a feat of culinary gymnastics. You want each shell stuffed to the brim with that delectable cheese mixture without tearing it to bits, because everyone knows a burst manicotti shell can put a damper on an otherwise perfect family meal. Fear not! With a couple of tried-and-true techniques up your sleeve, those tubes will be filled to perfection, ready to impress at the next family gathering.
Before diving in, it’s critical to ensure the manicotti shells are prepped for the best chance at successful stuffing. Cook the shells al dente according to package instructions – this means they should be firm enough to hold their shape but soft enough to not crack during construction. Once cooked, drain them and let them cool until they’re manageable to the touch. This cooldown is essential; no one wants to nurse a burn while trying to wrangle cheese into a pasta shell.
Now, onto the stuffing stage, which can make or break the dish’s presentation. The traditional teaspoon method is like a balancing act – too little force and the filling won’t pack in properly, too much and you’ll be waving goodbye to the integrity of that delicate pasta. But there’s a better way, one that brings peace to the manicotti prep process without sacrificing the cheese-to-pasta ratio.
Enter the piping bag – a tool most often seen as the staple of sweet-frosting artists, yet a miraculous solution for savory applications. No piping bag lying around? Do not fret! A humble plastic storage bag can easily stand in. Simply snip off one of the corners – not too big, not too small – just wide enough to allow the cheese mixture to flow freely without overtaxing the shell’s structural integrity.
Scoop the cheese mixture into the makeshift piping bag and gently press it towards the cut corner. Now you’re armed and ready. Cradle the manicotti shell in one hand and with the other, guide the piping bag into the shell’s open end. Gently squeeze the filling into the shell, stopping just before it feels overfull. Then, slide the bag out, being careful not to let the filling escape with it. The beauty of this method is control – you can fill each shell evenly and cleanly, ensuring a consistent, tear-free result.
Last, don’t forget to fill from both ends! This ensures that middle-of-the-shell spot won’t feel left out and devoid of cheesy goodness. Plus, it helps balance the manicotti, allowing for a more stable and delightful presentation.
There you have it! With the shells meticulously packed, they are ready to be laid in a cozy bed of sauce, tucked in under a blanket of cheese, and baked to golden perfection. Remember to keep the sauce light around the edges to avoid sogginess, another enemy of the perfect manicotti.
At the end of the day, it’s all about bringing a dish to the table that’s wrapped in care, oozing with cheese, and capable of summoning smiles all around. Now, pass out those plates and watch as the family savors the efforts of your cheats-free manicotti mastery. Happy cooking!
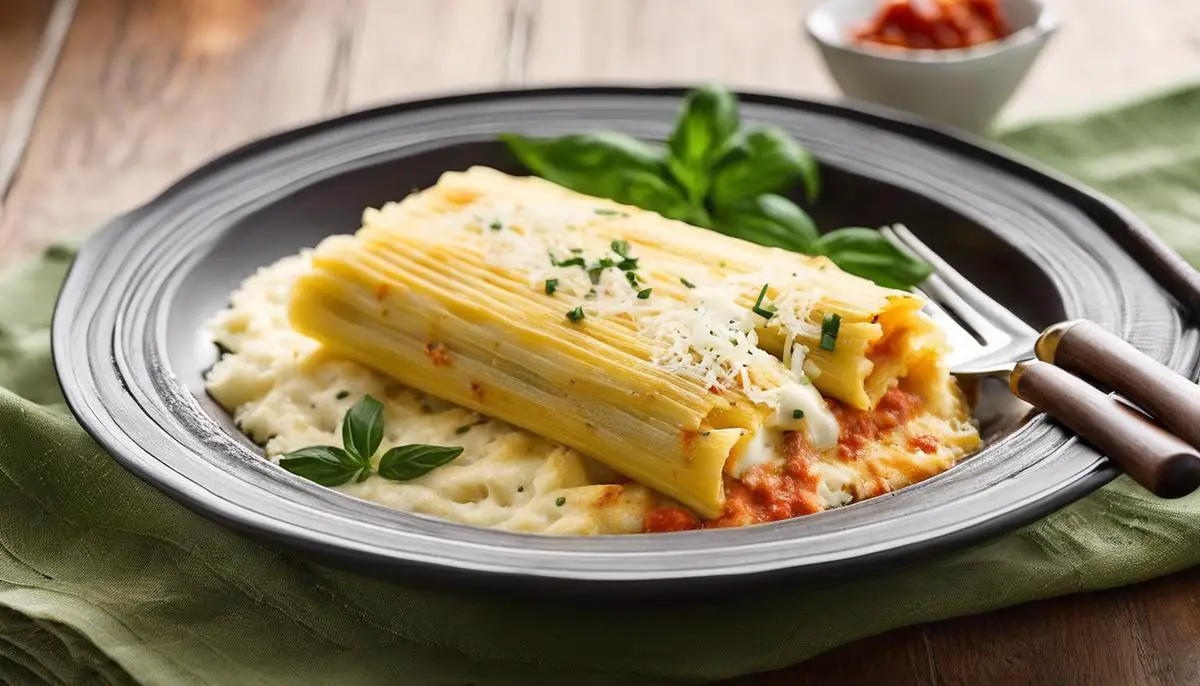
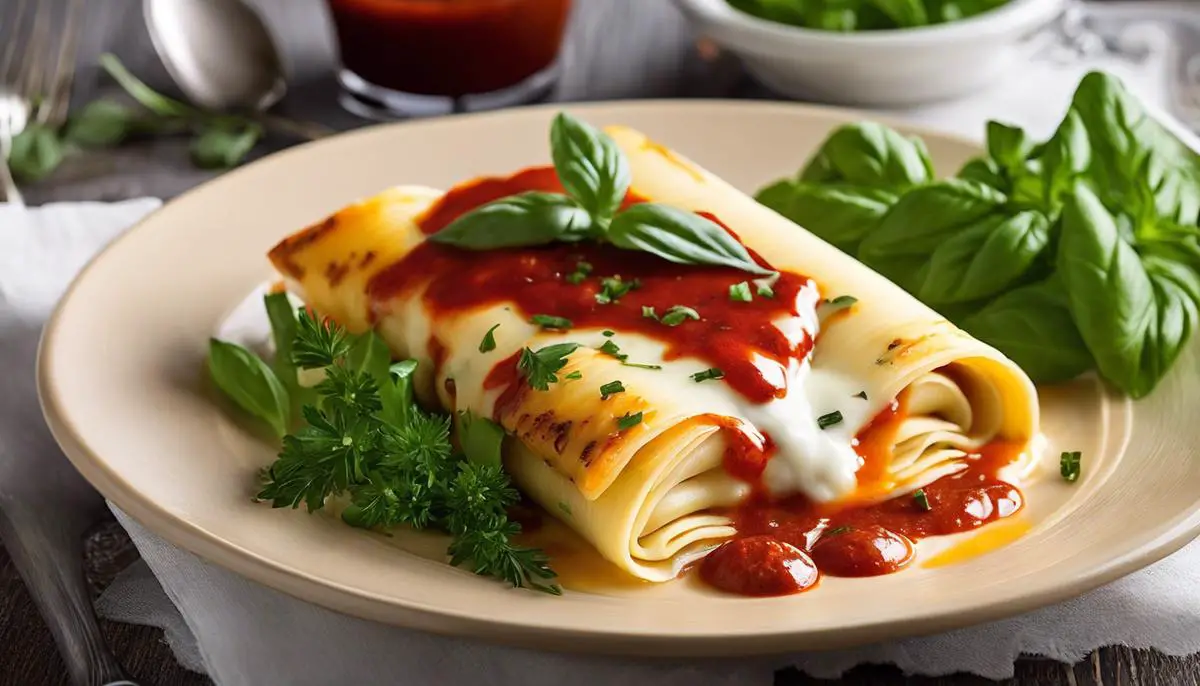
Assembling and Baking the Manicotti
Ensuring Perfectly Baked Manicotti: The Secret to Keeping Them Intact and Evenly Cooked
Picture this: a cozy family gathering where the aromas of a perfectly baked manicotti waft through the air, promising a delectable meal that’s as much a feast for the eyes as it is for the palate. These stuffed pasta wonders can truly be the stars of the dinner table, but they do require a bit of finesse to get just right. Fear not, dear readers! Let’s dive into the practical steps to have those manicotti maintaining their shape and baking evenly, ensuring a scrumptious outcome every time.
Now, prepping the shells is paramount; they’re the foundation of our dish, after all. For a start, cook the manicotti shells al dente according to the package instructions. This means they should be slightly firm to the bite. Overcooking at this stage could lead to mushy, broken shells that just won’t hold up to stuffing.
Once done, cool the shells quickly under cold water to halt the cooking process, and gently pat them dry. Remember, handling them carefully is key to keeping their structure intact.
With the shells prepped and filling perfectly mixed, it’s time to discuss the art of stuffing. Traditional methods using a spoon can be cumbersome, often resulting in uneven filling and a less-than-ideal presentation. Enter the piping bag – an ingenious tool to get that filling in smoothly and efficiently. No mess, no stress!
No piping bag? No problem! Just snip off a corner of a sturdy plastic storage bag, fill it with your delicious cheese mixture, and you’re in business. This DIY solution works like a charm.
Carefully pipe the filling into the shells, starting from one end and then the other, to ensure an even distribution throughout. This balance will prevent any disappointments when it comes to slicing into that first piece. And trust, maintaining balance in the filling will have the family nodding in approval with every bite.
The time has come to nestle those filled manicotti into a bed of your preferred sauce in the baking dish. But let’s not drown them. Moderation is key here. Laying down just enough sauce to coat the bottom of the dish prevents the manicotti from sticking or becoming too soggy. Then, after meticulously arranging the shells in a single layer, go ahead and drizzle more sauce over the top, leaving a bit of clearance around the edges.
As the dish heads into the oven, cover it with foil to promote even heat distribution, which is critical in avoiding those too brown or not-quite-cooked spots. Bake in a preheated 375°F (190°C) oven for about 25-30 minutes, then unveil and continue baking for a few more minutes to achieve that irresistible golden cheese topping. Just make sure to monitor closely to prevent over-browning.
When the timer dings, you’ll welcome a piece of culinary artwork to the table. The manicotti will have kept their structure like a dream and be baked through to perfection. Serve it up right away, and watch as those tantalizing tubes stuffed with cheesy goodness make everyone’s day a little brighter.
Celebrating moments with family over a shared meal is more than just eating–it’s about crafting experiences, nurturing bonds, and basking in the symphony of flavors that home cooking brings to life. And it’s this beautifully baked manicotti that shows how much love can be served on a plate. Bon appétit!
Embarking on the manicotti journey allows us to appreciate the intricate dance of simplicity and complexity that Italian cooking embodies. By learning the craft of filling, cooking, and baking manicotti, you have not only enriched your culinary skills but also your ability to bring warmth and enjoyment to the dining table. Remember, the perfect manicotti is a labor of love, patience, and precision, resulting in a dish that is not only a feast for the taste buds but also for the soul. May your kitchen be filled with the joyful aromas of baking manicotti and your meals with the laughter and companionship that good food always seems to invite.