Selecting and Preparing Beets
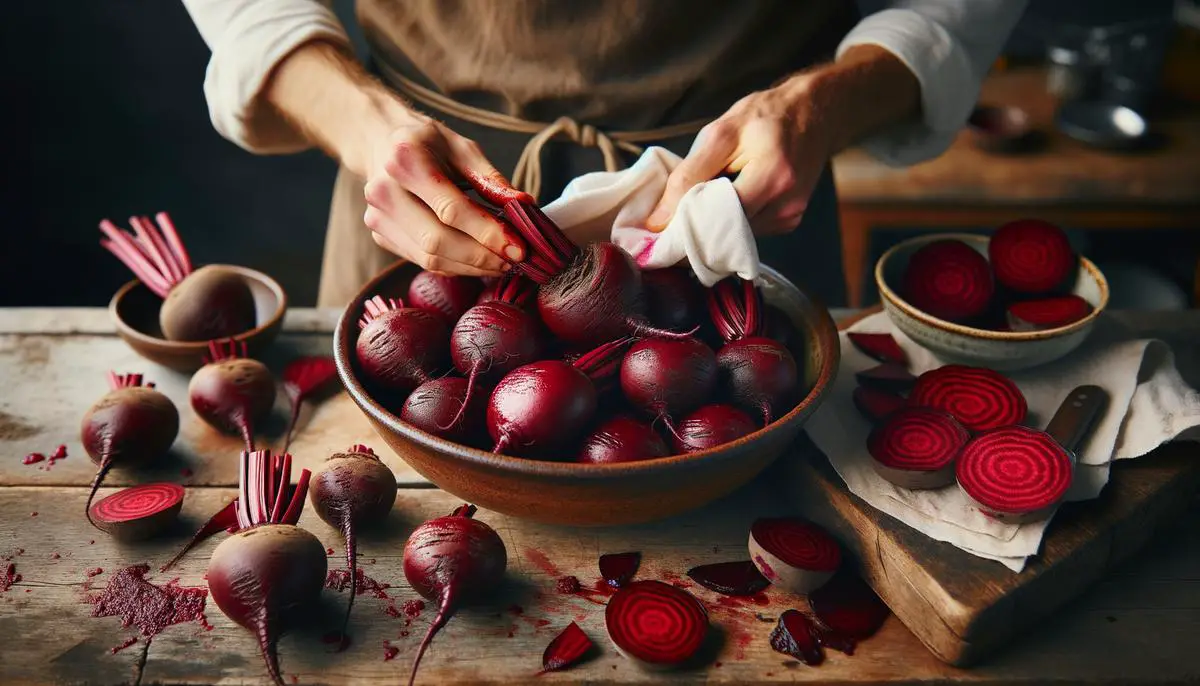
When it comes to preparing beets for pickling, here's a simple guide. First, select medium-sized beets that are firm, with vibrant, rich color. Rinse them under cold water, using a vegetable brush to remove dirt. No need to peel them yet.
To cook the beets, you can steam, boil, or roast them. Roasting helps develop a flavorful pickled beet that still has a bit of bite. Trim the tops and roots, wrap them in foil with a splash of water, and roast in a preheated oven (about 400°F) until tender, usually 45 minutes to an hour.1
Let the beets cool until they're easy to handle, then slip off their skins using a paper towel or the back of a knife. Slice or dice the beets to your desired size. Bite-size pieces work well and ensure each beet gets properly pickled. Wearing gloves can prevent your hands from staining. Now, your beets are ready for the next step in the pickling process.
Making the Pickling Brine
With your beets prepared, the next step is creating the brine. You'll need:
- 1 cup of water
- 2 cups of white vinegar
- 1/2 cup of white granulated sugar
- 2 tablespoons of pickling spice
- 2 teaspoons of kosher salt
In a pot, combine the water and white vinegar. Add the sugar, pickling spice, and kosher salt. Stir the mixture over medium heat until it comes to a mild boil. Ensure the sugar and salt completely dissolve, stirring with a clean spoon. This may take about 5 minutes.
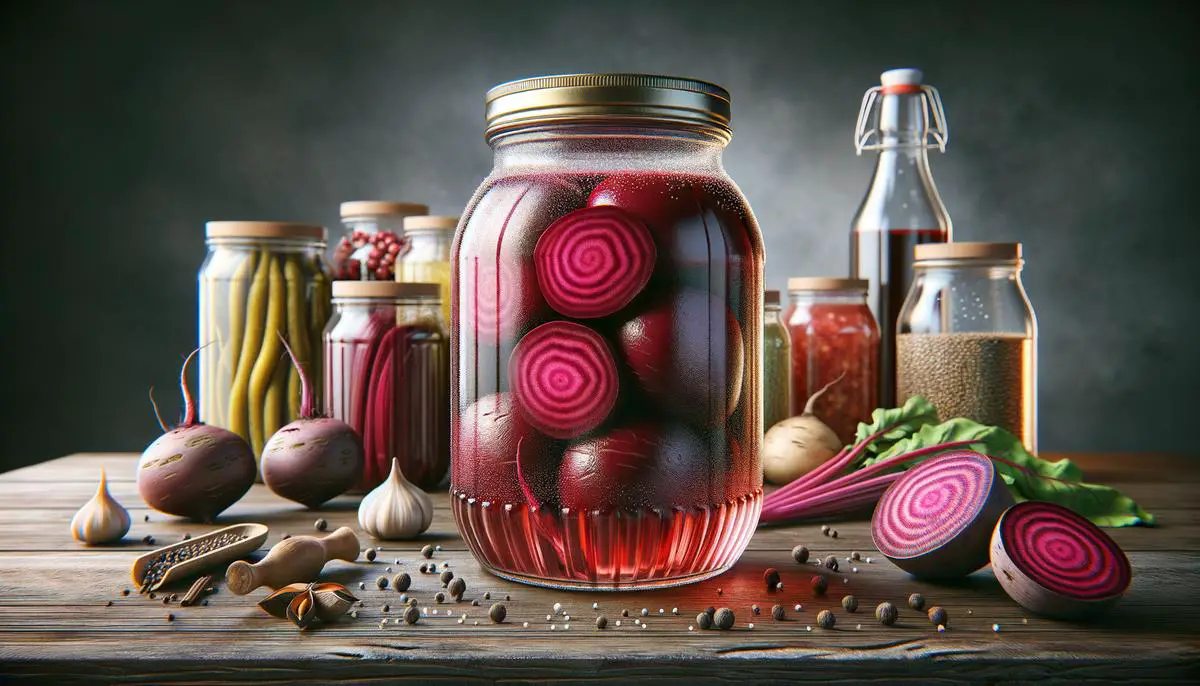
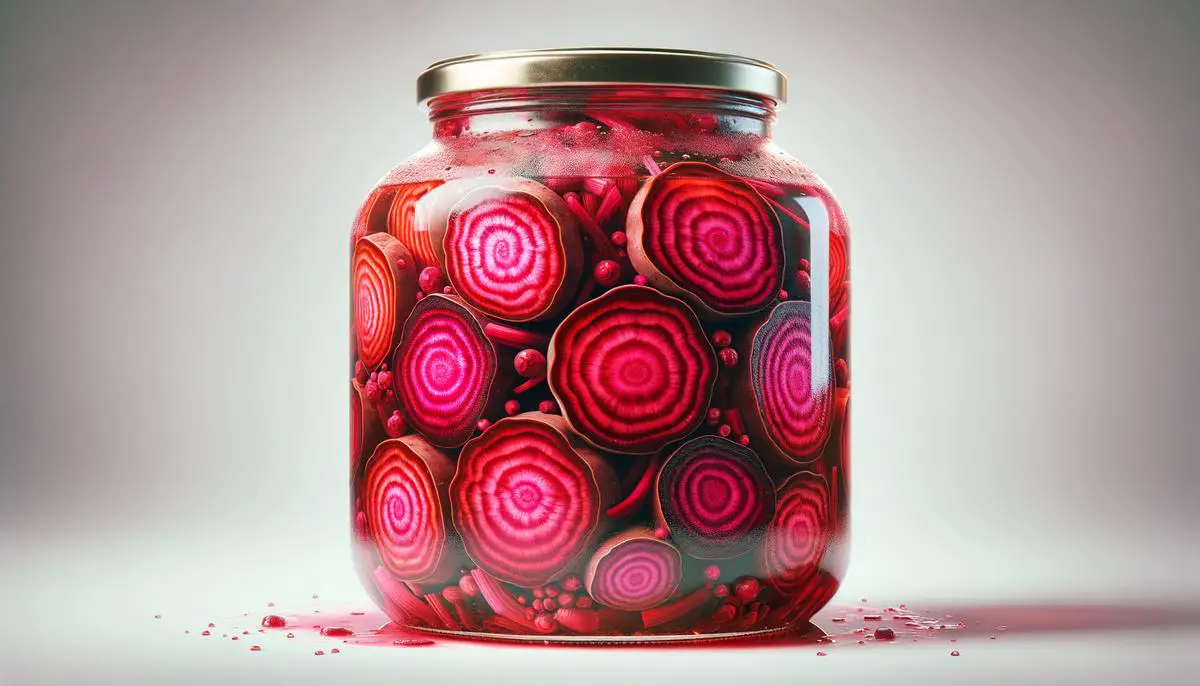
Carefully pour the hot brine over your prepared beets, which should be in a clean jar. Seal the jar with a lid and refrigerate. Allow at least 24 hours for the flavors to meld. Occasionally, give the jar a gentle shake to distribute the brine.
After the waiting period, your pickled beets are ready to enjoy. The combination of tangy, sweet, and spicy flavors will complement the beets nicely. Homemade pickled beets are a delightful addition to any meal or snack.
Canning and Storing Process
To safely can and store your pickled red beets, follow these steps. Gather your canning gear:
- Mason jars (with new seals/lids)
- A large canning pot with a rack
- Jar lifter
- Canning funnel
Start with a clean workspace and sterilize your jars and lids by running them through a hot dishwasher cycle or boiling them in water for 10 minutes.
Carefully arrange the pickled beets in the jars using the canning funnel, leaving about a half-inch of headspace at the top of each jar. Fill each jar adequately with brine, maintaining the headspace.
Remove air bubbles by sliding a non-metallic tool down the sides of the jar. Wipe the jar rims with a damp cloth to ensure a proper seal.
Place the filled jars onto the rack in a large pot of boiling water, ensuring they are fully submerged with at least an inch of water over them. Cover and boil for 10-15 minutes, adjusting for altitude if necessary.2
Using the jar lifter, carefully remove the jars and let them cool undisturbed on a towel for about 24 hours. Listen for the "pop" sound of jars sealing as they cool.
After cooling, check each jar's seal by pressing down on the center of the lid. It should not "pop" up and down. If a jar didn't seal properly, store it in the fridge and consume those beets soon.
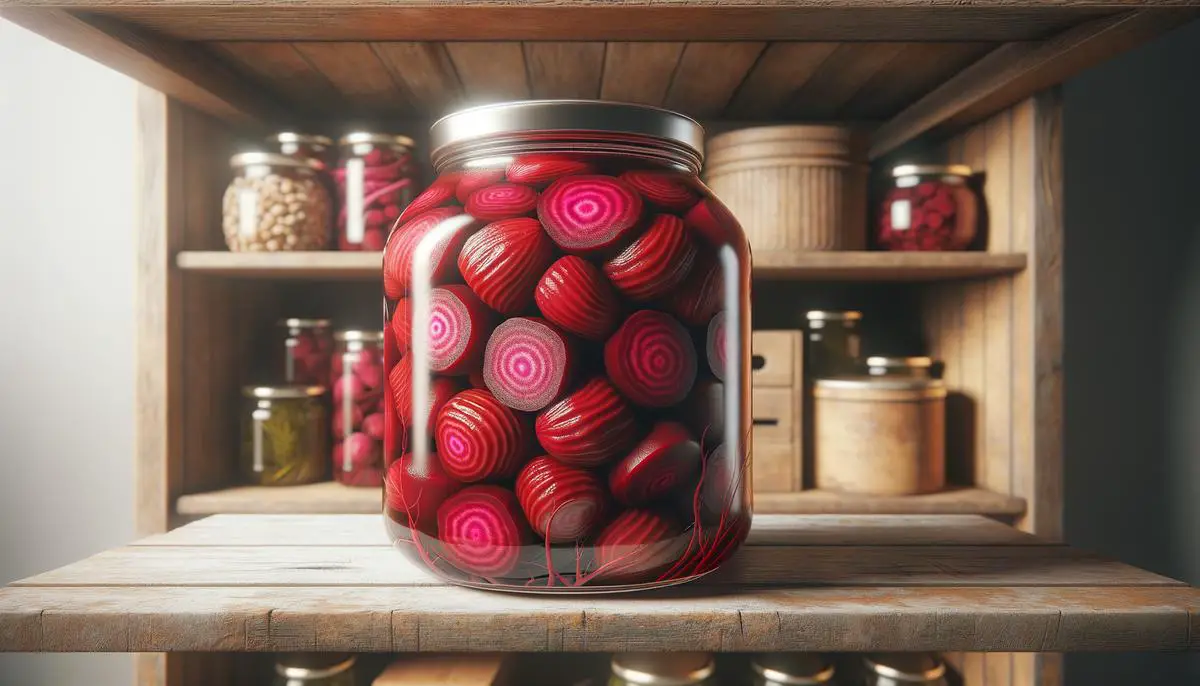
Label your sealed jars with the date and store them in a cool, dark place. Properly canned, these pickled beets will be shelf-stable for up to a year. Enjoy your homemade pickled beets as part of appetizers, salads, or side dishes.
- Salemme J. Roasting beets: a step-by-step guide to the perfect roasted beet. Six Clever Sisters. Published June 26, 2020. Accessed April 10, 2023.
- National Center for Home Food Preservation. Preparing and canning pickled vegetables: pickled beets. University of Georgia, Athens. Published 2018. Accessed April 10, 2023.