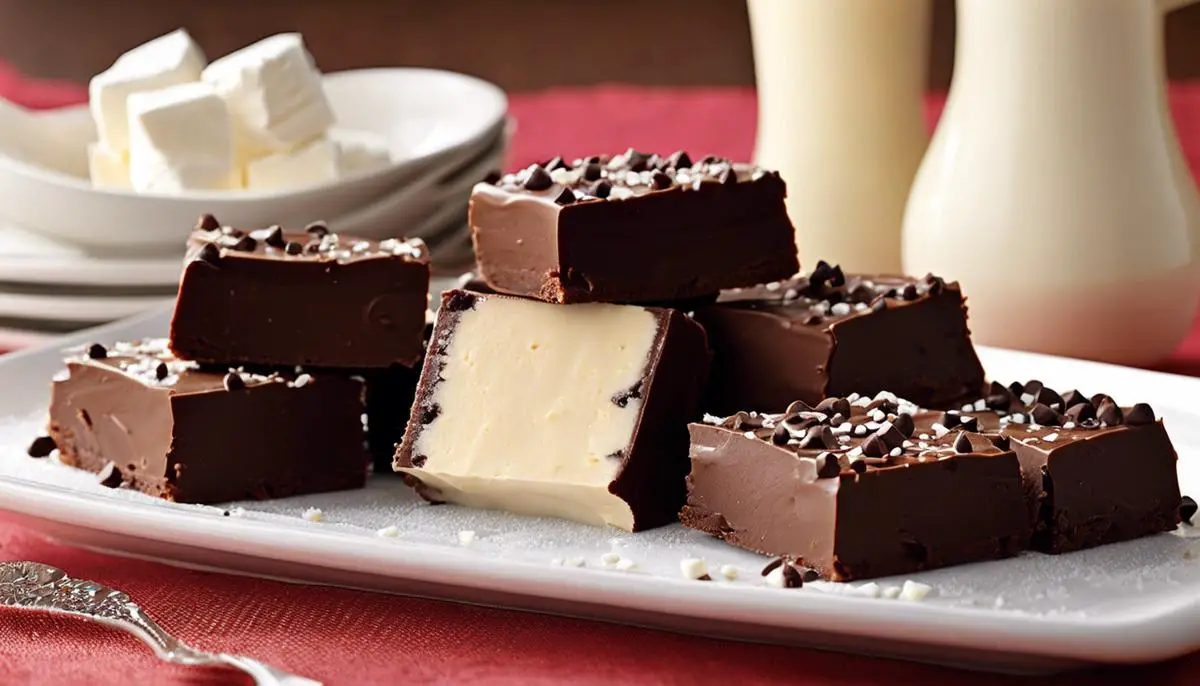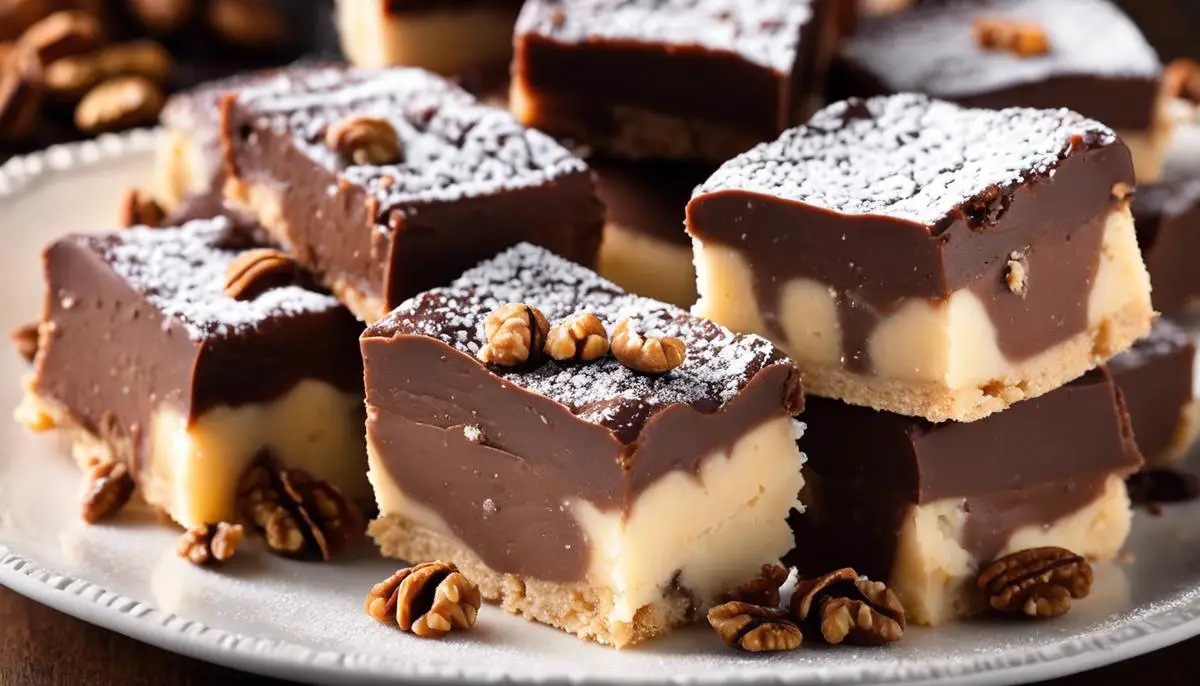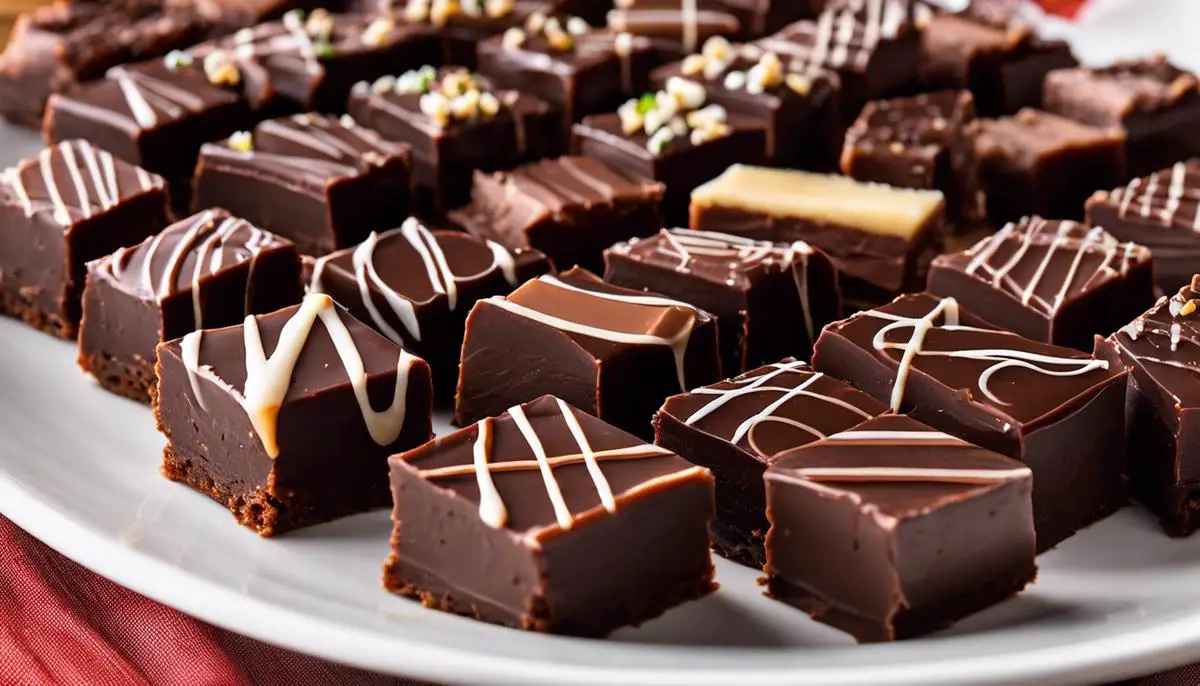
Delving into the world of homemade sweets, marshmallow cream fudge emerges as a supremely indulgent treat that captivates the taste buds of dessert aficionados far and wide. This confectionery wonder blends the silky smoothness of marshmallow cream with the rich intensity of chocolate, offering a symphony of flavors in every bite. Setting forth on a culinary journey, we’ll learn about the essential ingredients that make marshmallow cream fudge a unique and beloved dessert. Understanding the exacting craft of fudge-making is crucial, from meticulous temperature control to achieving the quintessential velvety texture. Whether you’re a seasoned chef or a curious novice, the art of creating this classic delicacy promises to be an enlightening and rewarding experience.
Marshmallow Cream Fudge Ingredients
Marshmallow Cream Fudge: Every Ingredient You Need!
Friends, let’s talk about a little slice of heaven called marshmallow cream fudge — that gooey, melt-in-your-mouth treat that has us all weak in the knees. It’s the perfect thing to whip up when you want to spoil the family, impress the guests, or just indulge in a little self-care (because, why not?).
Now, don’t let the word ‘fudge’ intimidate you. This treat is totally within your reach, and guess what? You only need a handful of ingredients. So, roll up your sleeves, and let’s gather everything you’re going to need to create this decadent dessert.
First up, the star of the show: marshmallow cream. This fluffy stuff is the secret to that smooth, creamy texture that has fudge fans swooning. Grab yourself one jar and plunk it on the counter -don’t be shy, you’ll use the whole thing!
Next in line: sugar. But we’re not talking just a sprinkle. You’ll need a whole 3 cups of sugar to get that sweet, addicting taste that fudge is known for. Yes, it’s a lot, but it’s the backbone of any fudge adventure!
Now, let’s talk dairy. A can of evaporated milk, about 5 ounces, is what you’re after. It’s going to meld with that sugar to create a rich, creamy base that makes your fudge irresistible.
Butter is next on the list. A solid stick (that’s ½ cup, if you’re measuring) will do the trick. It brings that silky texture and a touch of richness that you just can’t skip.
Chocolate is the heartthrob of this operation. You’ll want 12 ounces of semi-sweet chocolate chips to give that deep, chocolatey goodness that makes your fudge pop. Seriously, it’s like a love letter to your taste buds.
Let’s not forget the nuts! A cup of chopped walnuts adds just the right crunch and nutty flavor that takes your fudge from good to grand. Feel free to toast them first if you want that extra oomph!
And for a little kitchen alchemy, we’re going to need 1 teaspoon of vanilla extract. It’s like a dash of magic that brings all the flavors together.
Pay attention, because here comes the almighty finale. A pinch of salt — just a pinch, mind you — that will sharpen all these yummy flavors and make your fudge the talk of the town.
Alright, fellow creators of cozy kitchen moments, that’s your shopping list for marshmallow cream fudge that’ll warm hearts and bellies. Melt, mix, pour, and chill your way into the fudge hall of fame. Happy fudging!

Fudge-Making Techniques
Fudge fanatics, listen up! Crafting the creamiest, dreamiest fudge around isn’t just luck—it’s a science. There’s that magic moment when everything melds together just right, and you know you’ve nailed it. But how do you get there? Well, you’re in luck because fudge perfection is just a few steps away, and it’s easier than you think.
First things first, let’s talk about mixing. Imagine you’re an alchemist weaving together precious elements—because, in a sense, you are! Start with a sizeable heavy-bottomed pot; this will be your cauldron where all the magic happens. Get all your ingredients measured and within arm’s reach—once the process begins, it’s a straight sprint to the finish line.
Here’s the game plan: kick things off by blending your sugar, evaporated milk, and butter. Picture the kids building sandcastles with wet sand—it’s gotta stick together, just like your mixture. Fire up your stove and start the heat low and slow, stirring with a wooden spoon. Why wooden? It’s like the gentle friend that doesn’t scorch your mixture or scrape your pot.
Now, patience is key—keep that stirring steady and even. Watch as it all melts into a harmonious, silky pool. Keep an eagle eye on the temperature as well; we’re aiming for the sweet spot of 234 to 240 degrees Fahrenheit. That’s the soft-ball stage on a candy thermometer, folks, where fudge dreams come true.
Time to crank up the heat, but keep it controlled—medium-high should do the trick. The mix will bubble and boil like a witch’s potion, but don’t get spooked, keep stirring! Dodge any sugar crystals that might cling to the sides by giving them a gentle brush with a pastry brush dipped in hot water. It’s like coaxing a timid cat out of hiding—gentle and persuasive.
The moment your mixture hits the right temperature, pull it off the heat. It’s time for the grand finale: fold in those semi-sweet chocolate chips, walnuts, and vanilla extract along with a pinch of salt. Turn the heat off and stir, stir, stir! It’s like that whirlwind minute before the kids come storming in from school—chaotic but crucial.
Stir until everything looks well-acquainted, like long-lost friends reconnecting at a high school reunion. When the chocolate has fully melted and you’ve got a thick concoction begging to be devoured, pour it into a lined baking dish. Spread it out, but no need to be too finicky. It’s rustic charm we’re after, because real family kitchens aren’t fussy.
Then, the hardest part—waiting. Park that dish in a cool corner and let time do its thing. You’re on the home stretch. Once it’s set, cut into hearty squares, ready for that first blissful bite.
And there it is, fudge that’s just begging for a spot at your next family gathering or as a treat after the little league game. You’ve mastered the mix and heat, and now, the texture—oh, the texture—is pure velvet symphony. Congratulations, you’ve officially reached fudge nirvana!

Cooling and Setting Fudge
Ah, the sweet finale to your fudge-making adventure – cooling and setting your mixture to achieve that perfect cut! As every fudge fanatic knows, the journey from pot to platter is crucial, so let’s delve into the nitty-gritty of transforming that glossy concoction into neat, delightful squares that’ll have everyone asking for your secret.
First things first: location, location, location! Find a cool, peaceful corner in your kitchen, away from the stovetop’s heat and the hustle and bustle. You want your fudge to chill out – literally – in a serene spot, where it can slowly come to room temperature. No need to rush this step; remember, patience is not only a virtue but also the key to perfect fudge.
While your fudge is cooling its heels on the countertop, resist the temptation to pop it into the fridge right away. Premature refrigeration can cause unsightly sugar crystals to form, leaving you with a grainy texture – a fudge faux pas! Let’s aim for that famously smooth, melt-in-your-mouth experience, shall we?
Once the fudge has cooled down like a relaxed guest at a garden party, it’s time for its refrigerator rendezvous. Wrap the baking dish snugly in plastic wrap, whispering sweet nothings like “stay moist, my delectable delight.” This cozy cocoon will prevent dryness and keep your fudge in tip-top condition during its chill session.
How long should this chilled escapade last, you ask? A good 4 to 6 hours should do the trick, but if you can bear it, leaving your fudge to set overnight is even better. The extended chill time helps the flavors to marry and intensify, blessing you with a richer taste sensation.
Now, the moment has arrived: cutting the fudge. Grab a sharp knife – a chef’s knife is your best buddy here – and dip it in hot water. Why the warm soak? It’s the secret handshake to clean, precise cuts. Before each slice, give the knife a quick dip and wipe, creating effortlessly straight lines through the fudge without any sticky resistance.
For those who take their fudge-cutting ceremony to heart, consider marking out your cut lines with a ruler for uniformly sized pieces. A little touch of precision adds to the charm, especially when stacking these treasures on a serving plate for all to admire.
There you have it, the roadmap to achieving a splendidly smooth and even fudge that’ll have friends and family queuing up for seconds. Stick to these best practices and prepare to take a bow as your fudge sets the standard at every gathering. Celebrate each bite, and above all, bask in the joy of sharing your swoon-worthy creation!

Mastering the art of marshmallow cream fudge marks the beginning of a delightful adventure in home confectionery. With the insights gained on the intricacies of ingredients, technique, cooling, and setting, you are now well-equipped to create delectably smooth fudge that might just rival the confections of the finest sweet shops. Remember that practice is key; each batch of fudge is a stepping stone to perfection. Embrace the joy of sharing your homemade creations with friends and family as they marvel at the rich flavors and textures, knowing that you have crafted something truly special from the comfort of your own kitchen.


