If the sweet siren call of a rich and creamy cheesecake has you eager to don your baker’s hat, then you’re in for a delightful journey into the art of dessert making. Crafting the perfect cheesecake is an adventure in flavor and texture, starting with the critical foundation: the crust. The quest begins with the symphony of graham cracker crumbs, butter, and sugar, all mixed and pressed to create a base that promises to support the luscious filling it upholds. This essay will guide you through the meticulous process of crafting a cheesecake so divine, it will elevate your baking repertoire and tantalize your taste buds.
Preparing the Crust
Crafting the Ultimate Cheesecake Crust: A Food Lover’s Guide
For those who live and breathe the culinary arts, there’s a particular joy that bubbles up when perfecting the foundation of a classic dessert. Yes, we’re talking about the cheesecake crust – that buttery, crumbly base that sets the stage for a velvety filling. A good crust can elevate your cheesecake from simply pleasing to the peak of perfection.
Creating the perfect cheesecake crust isn’t just about following a recipe; it’s about understanding the synergy between texture, taste, and techniques. Here’s how you can achieve crust nirvana:
- Choose the Right Crumbs
- Sweetness and Spice
- Getting the Fat Ratio Right
- Press for Success
- Chill Out
- Bake It Blind
Traditionally, graham crackers are the go-to for cheesecake crusts. For an extra layer of flavor, experiment with ginger snaps, chocolate wafers, or even shortbread cookies. Just ensure that your base is dry and crunchy to achieve that signature crispiness. A food processor can help you get a fine, even crumb.
Before the crumbs hit the pan, consider flavor. Mixing in a bit of sugar can enhance the sweetness. Cinnamon, nutmeg, or cardamom can add an intriguing warmth, matching the creaminess of the filling.
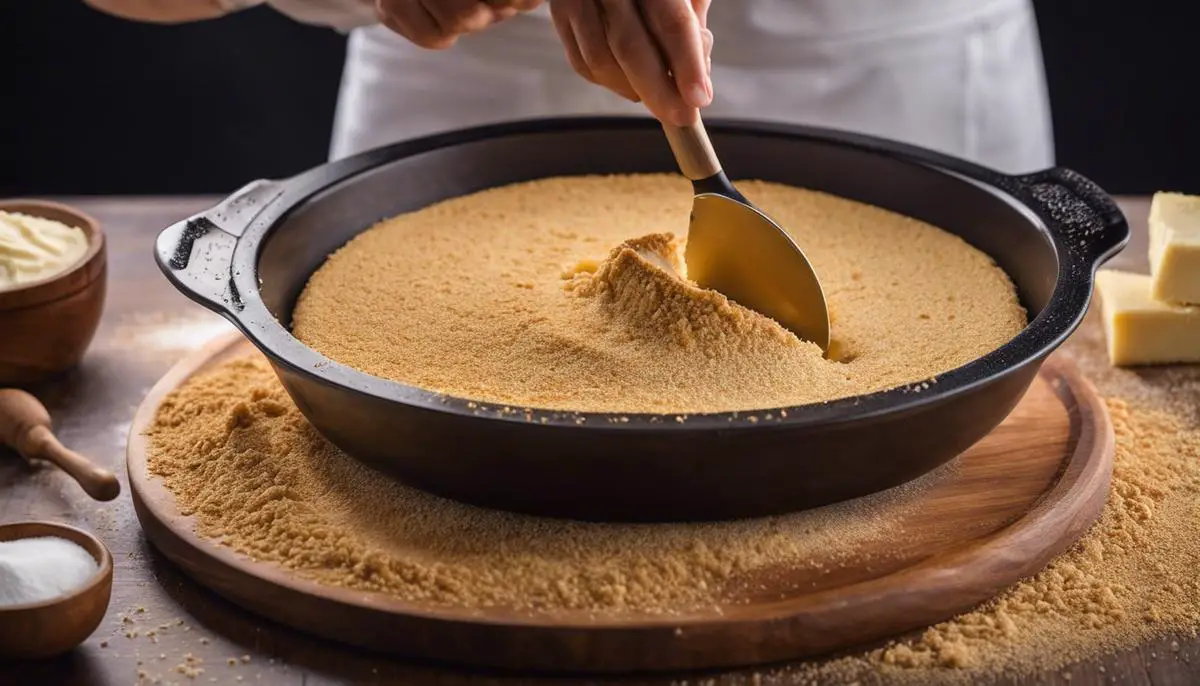
A crust falls apart without the right amount of fat – and in most cases, that means butter. Melt your butter, and then mix it with your crumbs until every crumb is moistened. The texture should resemble wet sand, and when pressed, should hold together. This is where you find balance; too little butter means a crumbly mess, while too much creates a greasy base.
The crust needs to be firm and even. A flat-bottomed glass or measuring cup pressed in the center and moved outward helps achieve a uniform thickness. Don’t forget to press up the sides slightly to create a small ledge. This is crucial for structural integrity and even baking.
Before any heat touches the crust, chilling is vital. A 15 to 20-minute stint in the freezer solidifies the butter, which means the crust will hold its shape better when baked.
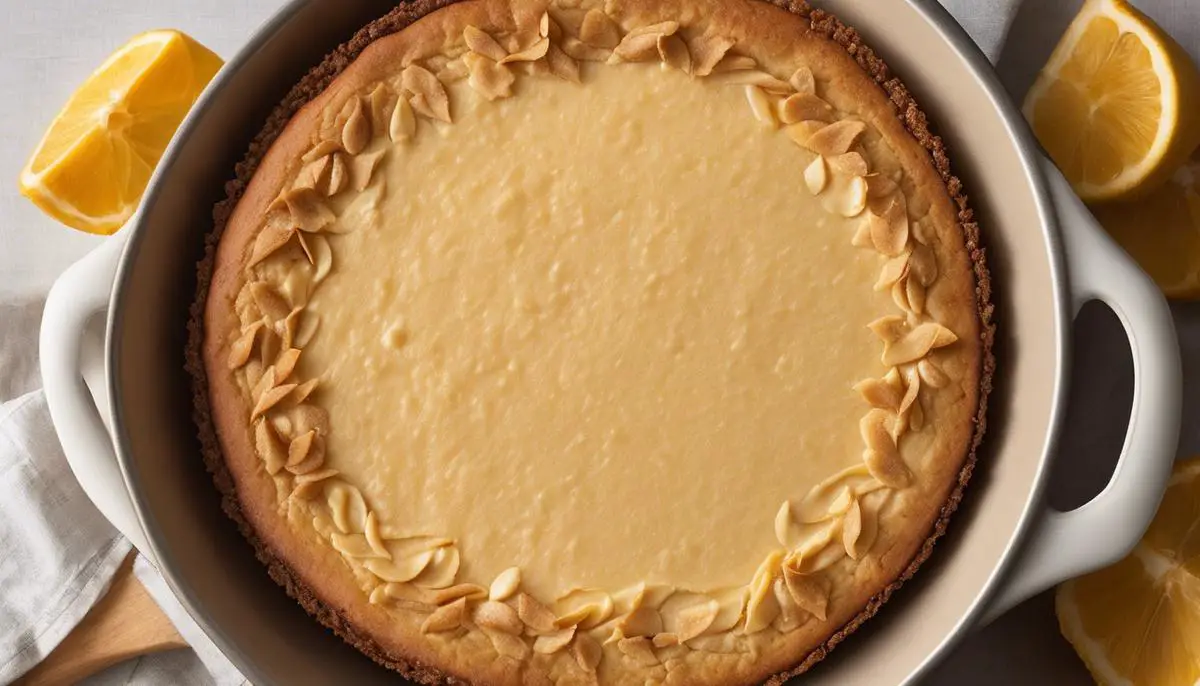
Pre-baking, or “blind baking,” is essential. Around 10 minutes in a 325°F (165°C) oven sets the crust. It should be just slightly colored, not fully browned, as it will bake further once filled. This step also helps seal the crumbs, providing a barrier to prevent a soggy crust post-filling.
Crafting the perfect cheesecake crust is an art that elevates the entirety of the dessert experience. Remember, every choice from the crumb to the spice adds personality. When done with love and a dash of expertise, that cheesecake won’t just be good; it’ll be a talking point, a memory maker, and perhaps, the start of a new tradition at the dinner table.
Cheesecake Filling
Ah, the smooth, indulgent caress of a perfectly executed cheesecake filling – it’s the stuff of dreams for culinary aficionados and dessert lovers alike. Striving for that creamy, velvety texture isn’t just a pursuit; it’s a form of artistry that tantalizes the taste buds and melds flavors in a symphony of sweetness. Here’s how to achieve the divine consistency that defines a truly outstanding cheesecake.
Let’s talk cream cheese, the bedrock of your filling. Temperature matters immensely. This key ingredient should be at room temperature before it even thinks about amalgamating with sugar. Why, you ask? Warm cream cheese is pliable and blends smoothly, banishing the dreaded lumps and ensuring a uniform, silken filling that’s just begging to be savored.
When it comes to mixing, patience is a virtue. Beat the cream cheese on a lower speed – rushing this step incorporates too much air, leading to a filling that’s prone to cracking, rather than laying in wait like a silken pillow in a golden crust. And don’t stop at smooth. Make sure that the sugar is fully integrated, dissolving into the cream cheese like best friends in a delicious embrace.
Next up – eggs, the unsung heroes binding our luscious mixture. Introduce them one at a time, allowing each to become fully acquainted before his buddy jumps in. This incremental approach maintains the filling’s emulsion, contributing to its satiny demeanor.
Now, for a bit of gastronomic alchemy: the sour cream. Adding this tangy companion balances the sweetness and gives the filling its signature lushness. But remember, like all good things, it must come at the right moment. Stir in the sour cream once the sugar, cream cheese, and eggs have formed an impeccable union.
Vanilla extract steps in as the essence of flavor. Just a splash of high-quality extract infuses the filling with aromatic sweetness, the foundation upon which all great cheesecakes are built.
But wait, let’s tackle one more trick – the water bath. Baking the cheesecake in a water bath creates a protective steamy cocoon, buffering it from the oven’s wild heat and facilitating a gentle, even bake. The result? A top that’s free from unsightly cracks and a consistency so smooth, it could charm the socks off a marble statue.
And finally, the cooling process is not just a mere footnote in the saga of cheesecake making – it’s a pinnacle stage. Resist the urge to rush it. Let the cheesecake cool gradually in the oven with the door ajar, then rest at room temperature, and ultimately nestle in the fridge for several hours. It’s this respect for the slow farewell to heat that rewards you with a texture that could make angels weep.
Marry these practices with passion and precision, and you’ll be the architect of a cheesecake filling that’s not just smooth – it’s transcendent. A slice of this masterpiece doesn’t just sit on a plate; it’s an open invitation to indulge in a tapestry of taste that lingers in memory long after the last morsel has been savored.

Baking and Cooling
Moving forward from the impeccable crust and lusciously smooth filling, a chef’s journey to cheesecake perfection is all about mastering the bake. Here’s where the rubber meets the road, or should we say, where the cream cheese meets the heat. These time-tested techniques will ensure a cheesecake bakes evenly—without a crack in sight.
Firstly, let’s talk ovens. Not all ovens are created equal, and knowing your oven’s quirks is key. Always place the cheesecake in the center of the oven to encourage even baking and rotate the pan halfway through, just to outsmart any hot spots your oven may have.
Temperature is your friend, and patience is your guide. A moderate oven temperature—think 325°F (163°C)—is the sweet spot that cooks the cheesecake gently, preventing the dreaded soufflé effect that high heat can cause, leading to a sinking, cracking disaster.
A water bath, or bain-marie if you’re feeling fancy, isn’t just for those highfalutin culinary dishes; it’s an absolute game-changer for cheesecakes. Wrapping the bottom of your springform pan in foil and placing it in a larger roasting pan filled with warm water creates a humid environment, minimizing temperature fluctuation and heating the cheesecake evenly from all sides.
Let’s not forget, even the best techniques can be thwarted by an impatient chef. When that timer dings, turning off the oven and cracking the door slightly, allowing the cheesecake to cool gradually, is a crucial step. This slow cooling helps prevent shocking the cheesecake, avoiding cracks and ensuring it keeps its structural integrity.
Transferring the cheesecake to a wire rack to continue cooling is just as important. The air circulates around the cake, bringing it down to room temperature at an ideal pace. Remember, haste makes waste—and cracks.
Once the cheesecake approaches room temperature, fridge time is next. A good, chilled rest solidifies the cake’s texture, making it sliceable and sublime. Four hours might do the trick, but overnight is a committed baker’s dream, marrying those delicate flavors and creating a cheesecake that is solid, yet smooth as silk.
Every slice, a harmonious symphony of flavors and textures, stands testament to the mastery of technique in the art of cheesecake baking. Now, armed with these surefire tactics, every food enthusiast, whether baking aficionado or avant-garde chef, can achieve that flawless finish worthy of a spot in the spotlight—or at least at the center of a dinner party table.
Having explored the intricacies of creating a magnificent cheesecake, from the crunchy sweetness of its crust to the velvety smoothness of its filling, and through the rigorous demands of baking and cooling, you now stand at the pinnacle of dessert mastery. Remember, the journey to the perfect cheesecake is paved with patience and precision. May your kitchen be filled with the heady aroma of baked indulgence, and your efforts culminate in the triumph of slicing into that perfect piece of cheesecake heaven, a testament to the skills and knowledge you’ve so diligently honed.