Have you ever marveled at the creation of a perfect pecan pie, from its flaky crust to its gooey filling? This article is your guide to mastering these elements in your own kitchen. With straightforward steps and essential tips, we’re about to embark on a process that transforms simple ingredients into an extraordinary dessert. Prepare to be the architect of a pie that will have everyone asking for seconds.
Making the Pecan Filling
Gooey Pecan Pie Filling – A Sweet Secret!
Ever find yourself drooling over the oh-so-gooey filling in a pecan pie? That’s about to be you – the creator of this masterpiece! It’s like magic but without the wands, just a spoon, a bowl, and a little kitchen alchemy. Let’s break down the mystery and jump straight into making that filling that’ll make your neighbors knock asking, “How’d you get it so perfect?”
First things, first: Let’s talk ingredients – you’re about to be introduced to a team that gels like friends from a sitcom.
Ingredients
- 1 cup corn syrup
- 1 cup brown sugar
- 3 large eggs
- 1/4 cup butter
- 1 1/2 teaspoons vanilla extract
- 2 cups pecan halves
The secret to the perfect gooeyness lies not just in the ingredients but in how you mingle them together. Ready? Let’s rock!
Method
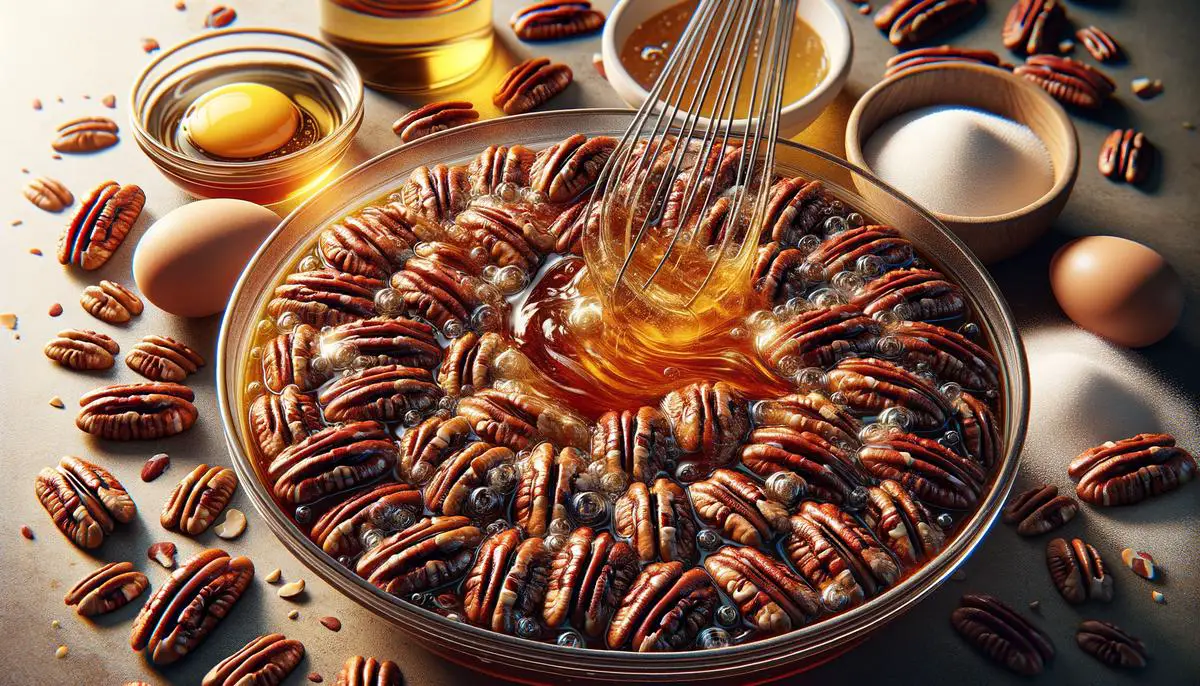
- Combine with Confidence: Start by taking a large bowl. Pour in that corn syrup and brown sugar together – it’s like they’re going to be best buds. Give them a good, hearty stir until they’re well blended but don’t overmix; think of it as a lazy Sunday mix.
- Heat It Up: Melt the butter – don’t boil it; we aren’t trying to make Butter tea here. Once melted, let it join the corn syrup and brown sugar mix. It’s all about making connections.
- Beat the Eggs: In another bowl, lightly beat the eggs. Think of it as waking them up from a nap – not too harsh. Whisper in the vanilla extract to the eggs; it’s like adding a secret ingredient. Slowly add this eggy vanilla mix to your syrup-sugar-butter mix. Whisk them together like you’re introducing them at a party.
- Pecan Parade: Now for the star of the show, the pecans! Gently fold in the pecan halves. It’s their time to shine. No need to rush; treat it like a slow dance.
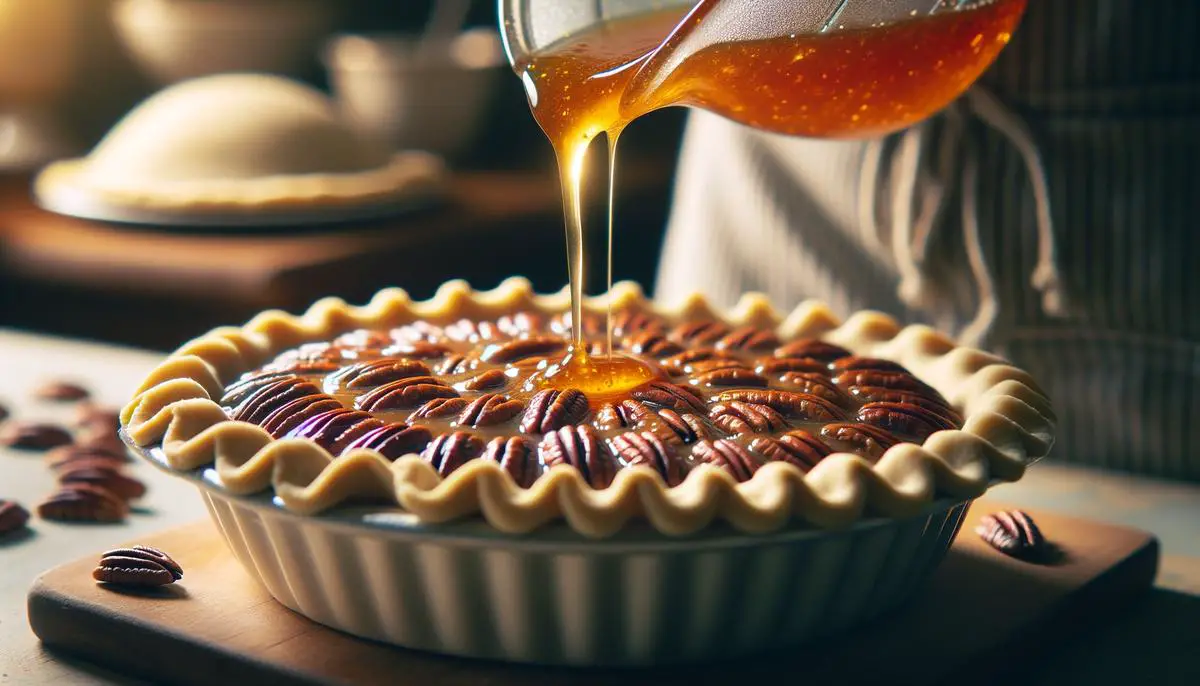
- Bake with Love: Pour this mixture into an unbaked pie shell. Smooth it out gently. This is their final formation before the big performance – the baking!
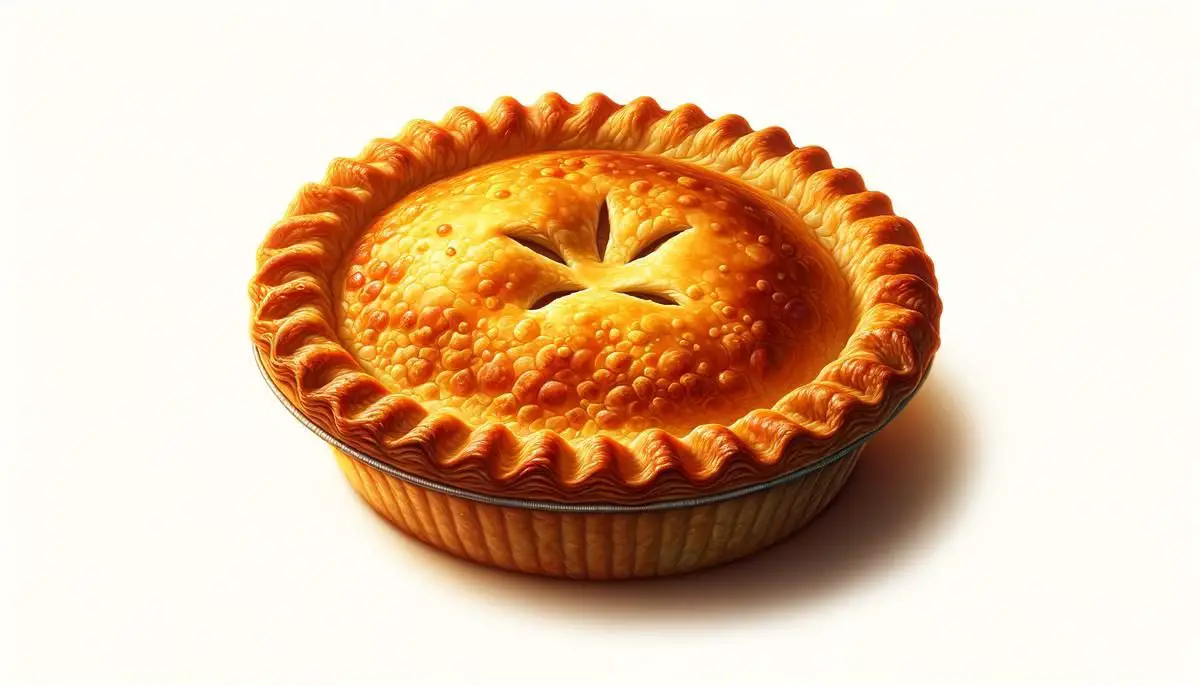
- Timing is Everything: Bake at 350 degrees Fahrenheit for about 60 minutes. You’re looking for that golden moment when the filling has set but still whispers “I’m gooey” when you give the pan a slight nudge.
Here it is – the secret recipe for making that perfect, gooey pecan pie filling that’ll turn a regular dessert into the highlight of your meal. Spoon that filling into your crust with pride, bake, and wait for the magic to happen. The moment you cut into your pie, and that gooey filling meets the world, you’ll know it’s all worth it. Gear up to take all those compliments like a champ because, my friend, you just aced the gooey pecan pie filling game!
Preparing the Pie Crust
Now, let’s dive into the crust, the unsung hero of pies. A flaky, buttery crust can elevate your pie from good to unforgettable. Ever wondered what the secret is to achieving that perfect, bakery-level crust every single time? Fear not! The secrets are simpler than you might think and I’m here to demystify them for you.
First things first, the ingredients: all-purpose flour, unsalted butter, a touch of sugar, salt, and ice water. That’s it. Simple, right? The magic comes in how you handle these ingredients.
For the crust:
- Ingredients
- 2 1/2 cups all-purpose flour
- 1 cup unsalted butter (chilled and cubed)
- 1 teaspoon sugar
- 1 teaspoon salt
- 6-8 tablespoons ice water
Let’s get into the action:
- Keep everything cold: The secret to flakiness lies in how well you keep the butter from melting before baking. Start by cubing your butter and then pop it back into the fridge or even the freezer for a few minutes. Cold butter = flakiness galore.
- Blend wisely: Using a pastry cutter or your fingertips, quickly work the butter into the flour. You’re aiming for a crumbly mixture with chunks of butter still visible. These bits of butter melt in the oven, creating steam pockets that deliver the ultimate flakiness. Avoid overworking it; warmth from your hands can melt the butter.
- Ice water to the rescue: Add ice-cold water one tablespoon at a time, just until the dough starts coming together. It might be tempting to dump in all the water at once or knead it like bread, but resist! Overworking the dough develops gluten, leading to a tough crust.
- Chill out: Once your dough comes together (still slightly crumbly), shape it into a disc and wrap it in plastic wrap. Let it chill in the fridge for at least one hour or overnight. This chilling step relaxes the gluten and ensures the fat remains cold, both crucial for flakiness and workability.
- Roll with confidence: Lightly flour your rolling surface and pin. Roll out your dough from the center outward, aiming for a thickness of about 1/8 inch. Be gentle and confident, treating the dough with care ensures it doesn’t get overworked.
- Fit, don’t stretch: Gently place the rolled-out dough in your pie dish. Make sure not to stretch it to fit as this causes shrinking during baking. Trim excess dough leaving an overhang, then tuck it under and crimp as desired.
- Pre-bake perfection: For recipes that call for a pre-baked crust, use pie weights or dried beans on parchment paper over your crust. This prevents puffing and ensures an evenly cooked base.
To finish, remove the weights and parchment halfway through baking, brush with egg wash if desired for a golden finish, and bake until perfect.
And there you have it! The path to making a flaky, buttery pie crust isn’t swathed in mystery—it’s paved with patience, care, and some key technique points. Remember, baking is a blend of art and science. Each time you make this crust, you’re honing your craft. Before you know it, you’ll be turning out pies that not only taste heavenly but look absolutely magazine-cover worthy.
Time to roll up those sleeves, get your ingredients ready, and embark on creating your masterpiece. Happy baking, and here’s to conquering the crust!
Baking Techniques
Now, let’s dive into the realm of filling your pre-baked, flaky crust with that beautiful, gooey pecan mixture and baking your pecan pie to sheer perfection. Remember, the magical dance between precision and passion in baking really takes the stage here.
Giving Your Filling the Perfect Embrace
- Preheat Your Symphony: Begin by preheating your oven to 350 degrees Fahrenheit. Think of your oven as the concert hall for your pecan pie masterpiece—it needs to be at the just right temperature to perform.
- Whisking with Passion and Precision: In a large mixing bowl, whisk together those golden eggs, corn syrup, brown sugar, melted butter, and vanilla extract you’ve meticulously prepared. Each ingredient must merge seamlessly, weaving a sweet symphony that’ll give life to your pie.
- The Stars Enter: Carefully stir in those hearty, roughly chopped pecans (feel free to keep a handful whole for a decorative garnish later). This is where your filling starts to look like the starry night sky, promising and rich.
- Filling’s Grand Performance: Pour this lusciously laden liquid gently into your golden, flaky pre-baked pie crust. Let it flow, filling every corner, no rush—patience is your ally. For that extra spark, artistically arrange a few whole pecans on top. Think of it as putting the crown on our royally gooey concoction.
- Baking – The Final Act: Slide your creation into the preheated oven and bake for about 50 to 60 minutes. You’re aiming for a filling that sets like the most enchanting potion—still slightly jiggly in the center but firm on the edges. It’s like capturing a moment of perfection that’s not too runny, nor too rigid.
- Cooling – The Encore: After baking, allow your pie to cool on a wire rack. This isn’t downtime; it’s an essential part of the performance where flavors deepen, and textures find their solace. Give it at least 2 hours; patience here brings its own sweet reward.
- The Grand Finale – Serving: With your pie cooled, cut into wedges and serve. Whether you prefer it as is, or want to elevate it with a dollop of whipped cream or a scoop of vanilla ice cream, each slice is a celebration of your dedication and the magic of baking.
Cheers to you, the maestro behind this symphony of nuts, sugar, and soul-soothing flavors! Baking is indeed a journey—a blend of technique, perseverance, and passion. Your pecan pie is not just dessert; it’s a narrative of love and triumph on a plate. Enjoy every bite, every moment!
Remember, no curtain call here; each bake is but a prep for your next grand show. Keep believing in the magic of your hands and the sweetness of your endeavors.
As we wrap up this guide on crafting the perfect pecan pie, remember that each step, from preparing the crust to baking the filling, is an opportunity to infuse love and care into your creation. The magic of baking lies not just in following recipes but in adding your personal touch along the way. So wear your apron with pride and approach each bake with enthusiasm. Your pecan pie isn’t just a treat; it’s a testament to patience, skill, and passion—a delicious masterpiece waiting to be shared.