Picking the perfect papaya for a Guam-style pickling adventure is more than just grabbing any fruit off the shelf. It’s about understanding what makes a papaya ideal for this unique culinary process. This guide will lead you through the essential steps to ensure your pickled papaya turns out crisp, tangy, and utterly delicious. From selecting the right state of ripeness to mastering the art of brine balance, every detail matters in achieving that perfect batch.
Selecting the Perfect Papaya
Selecting the Right Papaya for Pickling – Guam Style
When it comes to pickling papaya Guam style, choosing the right fruit is a crucial first step. If you’ve ventured into the rich culinary tradition of Guam, you understand that pickled papaya holds a special place, acting as a crisp, tangy counterbalance to the island’s hearty dishes. Here’s how to nail that selection, ensuring a succulent batch every time.
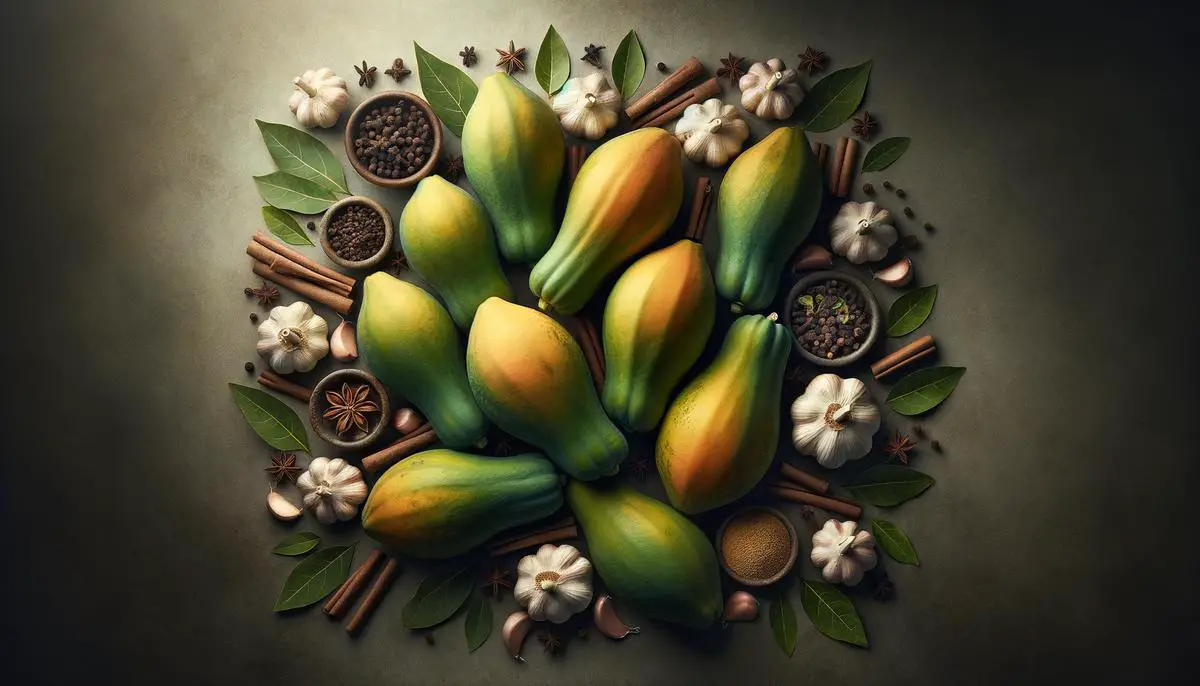
1. Opt for Green Papayas: The cornerstone of a good pickled papaya lies in its ripeness. For this dish, you want papayas that are as green as the lush Guam landscape. Avoid fruits with patches of yellow or orange – these are on their way to ripeness and will not deliver the same crunch or absorb the pickling brine as effectively. 2. Firmness is Key: The papaya should feel like a sealed deal – firm, with no give. Press it gently; if it feels as solid as a well-conviction, it’s a keeper. Any softness indicates ripening, which isn’t what you want for pickling. This firmness ensures that, post-pickling, the papaya slices retain their bite and structure rather than turning mushy. 3. Size Matters… Sometimes: While size doesn’t necessarily impact the flavor, consider your refrigerator space and the amount of pickled papaya you plan to consume. Large papayas offer more yield but take up more space during the pickling process. Meanwhile, smaller papayas might be handy for a single batch, allowing for experimentation with flavors without a sizable commitment. 4. A Uniform Shape for Uniform Slices: Look for papayas with a regular, elongated shape. Irregularly shaped fruits can lead to inconsistent slices, which in turn affects how they pickle and present on the plate. Consistency is as much an appeal to the eye as it is to the palate. 5. The Sniff Test: Freshness matters, even for unripe fruits. Your papaya should smell faintly sweet, an aromatic hint of what’s to come. Avoid any fruit that smells fermented or sour – indicators of damaged interiors that could ruin your pickling endeavors.Once you’ve selected your perfect green papaya, you’re all set to begin the pickling process – culminating in a delightful taste of Guam that can accompany any meal or stand proudly on its own. Remember, the right start is half the battle won. With your ideal papaya in hand, you’re well on your way to creating a pickled masterpiece reminiscent of sun-soaked Guam shores.
Preparing the Brine
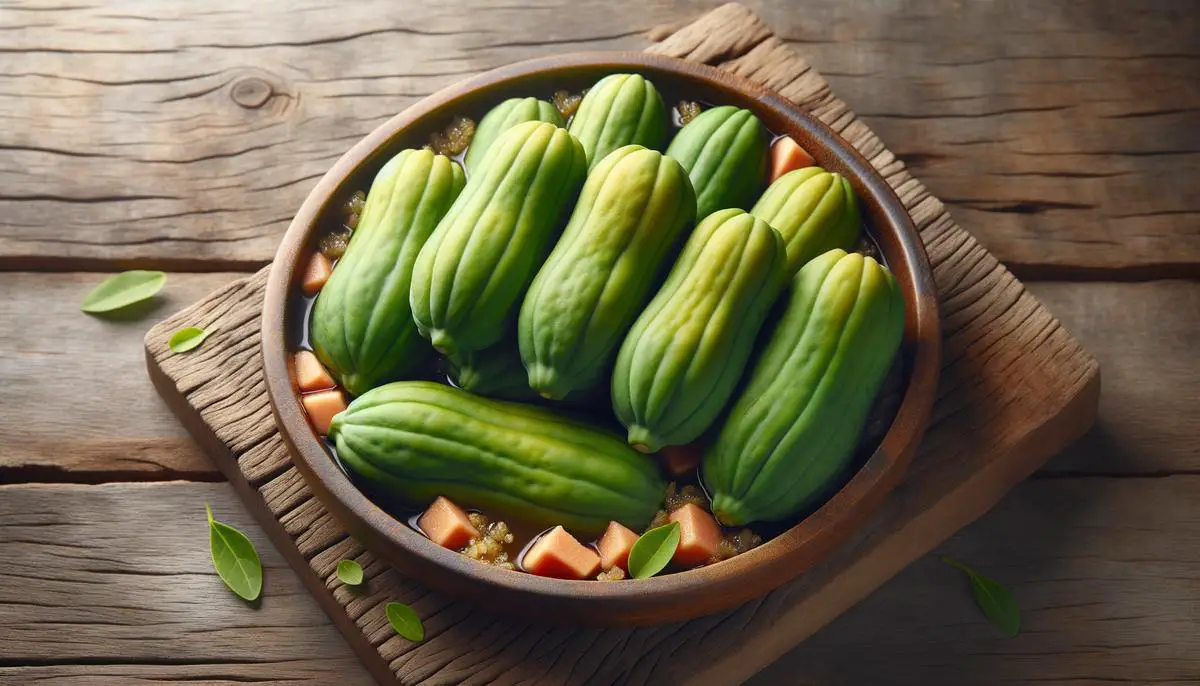
For anyone venturing into the culinary art of pickling, the secret to a perfectly balanced brine is foundational for success. This enigmatic concoction of vinegar, water, salt, and sugar is where the magic starts and ends. Nailing the perfect brine balance is less witchcraft and more science, paired with a sprinkle of culinary intuition.
Begin by understanding your vinegar selection. White vinegar, with its sharp and clear character, offers a clean canvas. For those seeking depth, apple cider vinegar introduces a fruity undercurrent. The golden rule? Maintain a 1:1 ratio of vinegar to water. This ensures enough acidity to preserve your pickles without overwhelming your palate.
Salt is the next critical player. Use kosher or pickling salt, free of iodine and anti-caking agents, which can muddy your brine. The quantity of salt should be about 2 tablespoons per cup of vinegar, a sweet spot that enables fermentation while warding off harmful bacteria.
Sugar tempers acidity. While not all recipes call for sugar, adding it can enhance the pickle’s flavor, particularly if you’re working with sour or bitter vegetables. A tablespoon of sugar per cup of vinegar starts you on the right path, easily adjustable based on your tastes or the nature of what you’re pickling.
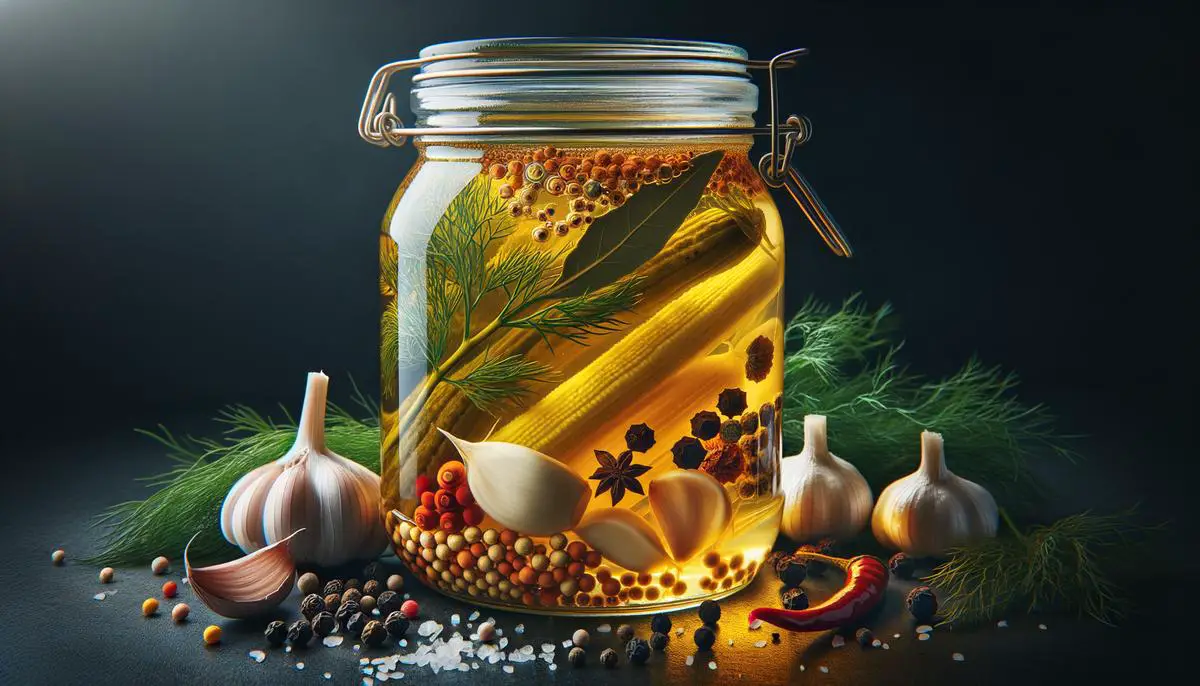
Now, to infuse character into your brine, turn to spices and herbs — mustard seeds, peppercorns, garlic cloves, dill, or coriander seeds. Add these directly to your vinegar solution or layer them with the produce in the jar. However, wielding these flavoring agents with precision is vital; too much can overshadow the primary ingredient. Aim for roughly a teaspoon of mixed spices per pint jar.
Remember, the perfect pickling brine balances the sharp bite of vinegar with the earthy flavors of salt, the sweet melody of sugar, and the subtle notes of your chosen spices. Experimentation is the key to mastering this balance. As your pickling journey progresses, adjust the ratios, experiment with vinegar types, and play with spices until you find your signature blend.
By adhering to these guidelines, you’re not just creating a pickling brine; you’re crafting an elixir that transforms ordinary vegetables into tangy, crisp delights. Each batch is an opportunity to refine your concoction, delving deeper into the alchemy of pickles. Engage with the process, trust your palate, and soon, you’ll discover the secret behind a perfectly balanced pickling brine lies as much in experimentation as it does in tradition.
The Pickling Process
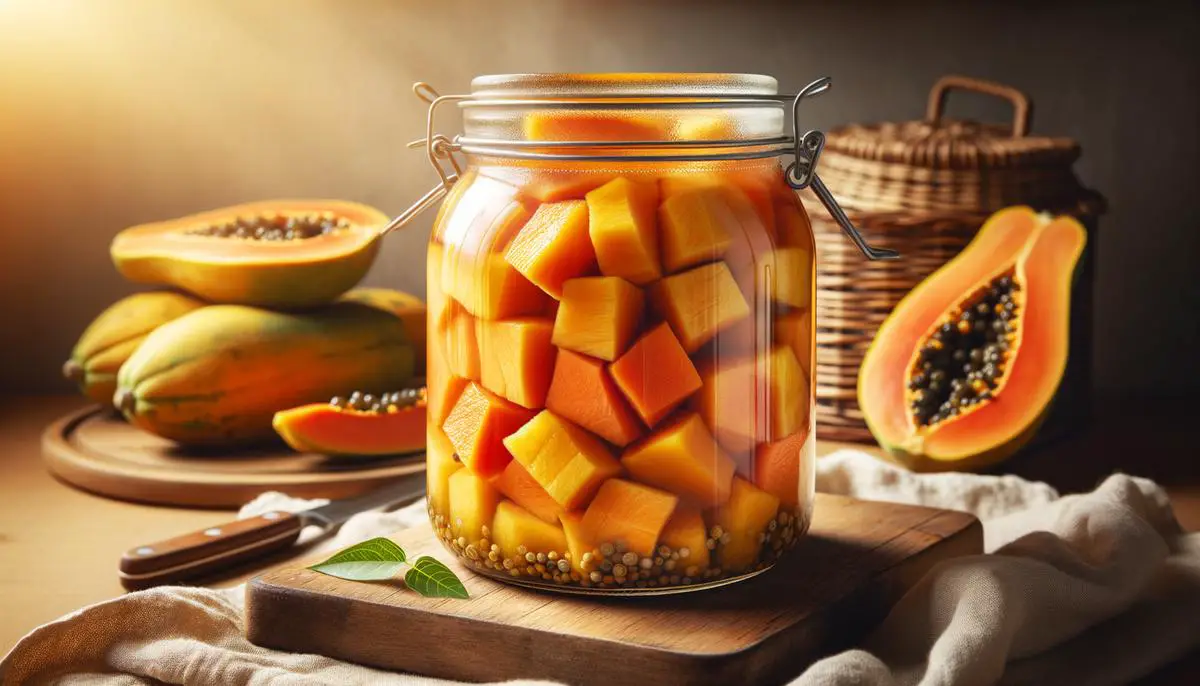
Let’s talk timing – the make or break element in the alchemy of pickling papayas for that optimal burst of tangy, sweet bliss. The duration your slices of green papaya bathe in their brine is not just a detail; it’s the spine of the entire pickling opera. Rush this, and you’ve got an underwhelming bite. Drag it out too long, and you’re in a soggy, over-pickled mess territory.
So, the golden timeframe for pickling papayas? Aim for a minimum of 24 hours. This isn’t with haste; it’s patience rewarding you with that first bright, crisp bite. But here’s where the plot thickens – if you let those slices marinate in their vinegary soak for about 1 week, you’re climbing towards peak flavor territory. The transformation from simple green papaya to a pickled masterpiece isn’t instant. These things mellow and merge over time like a good symphony.
But wait, there’s a cap – don’t let those papayas sit in their briny bath for over two weeks. Here’s why: While the first week is your vessel to flavor nirvana, pushing past two weeks tips the scales towards too soft, too infused, where the papaya loses its spirit to the brine. Yes, the acidic soak works its magic to preserve, but it’s a fine balance with tenderness and taste at stake.
In essence, hover within the sweet spot of one to two weeks, and you’ve got yourself a batch of pickled papayas that dances just right on the taste buds – vibrant, with a slight crunch, and a depth of flavor that speaks of days well spent in the jar. Remember, checking in on your creation as days progress is more than okay; it’s part of the journey. Those slices are evolving, and a quick taste test can be guideposts to your perfect pickling endpoint.
In wrapping up, settling on the exact duration within the one-to-two-week window depends on your palate’s preferences. Lean towards one week for a firmer bite and a subtle pickle, or edge closer to two weeks for a tender slice full of brine’s bold character. The control is in your hands, echoing the art and science of pickling – timing isn’t just a factor, it’s everything.
Mastering the art of pickling papayas Guam style is an achievable feat with patience and attention to detail. By following these guidelines on selection, brining, and timing, you’re well on your way to creating a condiment that elevates meals with its vibrant flavor and texture. Remember, each step from choosing your green papaya to finding your brine’s sweet spot plays a crucial role in crafting that ideal pickle. So embrace this process with enthusiasm and soon enough, you’ll be savoring the taste of success one crunchy bite at a time.


