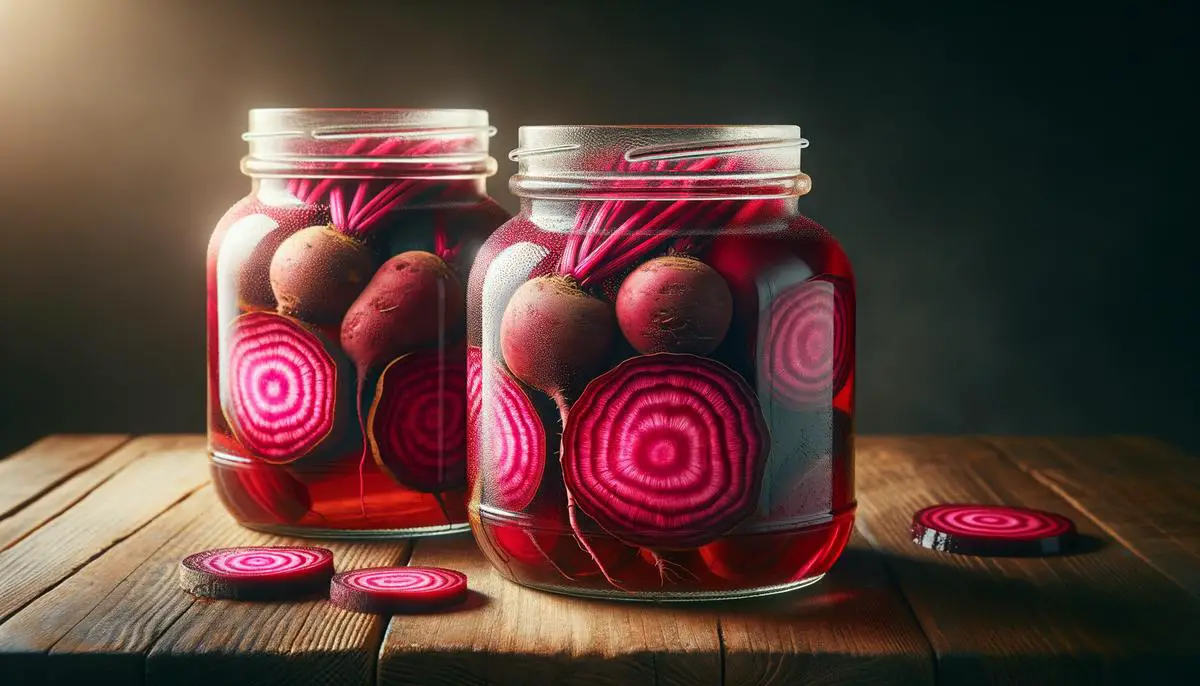
Pickling beets is a delightful way to preserve the vibrant flavors and nutritional benefits of this root vegetable. Whether you’re a seasoned pickler or trying it for the first time, this guide will walk you through each step with simplicity and clarity. From selecting the perfect beets to sealing them in jars filled with homemade brine, we’ll ensure your pickled beets turn out delicious every time. Let’s get started on preparing these tangy treats that can enhance any meal or serve as a tasty snack.
Preparing the Beets
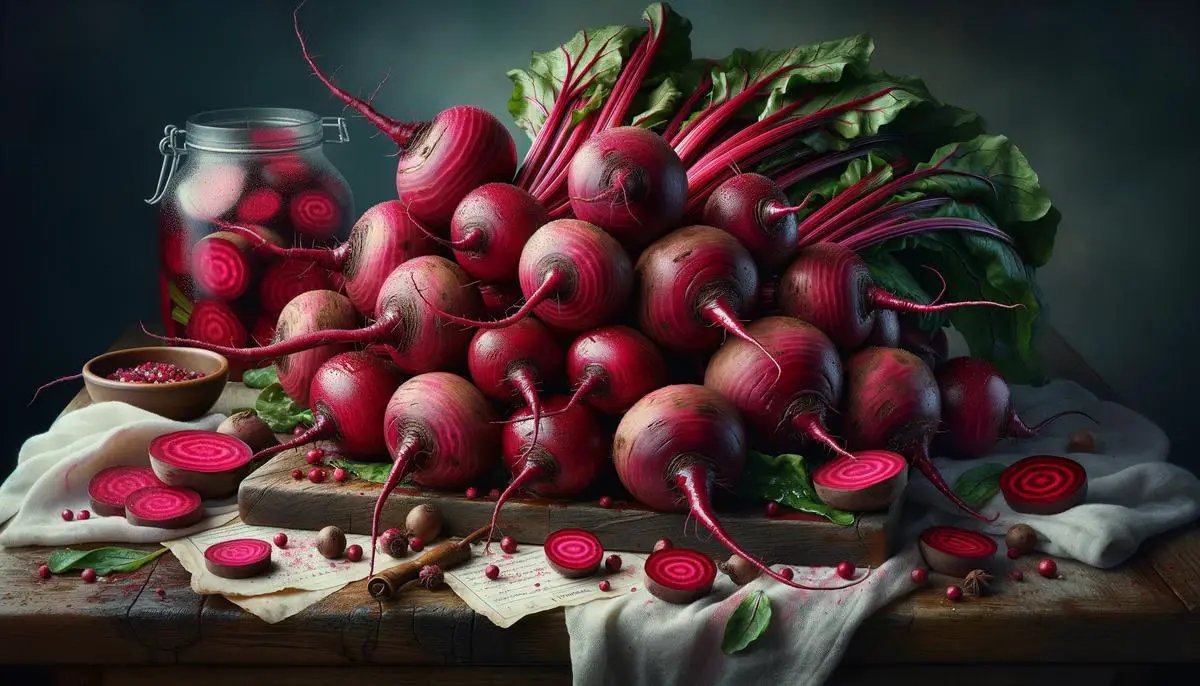
Select and Wash Your Beets: Choose fresh, firm beets for pickling. Wash them under cold water to remove dirt or debris. Don't worry about scrubbing too hard since you'll be peeling them later.
Boil the Beets: In a large pot, bring enough water to cover your beets to a boil. Add the whole beets (with skins on) and reduce the heat to a simmer. Cook until just tender when pricked with a fork, about 25 to 40 minutes, depending on size. Aim for slightly firm over overcooked.
Cool and Peel: Drain the hot water and fill the pot with cold water to cool the beets quickly. Once cool enough to touch, peel off the skins using your fingers or a small knife. Scrub any stubborn spots gently under running water.
Slice or Chop Your Beets: Slice the peeled beets into rounds, quarter them, or chop them, keeping the pieces relatively uniform for even pickling.
Sterilize Your Jars: While preparing the beets, sterilize your pickling jars by boiling them and the lids in a large pot of water for about 10 minutes, then leaving them to air dry. This step is crucial for storing pickled beets outside of the fridge.
Your beets are now ready to be submerged in the tangy pickling brine and transformed into the perfect accompaniment to salads, sandwiches, or enjoyed as a snack straight from the jar.
Creating the Pickling Brine
To create the perfect pickling brine, you'll need:
- Distilled white vinegar or apple cider vinegar
- Granulated white sugar
- Water
- Pickling or kosher salt
- Optional but highly recommended: pickling spices such as mustard seeds, allspice berries, coriander seeds, cloves, and a bay leaf
Experiment and adjust the mix to suit your taste.
Measure your vinegar using a 1:1 ratio of vinegar to water to ensure your beets have enough acidity for preservation without being too sour. For every cup of water and vinegar mixture, add ¼ cup of granulated sugar and two tablespoons of pickling salt. The sugar balances the vinegar's acidity, while the salt flavors the beets and helps keep them crisp.
Combine these ingredients in a large saucepan. Tie your pickling spices in a small cheesecloth bag for easy removal later. Slowly bring the mixture to a boil over medium heat, stirring occasionally to ensure the sugar and salt dissolve completely. Boil gently for two to five minutes to infuse the brine with the spices' flavors.
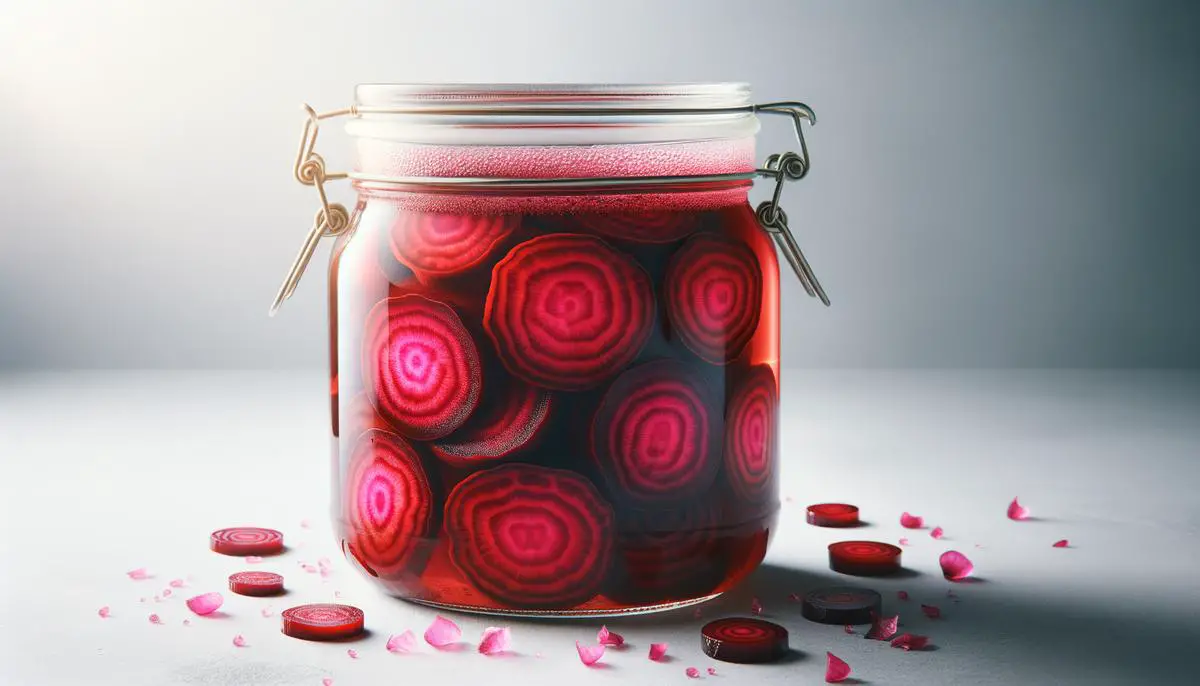
Carefully pour the hot brine over your prepared beets in the jars, leaving about a ½ inch of headspace. The hot brine begins the preservation process and starts softening the beets, allowing them to become fully saturated with flavor.
Remember, the longer your beets sit in their brine, the deeper and more complex their flavors will become[1]. Enjoy your homemade pickled beets on sandwiches, in salads, or straight from the jar.
Canning and Storage
After pouring the hot brine over the beets, use a clean knife or spatula to gently press around the inside edge of the jar to release any trapped air bubbles, which could spoil your beets or affect their texture if not removed.
Tighten the lids to fingertip tightness, screwing them on snugly but not so tight that air can't escape during the canning process. Ensure the jar rims are clean from any spilled brine before placing the lids to help create a good seal.
To water bath the sealed jars for long-term storage:
- Place a rack or folded towel at the bottom of a large pot to prevent jars from directly touching the heat source and minimize breakage risk.
- Fill the pot with enough water to cover the jars by an inch. Bring it to a gentle boil before carefully placing your jars inside using canning tongs or a jar lifter.
- Check the water level and add more if needed to ensure the jars are well submerged. Cover the pot and bring it to a rolling boil.
- Set a timer for 30 minutes for pint jars or 35 minutes for quart jars, starting when the water is consistently boiling.
- After the timer goes off, turn off the heat, remove the pot's lid, and let the jars sit for about 5 minutes to adjust to temperature changes.
- Carefully lift each jar out using tongs or a lifter and place them on a towel-lined countertop to cool undisturbed for 24 hours. You'll likely hear a "pop" sound as the jars cool, indicating a successful seal.
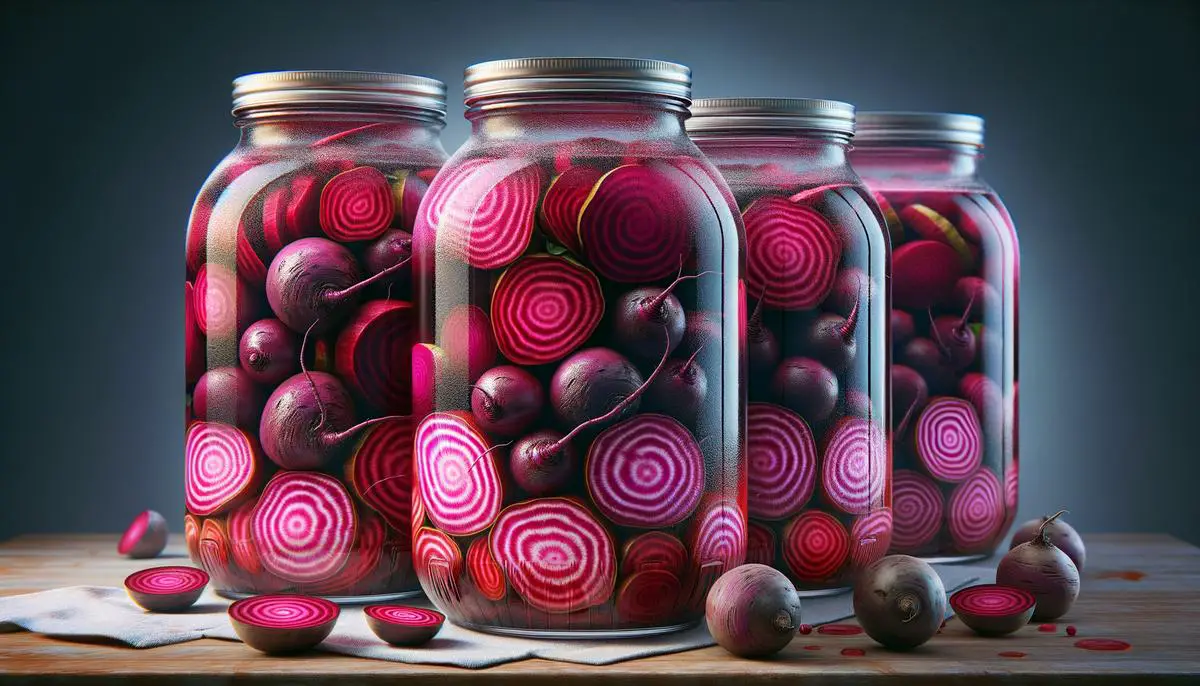
The next day, check each lid for the seal by pressing down in the center. If the lid doesn't move, your beets are properly sealed and ready for storage. Unsealed jars should be stored in the fridge and eaten first. Sealed jars can be stored in a cool, dark place like a pantry or basement shelf for up to a year, but are best consumed within the first few months for optimal taste and texture[2].
Allow your pickled beets to sit for at least three weeks to let the flavors meld beautifully, turning plain beets into a tangy, sweet, and utterly delicious treat. Enjoy them on sandwiches, in salads, or straight from the jar.
Through this detailed guide, we’ve explored the art of pickling beets from start to finish. With patience and care, you can transform fresh beets into delectable pickled treasures that capture the essence of home cooking. Remember, good things come to those who wait; giving your beets time to soak up all the flavors will reward you with an exceptional taste experience. So go ahead, open a jar, and enjoy the fruits of your labor – each bite is a testament to tradition and taste crafted by your own hands.
- Savoie, N., & Clary, C. (2013). Pickled Beets. University of Maine Cooperative Extension Publications, 4273.
- National Center for Home Food Preservation. (2015). Principles of Home Canning: Ensuring Safe Canned Foods. United States Department of Agriculture.


