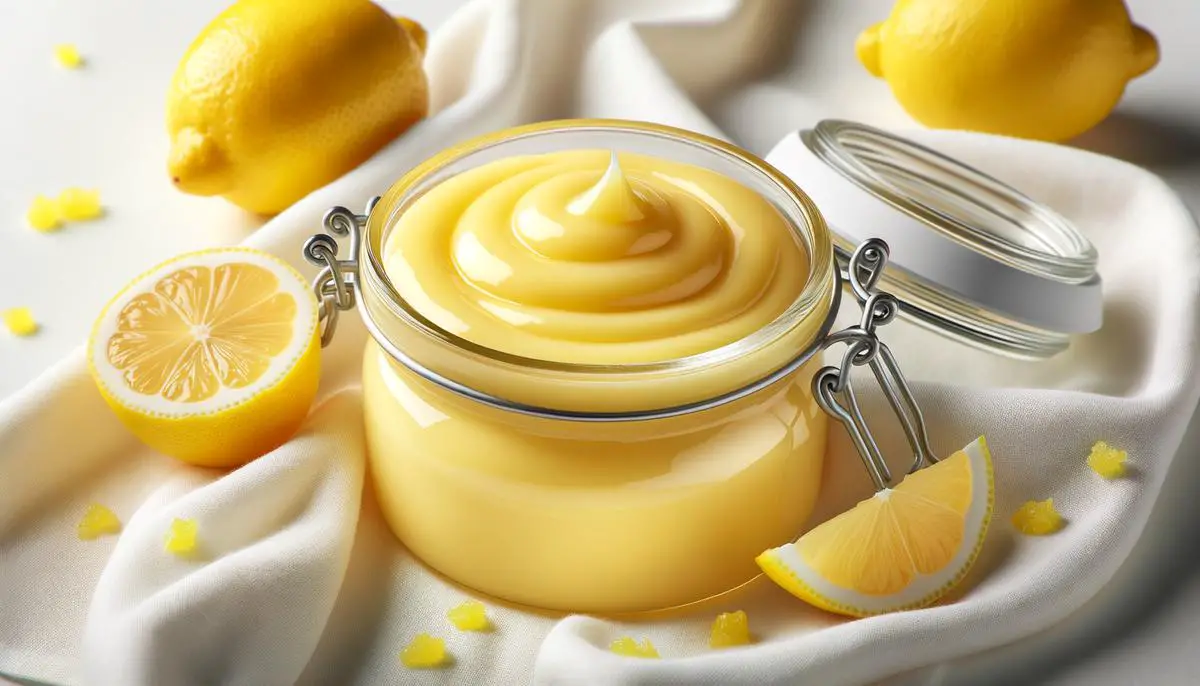
Stepping into the kitchen to embark on making a perfect lemon curd introduces us to the delights of working with fresh, zesty ingredients. This article aims to transform the sometimes intimidating process into an approachable and enjoyable undertaking. By breaking down each step, we aim to guide you through creating a lemon base for curd that promises a deliciously tangy finish. With a focus on simplicity and the joy of cooking, let’s unlock the secrets to a flawless lemon curd that could easily become your go-to recipe.
Preparing the Lemon Base
Whip up the perfect lemon base for curd!
Diving into the world of citrusy delights brings us to the cornerstone of tart treats: the lemon base for curd. If you’ve been circling around the idea but haven’t taken the plunge, fear not! What once seemed like a culinary conundrum is actually a breezy pathway to zesty perfection. Let’s demystify the process, step by step, and before you know it, you’ll be the lemon curd wizard!
Okay, first things first, acquiring your arsenal of ingredients is paramount. This isn’t your everyday recipe; it’s the kind that whispers “gourmet” with every spoonful.
Here’s what you need:
- Zest of 2 lemons (make sure they’re unwaxed, we don’t want that in our curd)
- ¾ cup fresh lemon juice (squeezing lemons is therapeutic, promise)
- 1 cup white sugar (sweetness to balance the tart)
- 4 large eggs (they’re the backbone of the curd)
- ½ cup unsalted butter, chopped (because butter makes everything better)
Now, strap in for the adventure:
- First off, wield that zester like a knight and zest those lemons. Make sure to avoid the white pith, as it’s the nemesis of our sweet and tart harmony.
- Juice the lemons until you’ve got ¾ cup of lemon juice. This is where the magic starts. Feeling like a citrus connoisseur yet?
- Grab a medium saucepan and combine your lemon zest, lemon juice, and sugar. Stir them over low heat. We’re not just warming them up; we’re building the foundation of flavor.
- Crack those eggs into a bowl and give them a good whisk. You’re aiming for a frothy mixture that dreams are made of.
- Now, here’s the trick: gradually whisk the warm lemon mixture into the eggs. This is called tempering. We’re making sure those eggs get acclimated without turning into scrambled eggs.
- Once they’re all mixed up and acquainted, pour the mixture back into the saucepan. This is where the stir-a-thon begins. Low and slow, keep the heat gentle and your whisk moving.
- The switcheroo happens when the mixture thickens—like a soft custard. It’s ready to leave the heat when it coats the back of a spoon and holds a trail when you run a finger through it.
- Last leg of the journey: strain the mixture to catch any wayward zest or bits that might’ve scrambled (despite our best efforts). Then, whisk in the butter, piece by piece, until it’s silky smooth.
- Pour your victorious lemon base into a jar or bowl and let it chill. As it cools, it thickens into the curd of your dreams.
And there you have it! A lemon base that’s the perfect starting block for lemon curd that could have you crowned as royalty in the kingdom of desserts. Whether you’re layering it in cakes, dolloping it on scones, or sneaking spoonfuls straight from the jar, remember: every great curd starts with a perfect base. Enjoy crafting your citrusy masterpiece!

Cooking the Lemon Curd
After walking through the essential steps of crafting the perfect lemon curd – without any bits of curdle in sight – let’s dive into a nifty little trick that often gets overlooked but can make all the difference. No, it’s not a secret ingredient or a magic spell, but rather a simple technique that’s all about timing and patience.
Now, I know what you might be thinking, “What could possibly be left to do?” You’ve mixed, you’ve whisked, you’ve poured your heart into this lemony delight. But here’s the scoop: the secret to a perfectly smooth lemon curd lies in how you cool it down.
So, you’ve just poured your silky lemon base into your chosen vessel, be it a jar or a bowl, and the temptation might be strong to shove it straight into the fridge. Here’s where you need to pause. Instead of rushing it to chill, let the curd sit at room temperature for a bit. Wondering why? It’s all about preventing condensation. If you cover and chill your curd too quickly, condensation can form on the inside of the lid or wrap and drip down into the curd, introducing unwanted moisture that can mess with its texture.
Take a breath, and allow your lemon curd to cool down gently on the countertop. Depending on the room temperature, this might take anywhere from 10 to 20 minutes. Just enough time to clean up or start dreaming about all the delicious ways you’re going to use this zesty creation.
Once your lemon curd has had a moment to bask in its own warmth and you notice it’s not piping hot anymore, that’s your cue. Now, you can cover it. If you’re using a jar, screw on the lid. For bowls, a cling film right on the surface can prevent a skin from forming – just make sure it gently touches the entire surface of the curd. And now, off it goes into the fridge for the final chill.
Patience is truly a virtue here because for the thickest, luscious lemon curd, you’ll want to let it chill thoroughly. This could take a couple of hours, but if you can resist, letting it sit overnight will do wonders. This slow cool-down and proper chill not only helps it thicken to that dreamy consistency but also allows the flavors to meld beautifully.
And there you have it! A smooth, curdle-free lemon curd that’s just begging to be dolloped on scones, swirled through yogurts, or let’s be real, enjoyed straight off the spoon. Who knew something as simple as cooling your curd correctly could be the secret ingredient in your culinary arsenal? Happy cooking, and even happier eating!

Storing and Using Lemon Curd
Cooling Down and Storing Your Lemon Curd
Alright, you’ve just made a delicious batch of lemon curd, buzzing with the vibrant zestiness of lemons and the smooth, rich texture only homemade curd can give you. Let’s dive into the cool down, because believe it or not, this step is as crucial as the cooking process itself.
First up, timing and patience. I can’t stress enough how important these two are. Your lemon curd doesn’t just need to chill; it needs to do so gracefully. Rush this process, and you might end up with a less than desirable texture. So, once off the heat, let your curd have a moment. A moment at room temperature, that is. Cooling it too quickly or immediately popping it in the fridge can lead to condensation which is a no-go. Condensation can dilute your curd, affecting both texture and flavor – essentially making your hard work fade away.
Now, let’s talk about covering your lemon curd. You might think, “Hey, I’ll just slap a lid on it and throw it in the fridge.” Hold on there! Directly covering it while it’s still hot can trap steam, leading again to dreaded condensation. Instead, place a piece of plastic wrap gently on the surface of the curd itself. This method prevents a skin from forming on top and keeps things silky smooth without any wateriness getting into your curd.
Once your curd has had its time to cool to about room temperature, it’s ready for the chill zone. Transfer it to the refrigerator for thorough chilling. This step isn’t just about getting it cold; it’s about letting those lovely lemony flavors meld together, becoming more pronounced and delightful. Patience pays off here, as a well-chilled curd will have the best consistency and flavor. I recommend letting it chill overnight, but if you’re short on time, a minimum of four hours will do the trick.
Creative Ways to Use Lemon Curd in Pies
Now, for the fun part – let’s talk pies! Lemon curd is like that little black dress in the back of your wardrobe – incredibly versatile and perfect for any occasion. Whether you’re making a classic lemon meringue pie or want to add a twist to your favorite recipes, lemon curd can be your secret ingredient.
One creative way to use lemon curd in pies is to layer it. Imagine a decadent chocolate ganache pie with a surprise layer of zesty lemon curd beneath it. The contrast between rich chocolate and tangy lemon is a match made in heaven. Or, for a refreshing summertime dessert, fill a pre-baked pie crust with your chilled lemon curd, and top with fresh whipped cream and berries. Simple, yet unbelievably delicious.
Another idea is to swirl your lemon curd into a cheesecake batter before baking. This not only adds a vibrant streak of color but an incredible burst of flavor with every bite. Lemon pairs beautifully with the creamy richness of cheesecake, creating a dessert that’s both elegant and mouth-wateringly good.
So there you have it – your guide to cooling, storing, and creatively using lemon curd in pies. Remember, the beauty of lemon curd lies not just in its flavor, but in its versatility. Whether it’s the star of the show in a lemon tart or playing a supporting role in a layered dessert, lemon curd can elevate your baking in the most delicious way possible. Enjoy your culinary adventure with this citrusy gem!

So, after exploring the essentials of creating, cooling, and storing homemade lemon curd, and discovering innovative ways to incorporate it into pies, we’ve seen just how versatile and delightful this citrus treasure can be. Remember, the key to perfect lemon curd lies in embracing the process with patience and letting each step unfold in its own time. Whether you’re dressing up desserts or elevating a simple snack, lemon curd crafted with care is a testament to the beauty of homemade treats. Here’s to many sweet and tangy creations that bring a burst of sunshine to your table!


